How to Grow Microgreens Step by Step for Your Indoor Garden
Have you ever wanted to grow your own food but felt like you didn’t have enough space or time? I totally understand. Gardening can seem like a lot—especially if you live in a small apartment or don’t have a yard. But what if I told you there’s a simple way to grow something fresh, healthy, and green right in your kitchen?
Enter: microgreens. These tiny greens are full of flavor and nutrition, and they’re super easy to grow. Let me show you how I grew my own microgreens, step by step, and how you can do it too.
Why Microgreens?

I remember the first time I saw microgreens—tiny, colorful leaves sitting on top of a fancy dish. They looked so delicate, almost too pretty to eat. But I was surprised by how much flavor they had! That’s when I realized that microgreens aren’t just for looks; they’re packed with taste and nutrients.
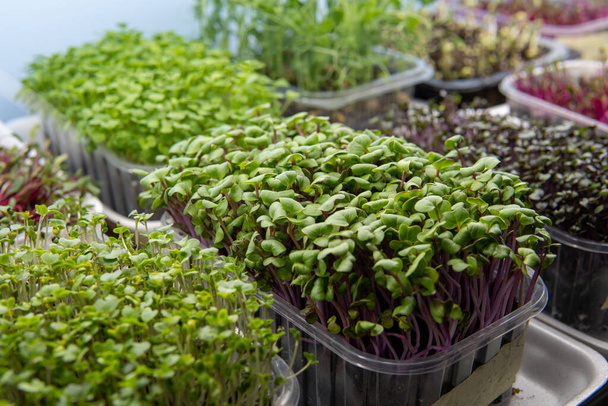
Best of all, they’re really easy to grow indoors, even if you have no gardening experience. Plus, there’s something so special about watching these little plants grow. It feels like a small miracle every time they sprout.
Best Seeds for Growing Microgreens
When it comes to picking the best seeds for growing microgreens, there are lots of great options. Here are some of my favorites:
- Radish: These grow fast and have a spicy flavor that adds a kick to any dish.
- Sunflower: Sunflower microgreens are crunchy and mild, perfect for adding texture to salads.
- Pea Shoots: Pea shoots are sweet and tender, and they grow really quickly. They’re great for stir-fries or as a fresh snack.
- Broccoli: Broccoli microgreens are full of nutrients and have a mild, fresh flavor. They’re great for boosting the healthiness of your meals.
- Basil: Basil microgreens have that classic basil flavor, perfect for adding to pasta or pizza.
- Cilantro: If you love cilantro, try growing it as a microgreen. It has a bright, fresh flavor that’s great for topping tacos or adding to salads.
- Mustard: Mustard microgreens are spicy and add a nice kick to dishes. They’re perfect if you like a little heat.
- Beet: Beet microgreens taste great and add a beautiful pop of color to any dish. They have a slightly earthy flavor that works well in salads and sandwiches.
- Kale: Kale microgreens are mild and packed with nutrients, making them a great choice for smoothies or salads.
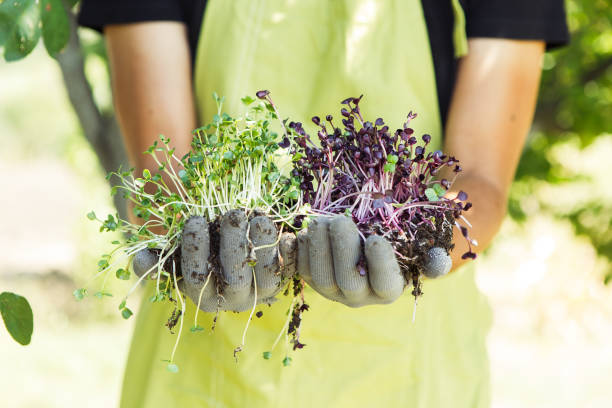
Try experimenting with different seeds to find out which ones you like best!
What You Need to Get Started
Let’s start with the basics. You don’t need a lot of fancy equipment to grow microgreens. Here’s what I used:
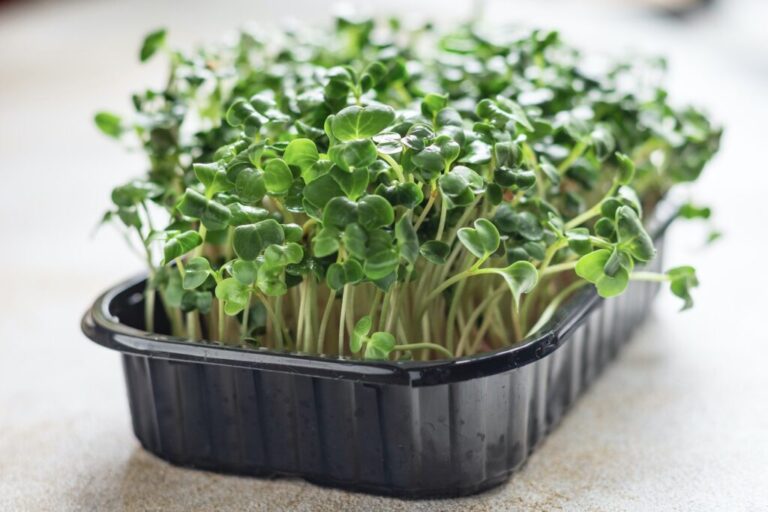
- Shallow Tray or Container: You can use anything, from a plastic food container to a seed tray. It just needs to be shallow and have drainage holes (or you can make some).
- Potting Mix or Growing Medium: I like to use a light potting mix, but you can also use coconut coir or even paper towels.
- Seeds: You can grow many types of microgreens, like sunflower, radish, broccoli, or pea shoots. I love starting with radish seeds because they grow fast and have a peppery kick.
- Spray Bottle: This will help you keep the soil moist without overwatering.



Step 1: Prepare the Tray
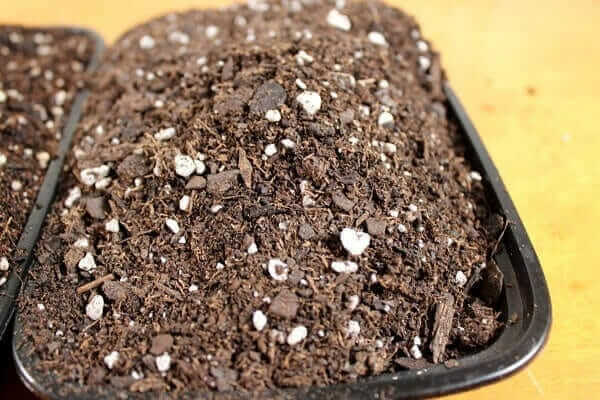
First, get your tray ready. I usually use a shallow plastic container—it’s simple and works well. Fill it with about an inch of potting mix or your chosen growing medium. It doesn’t need to be deep because microgreens don’t need a lot of soil. Spread the soil evenly and press it down lightly.

Step 2: Sprinkle the Seeds
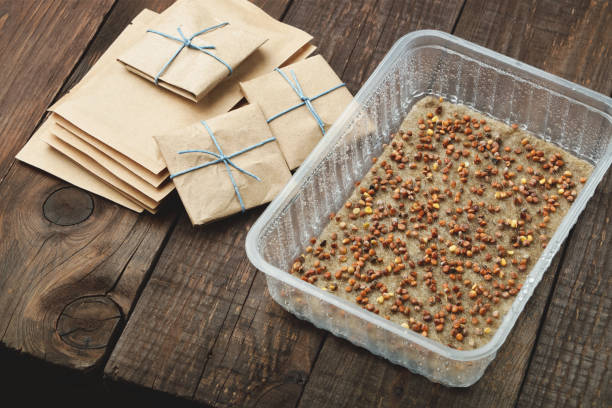
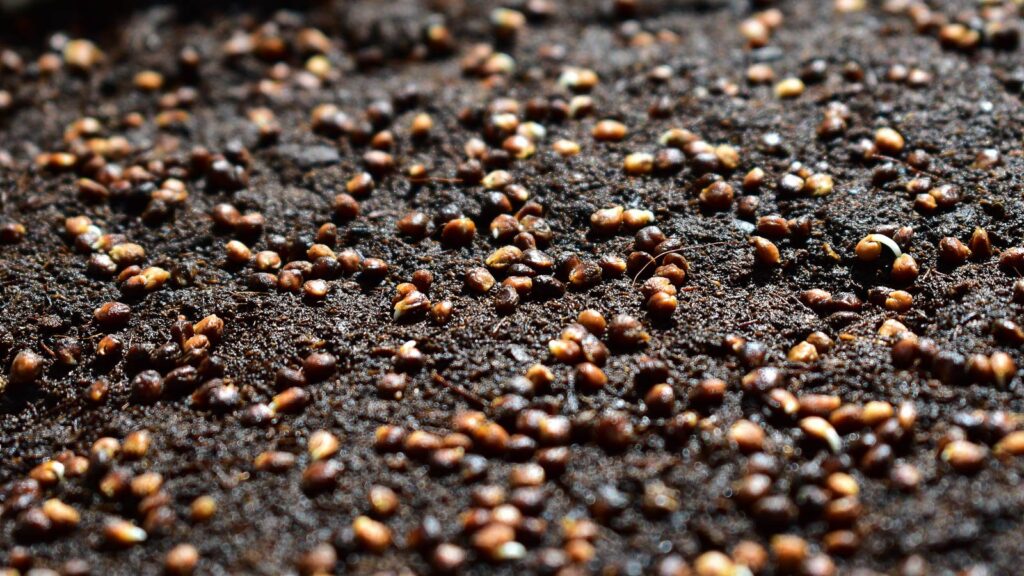
Now it’s time to add the seeds! Sprinkle them generously over the surface, almost covering the whole tray. Don’t worry if it looks a bit crowded; microgreens don’t need much space. After sprinkling, press the seeds gently into the soil so they make good contact with the growing medium.
Step 3: Water Lightly
After the seeds are in place, it’s time to water them. Use a spray bottle to mist the soil. You want it damp but not soaking wet. I remember the first time I grew microgreens, I used a regular watering can and ended up flooding the tray. Trust me, a spray bottle is much better!
Step 4: Cover and Wait
Once you’ve watered the seeds, cover the tray with a lid or another tray. This helps keep moisture in and makes the seeds sprout faster. I usually keep the tray covered for 2-3 days. During this time, I like to peek in occasionally—it’s amazing to see how fast those little seeds start to grow.
Step 5: Give Them Light
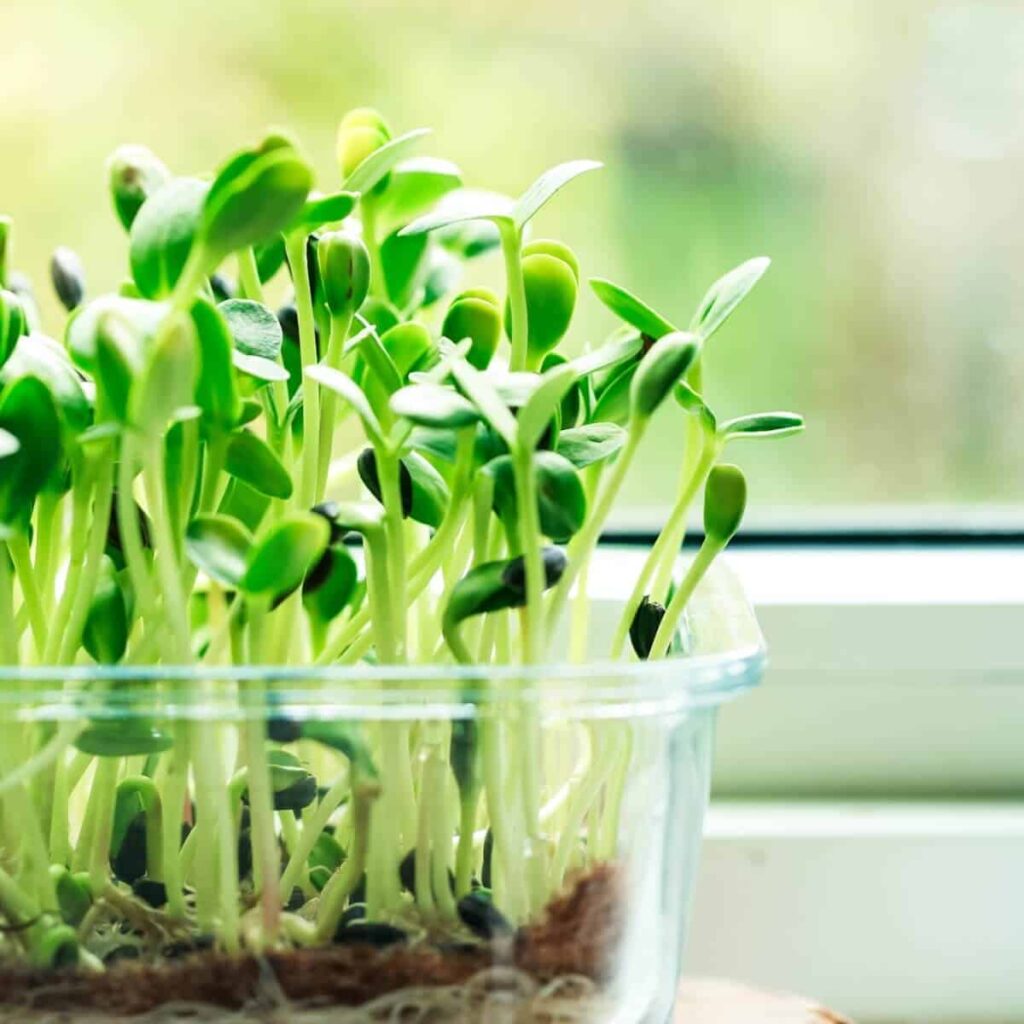
After a few days, you’ll see little sprouts coming up. It’s time to uncover the tray and give them some light. I keep mine on a sunny windowsill, but if you don’t have enough sunlight, a simple grow light works well too. Watching those sprouts turn into tiny green leaves is so rewarding. It feels like bringing a little bit of nature into your home.
Step 6: Water and Care
Keep misting your microgreens once or twice a day to keep them moist. But be careful not to overwater. I learned this the hard way when I ended up with mold from watering too much. The key is to keep the soil damp but not soggy.
Step 7: Harvest Time!
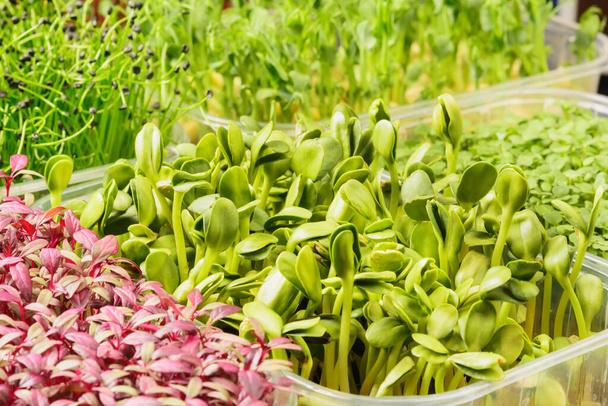
In about 7-14 days, your microgreens will be ready to harvest. They should be about 2-3 inches tall, and they’ll have their first true leaves. To harvest, just take a pair of scissors and cut the greens just above the soil. I can’t tell you how satisfying it is to harvest something you grew yourself—even if it’s just tiny greens.
Enjoy Your Microgreens
Now that you’ve harvested your microgreens, it’s time to enjoy them! You can add them to salads, sandwiches, smoothies, or just snack on them fresh. They add such a burst of flavor to anything you make. Every time I add them to my meals, I’m reminded of how a little effort turned into something so wonderful.

Final Thoughts
Growing microgreens is one of the easiest ways to bring fresh, healthy food into your home. It’s simple, quick, and doesn’t need a lot of space. Plus, there’s something incredibly rewarding about watching them grow—from tiny seeds to vibrant greens. Whether you’re new to gardening or just want to add some freshness to your meals, microgreens are a great place to start. So, why not give it a try? You might fall in love with indoor gardening like I did.


