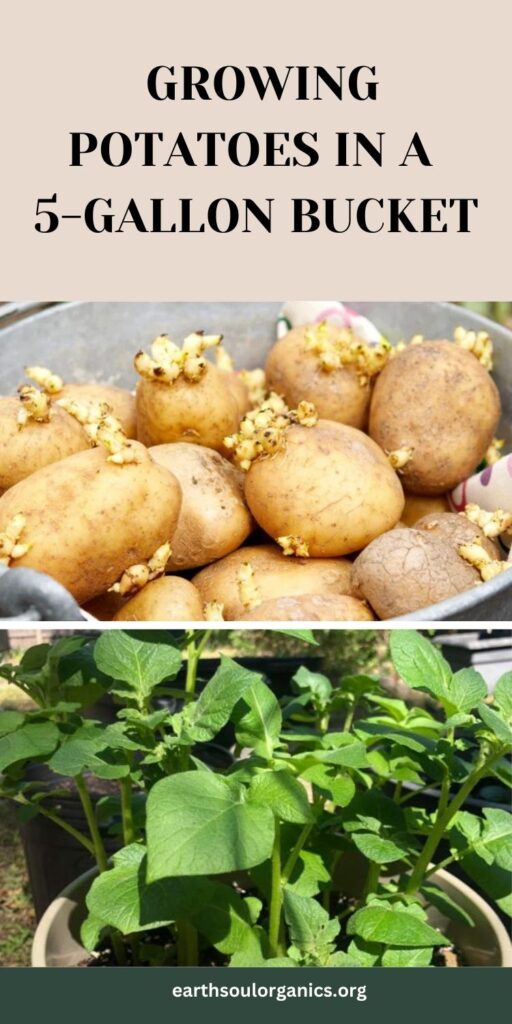
Growing Potatoes in a 5-Gallon Bucket: My Step-by-Step Guide
If you’ve ever wanted to grow potatoes but lack garden space, I’ve got great news!
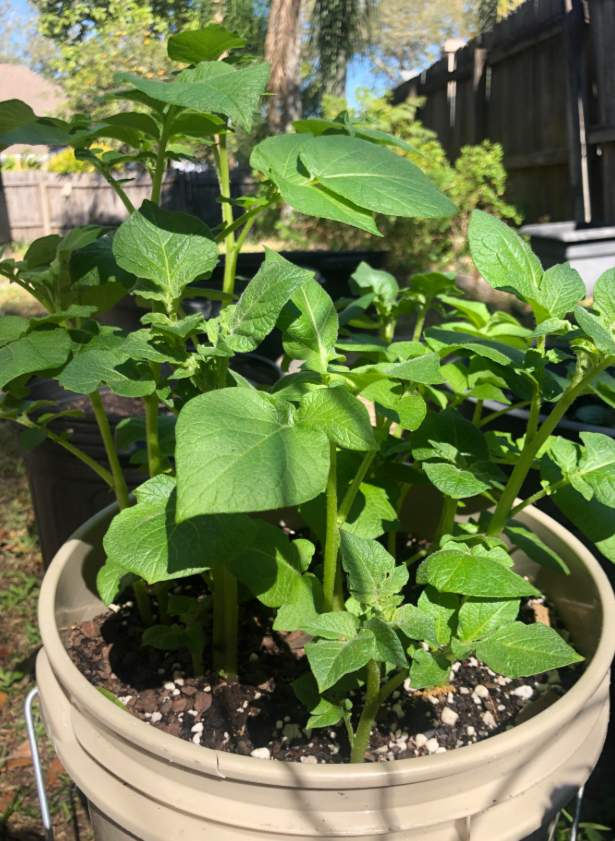
Potatoes thrive wonderfully in just a simple 5-gallon bucket.
I’ve personally tried this method and achieved fantastic results, so I wanted to share the detailed process with you, along with some tips I’ve learned along the way.
Why a 5-Gallon Bucket?
Using a bucket allows anyone, even apartment dwellers with limited balcony space, to cultivate fresh potatoes.
It’s neat, manageable, and greatly reduces the risk of pests and diseases that typically plague garden-grown potatoes.
Additionally, buckets allow for easy movement, so you can reposition your plants as needed throughout the growing season.

What You Need:
- 5-gallon bucket (food-safe if possible)
- Drill or sharp tool for making drainage holes
- High-quality potting soil
- Compost (homemade or store-bought)
- Seed potatoes (certified seed potatoes work best)
- Water
- Fertilizer (optional, organic preferred)
- Gloves (optional, to keep your hands clean)
- Tarp or newspaper (for easier cleanup during harvest)
Step 1: Prepare Your Bucket
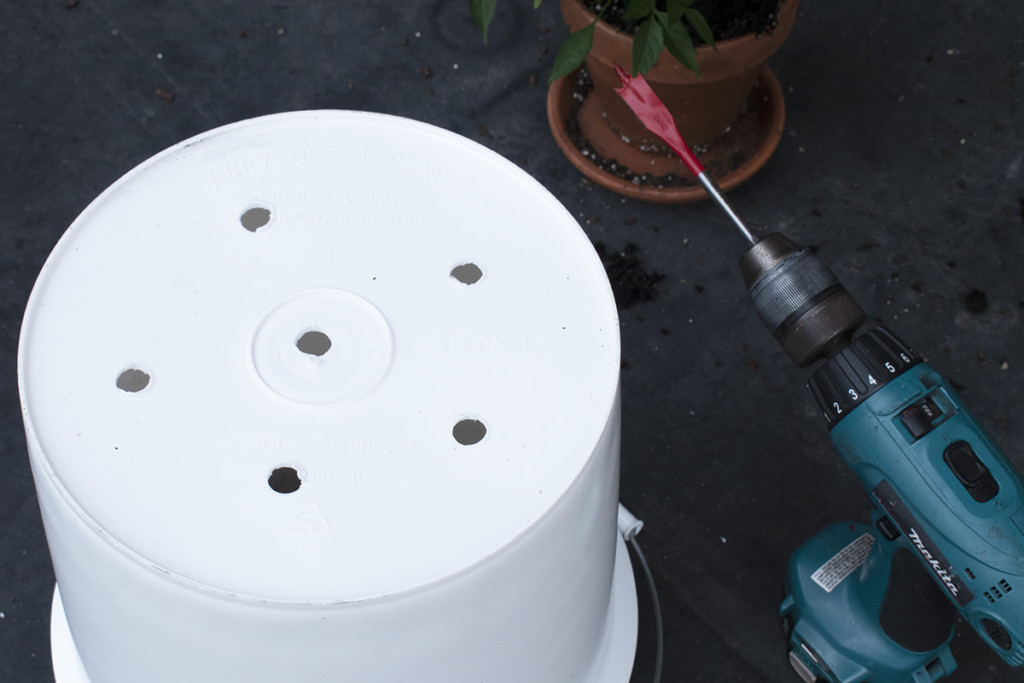
First, drill holes in the bottom of your bucket—approximately 8-10 evenly spaced—for drainage.
Good drainage is critical since potatoes will rot if left sitting in waterlogged soil.
If you’re growing indoors or on a balcony, placing a tray or saucer beneath your bucket helps catch excess water and keeps your space tidy.
Step 2: Prepare Your Potatoes
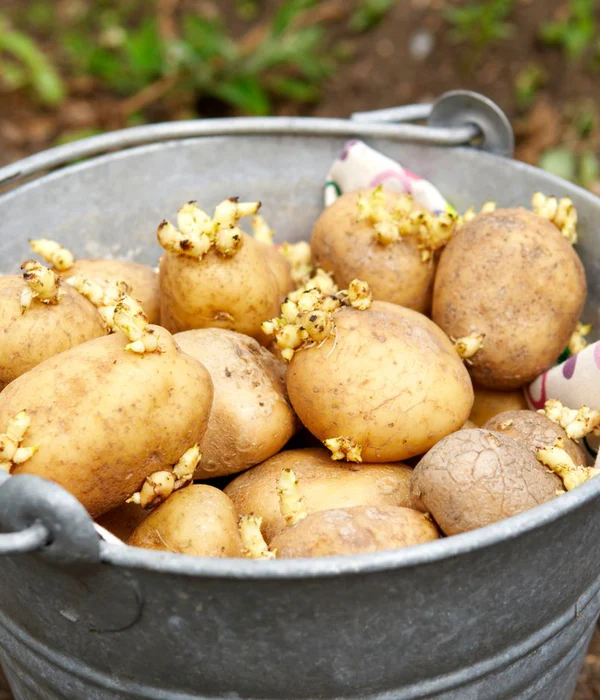
Select seed potatoes with healthy eyes (the small sprouting spots). If your potatoes are large, cut them into chunks, making sure each chunk has at least two eyes.
Allow the cut pieces to dry out overnight, as this helps form a protective barrier and prevents rotting when planted.
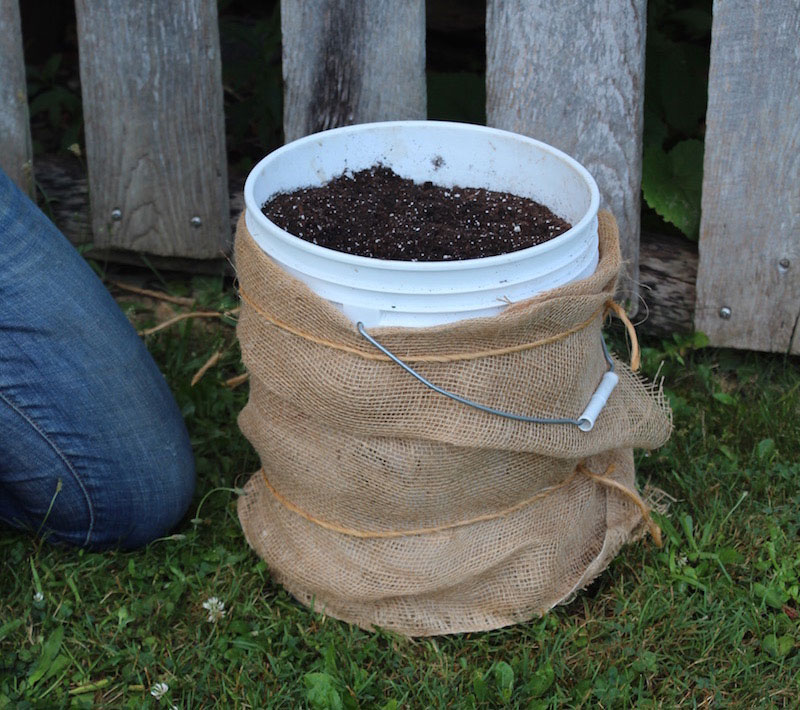
Step 3: Fill Your Bucket
Begin by adding about 4 inches of potting soil mixed generously with compost at the bottom of your bucket. Place 2-3 potato chunks evenly spaced with the eyes facing upwards.
Cover these gently with another 3 inches of soil, pressing down lightly to secure the potatoes.
Step 4: Watering and Care
Water immediately after planting to ensure the soil stays moist but not overly wet. Potatoes thrive in consistently moist, not soggy, soil.
As your potato plants grow and stems reach approximately 6 inches high, gradually add more soil to cover all but the top leaves.
Repeat this process every few weeks until your bucket is completely filled. Regular watering, about once every 2-3 days or whenever the top inch of soil feels dry, is vital for healthy growth.
Step 5: Position Your Bucket
Place your bucket in a sunny location. Potatoes prefer at least 6 hours of direct sunlight each day.
Rotating the bucket once every week will help ensure even growth on all sides, leading to a more robust potato harvest.
Step 6: Fertilizing (Optional)
If desired, add an organic fertilizer or compost tea midway through the growing season to boost your potato plants’ health and yield.
Fertilizer can help ensure your potatoes have all the necessary nutrients for optimal growth.
Step 7: Pest and Disease Monitoring
Keep an eye out for common potato pests like aphids or potato beetles. Removing pests early by hand or using natural pest repellents can help keep your plants healthy.
The bucket method naturally reduces many common diseases, but it’s still beneficial to monitor your plants closely.
Step 8: Harvest Time!

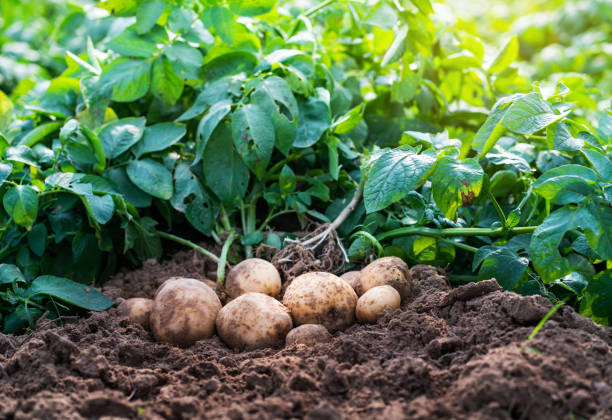
In about 10-12 weeks, once the plants flower and start to wilt and yellow, your potatoes are ready to harvest!
Carefully dump your bucket onto a tarp, newspaper, or soft surface to reveal your potato bounty.
Gently sift through the soil to collect your freshly grown potatoes, being careful not to bruise or damage them.
Growing potatoes in buckets has been an incredibly rewarding journey for me.
Not only is it enjoyable and educational, but it also results in delicious, home-grown potatoes that taste infinitely better than store-bought.
Give this method a try, and you’ll soon experience the joy and pride of harvesting your very own potatoes, right from your balcony, patio, or small garden space!