How to Create a Fairy Mini Garden in 5 Easy Steps
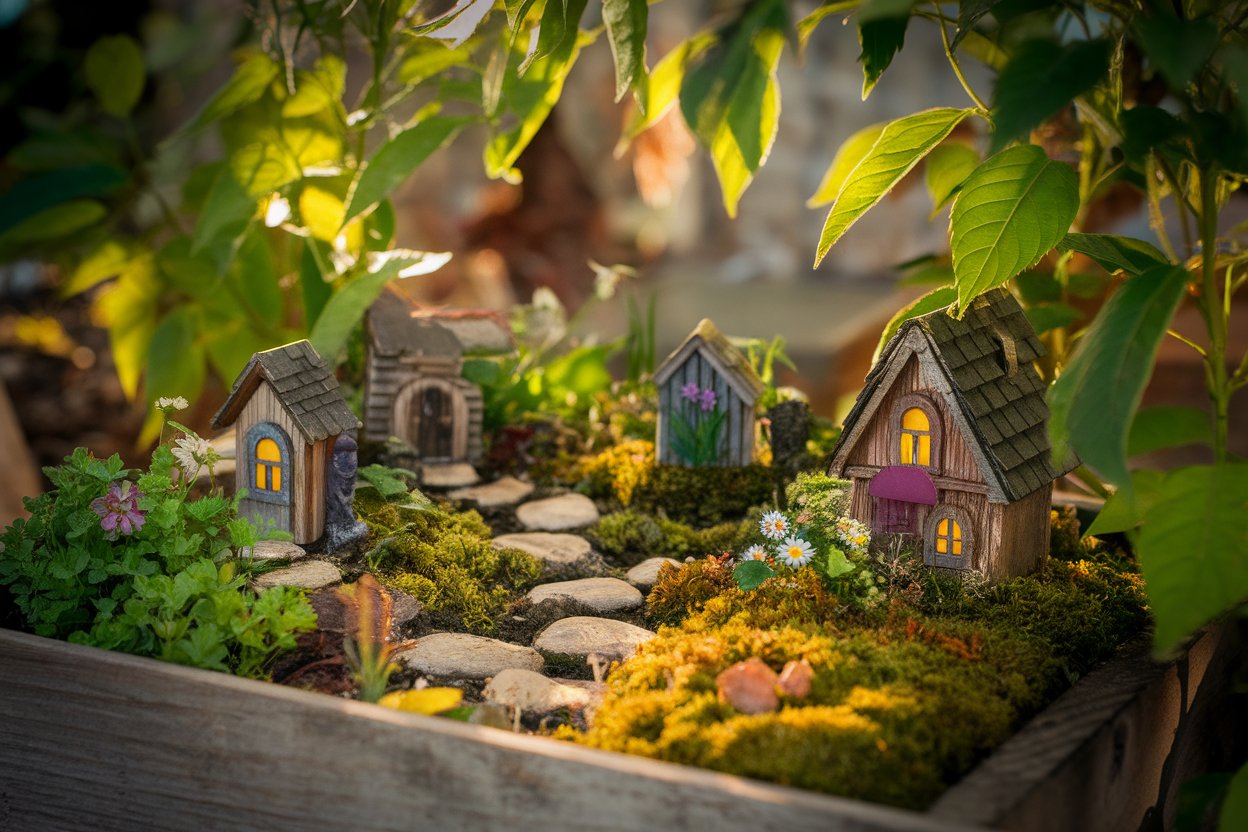
A fairy mini garden is a whimsical addition to any home or outdoor space. It’s a delightful project for all ages and offers endless possibilities for creativity.
Whether you want to create a magical retreat for fairies or simply add a touch of charm to your space, crafting a fairy garden is easier than you think.
Here’s an expanded guide to creating your own enchanting fairy garden in five easy steps.
Step 1: Choose the Perfect Container or Space
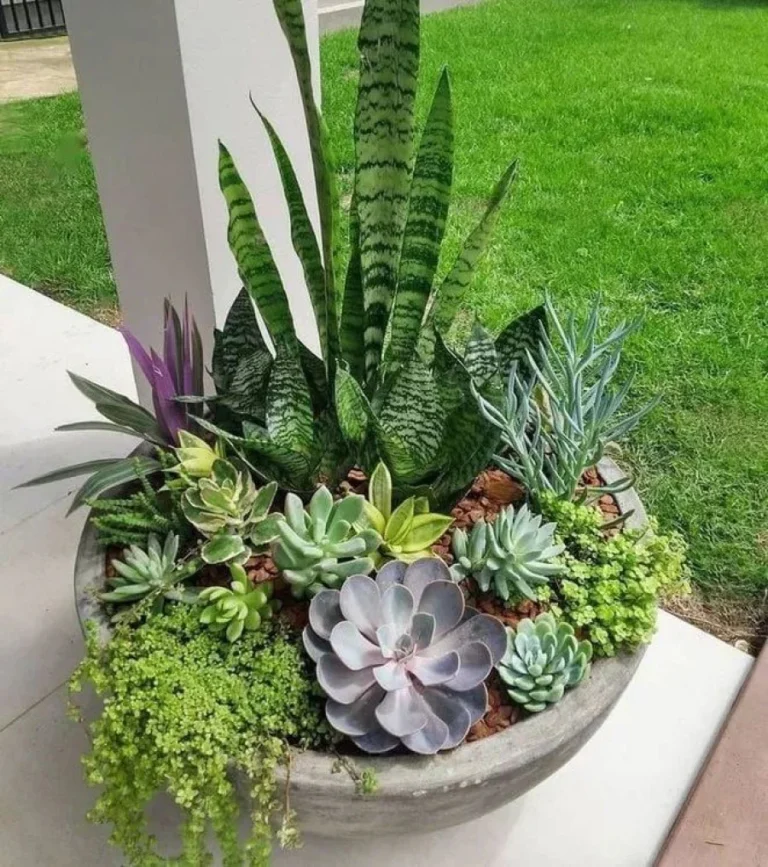
Selecting the right spot is the foundation of your fairy garden. It can be as small as a teacup or as large as a backyard section.
Popular choices include small planters, wooden boxes, or even an unused birdbath.
Tips:
- Ensure the container has proper drainage. Drill holes if necessary to prevent waterlogging.
- Pick a location with suitable sunlight for the plants you choose. For outdoor gardens, consider partial shade to keep plants thriving.
- Use recycled or upcycled items, such as old wheelbarrows, ceramic bowls, or broken pots, to give your fairy garden a sustainable touch.
- Think creatively about containers. A hollowed log, a large seashell, or an antique drawer can become a whimsical base.
Step 2: Add Soil and Landscaping

After selecting your container or space, it’s time to create the landscape.
High-quality potting soil is crucial for healthy plants, but adding a few landscaping elements can elevate the visual appeal of your fairy garden.
Tips:
- Mix sand or small pebbles into the soil for better drainage and texture. This helps maintain the garden’s structure.
- Use stones, bark chips, or natural wood slices to create winding paths or clear borders. A tiny pebble pathway can add charm and guide visitors (or fairies) through the garden.
- Keep the soil level in areas where you plan to place fairy accessories to avoid uneven surfaces.
- Add a small mound or hill to give your garden depth and dimension. This will make your mini landscape feel more dynamic and realistic.
Step 3: Select and Arrange Plants
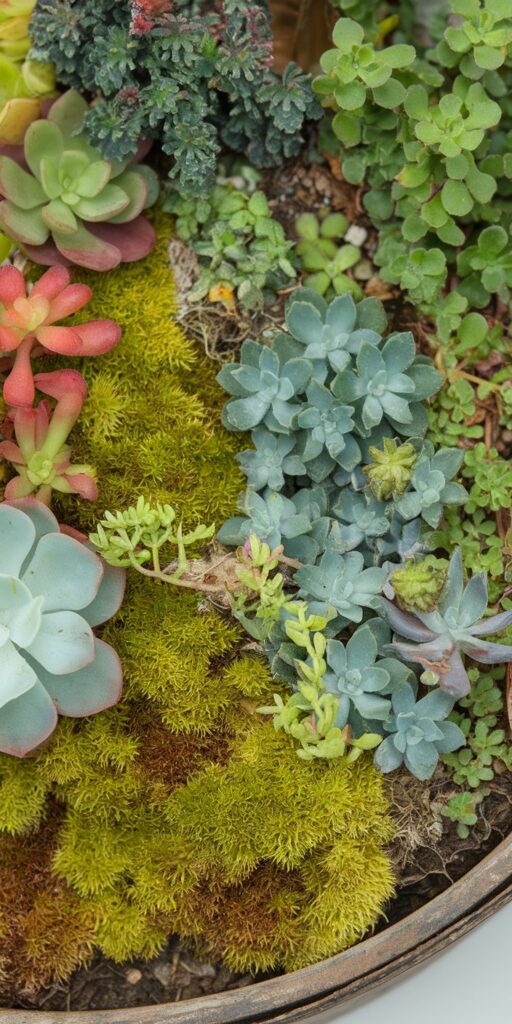
Plants bring your fairy garden to life, creating the lush and magical atmosphere that makes these gardens so special. Choosing the right plants is essential for the scale and style of your garden.
Best Plant Choices:
- Moss: Ideal for a lush, velvety ground cover that mimics a forest floor.
- Miniature ferns: These add a woodland vibe and are great for shaded areas.
- Small succulents: Perfect for low-maintenance gardens, offering unique shapes and colors.
- Creeping thyme: A fragrant, flowering ground cover that stays low and spreads beautifully.
- Baby tears: Delicate and green, these plants create a magical carpet effect.
Tips:
- Group plants with similar light and water needs together to make maintenance easier.
- Use trailing plants, like ivy or string-of-pearls, to cascade over edges and create a natural flow.
- Add pops of color with small flowering plants like miniature roses or violas.
- Consider seasonal plants for year-round interest, such as evergreens for winter or blooming varieties for spring and summer.
Step 4: Add Fairy Accessories
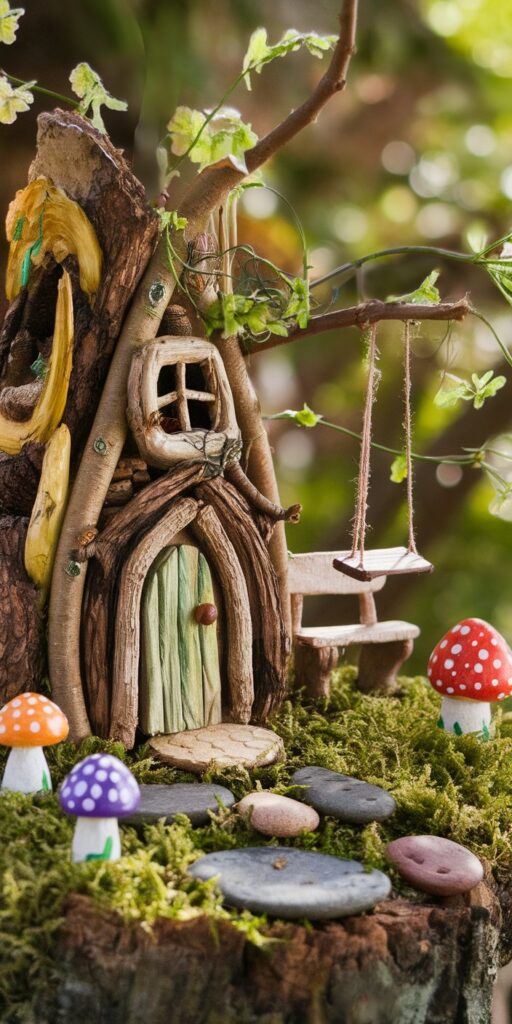
Now comes the most exciting part—bringing your fairy garden to life with accessories and decorations.
These tiny details make your garden feel like a magical world.
Ideas for Accessories:
- Tiny benches, swings, or bridges: These create focal points and tell a story.
- Fairy houses: Use bark, clay, or even small birdhouses painted with whimsical designs.
- DIY mushrooms: Craft these from bottle caps and painted sticks for a fun, handmade touch.
- Miniature furniture: Tables, chairs, and arbors can add charm and function to your garden.
- Fairy lights: Tiny, battery-operated lights can create a magical glow at night.
Tips:
- Arrange accessories to tell a story, such as a bustling fairy village, a tranquil woodland retreat, or a hidden fairy picnic spot.
- Use natural materials like twigs, pinecones, and acorns to enhance the garden’s organic feel.
- Incorporate small animal figurines, like rabbits, deer, or birds, to add life and variety.
- Add tiny signs with phrases like “Fairy Crossing” or “Welcome to Fairyland” for a playful touch.
Step 5: Add Finishing Touches
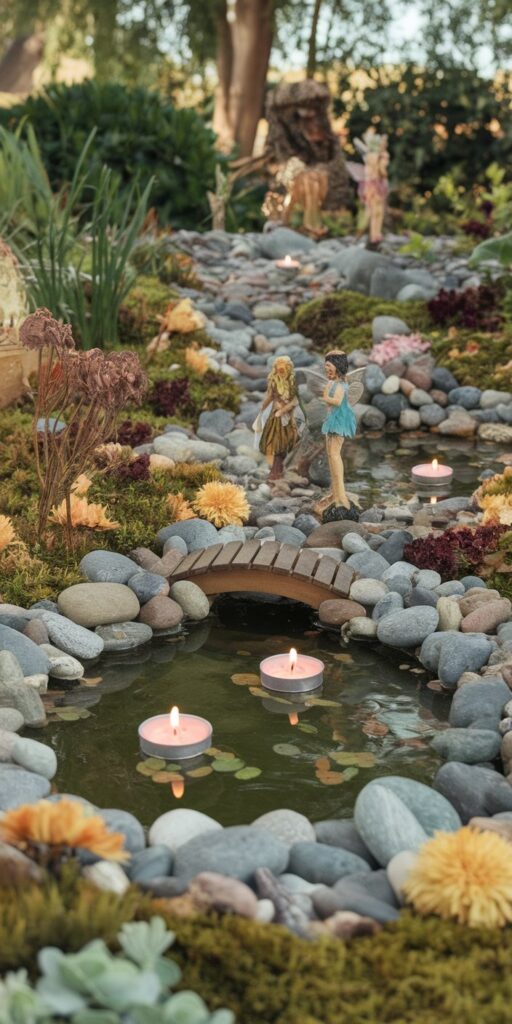
The finishing touches bring cohesion and magic to your fairy garden.
These details can transform your miniature landscape into a truly enchanting scene.
Finishing Touch Ideas:
- Decorative pebbles or glass beads: Sprinkle them along paths or around accessories for a sparkling effect.
- Tiny figurines: Add fairies, gnomes, or woodland creatures to complete the scene.
- Miniature water feature: Use a small dish or mirror to mimic a pond, adding depth and shine.
- Fairy dust: Sprinkle fine glitter sparingly for an extra touch of magic.
- Natural accents: Incorporate dried flowers, shells, or small driftwood pieces for added texture.
Bonus Tips:
- Keep your garden fresh by periodically trimming plants and rearranging accessories to suit the season.
- Protect outdoor fairy gardens from harsh weather by bringing them inside during extreme conditions.
- Add a touch of personalization by including a tiny plaque or charm with your name or a special message.
Creating a fairy mini garden is more than just a gardening project; it’s an invitation to dream and imagine.
With these expanded steps, you can design a miniature wonderland that delights the eye and warms the heart.
Start crafting your fairy garden today and watch as it becomes a magical retreat for you and your family year-round.
