Building the Perfect Tomato Trellis: A Gardener’s Secret to Happy, Upright Tomatoes
There’s a certain kind of joy in watching tomato plants climb and stretch toward the sun, especially when they’re supported by something you’ve built yourself.

A good tomato trellis isn’t just practical—it’s the backbone of a tidy, productive garden. Once you’ve experienced the difference it makes, you’ll never go back to letting your plants sprawl in the dirt like wild toddlers.
Over the years, I’ve tried everything: cages, stakes, lazy leaners that collapsed mid-season… and I’ve finally settled on a few trellis tricks that actually work—and make your garden look downright charming while they’re at it.
Why Bother with a Trellis?
Let’s be real—tomato plants left to their own devices will take over like jungle vines.
And while there’s something romantic about a tomato jungle, there’s also a lot of broken stems, hidden fruit, and soggy messes after the rain.
A trellis lifts your plants up, gives them air, makes harvesting easier, and reduces disease.
Plus, your tomatoes ripen more evenly when they’re off the ground and getting good sun exposure.
Whether you’re growing indeterminate vines that keep going and going, or compact bushy determinates, a trellis gives structure to the chaos.
Choosing the Right Trellis Style
Not all tomatoes are created equal—and neither are trellises. What works for cherry tomatoes might flop for beefsteaks (literally).
Here are a few tried-and-true setups that you can adapt to your space and style:
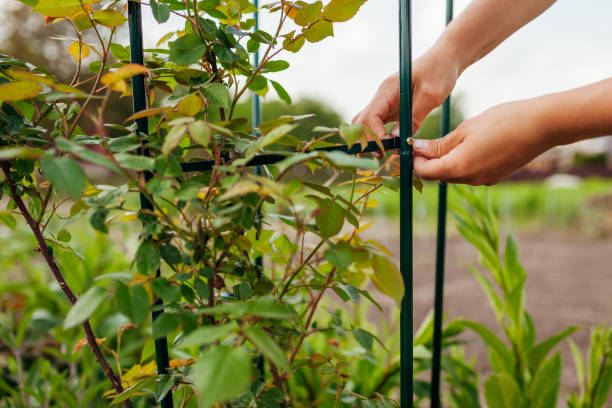
1. Simple Stake and Tie
For beginners or small gardens, this is the easiest. One strong stake per plant (wood, bamboo, or metal) and a soft tie to hold the stem as it grows. Just keep adding ties as the plant gets taller.
Tip: Don’t use wire or string that cuts into the stem—soft cloth or Velcro garden tape is gentler.
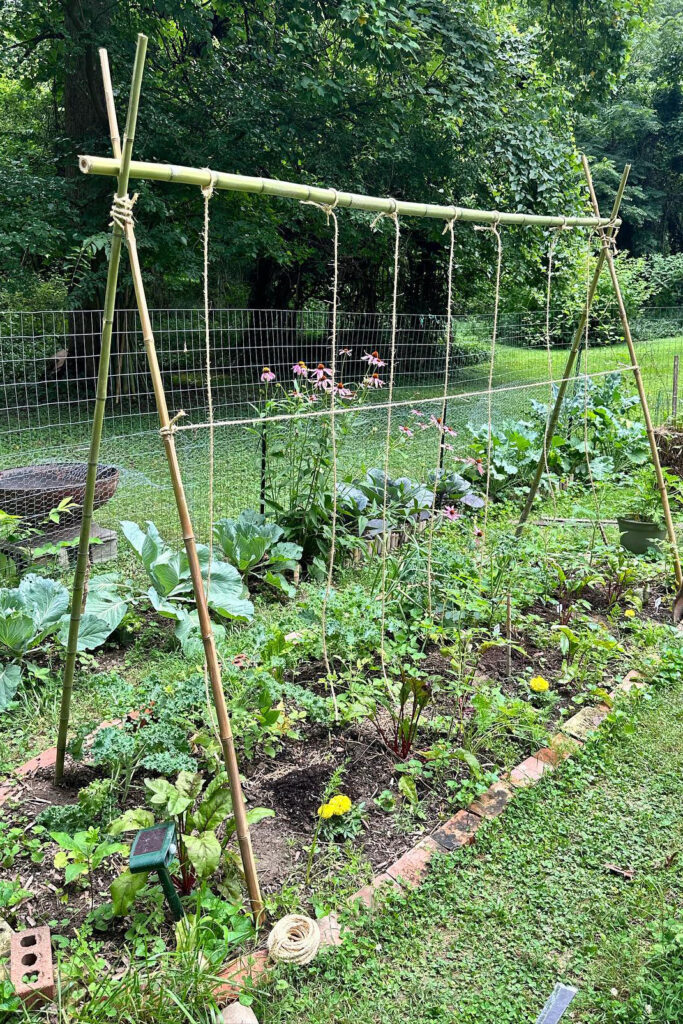
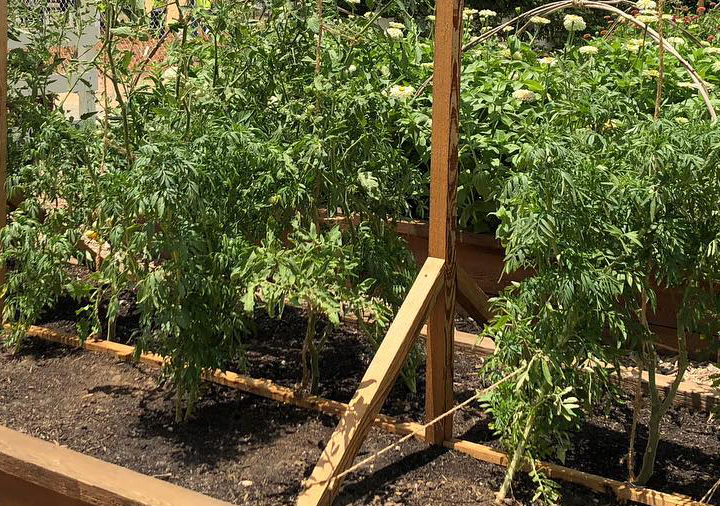
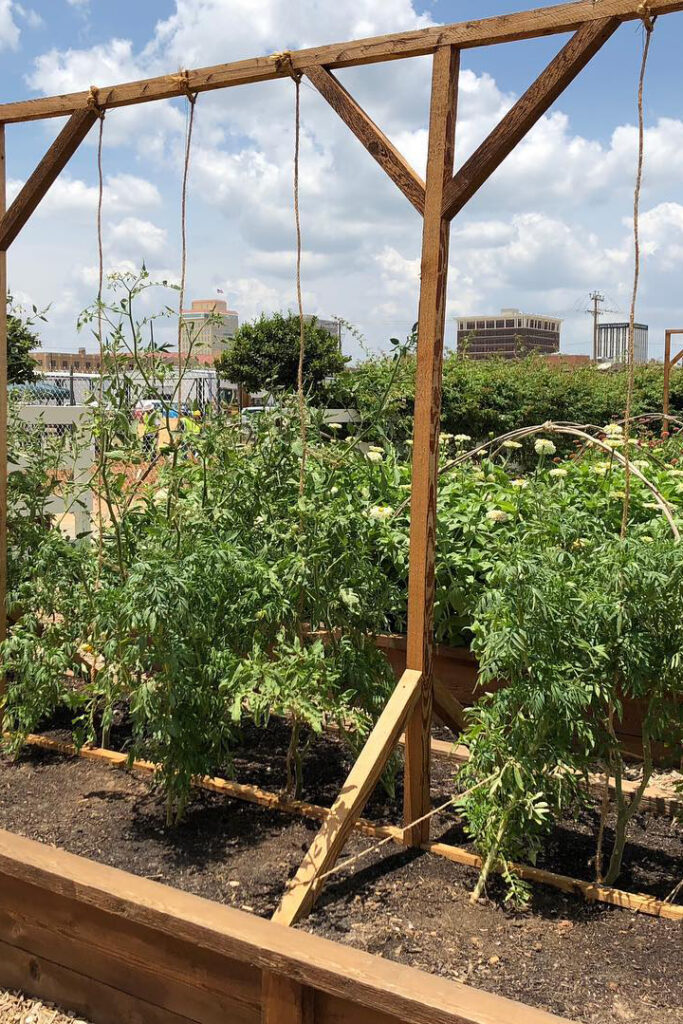
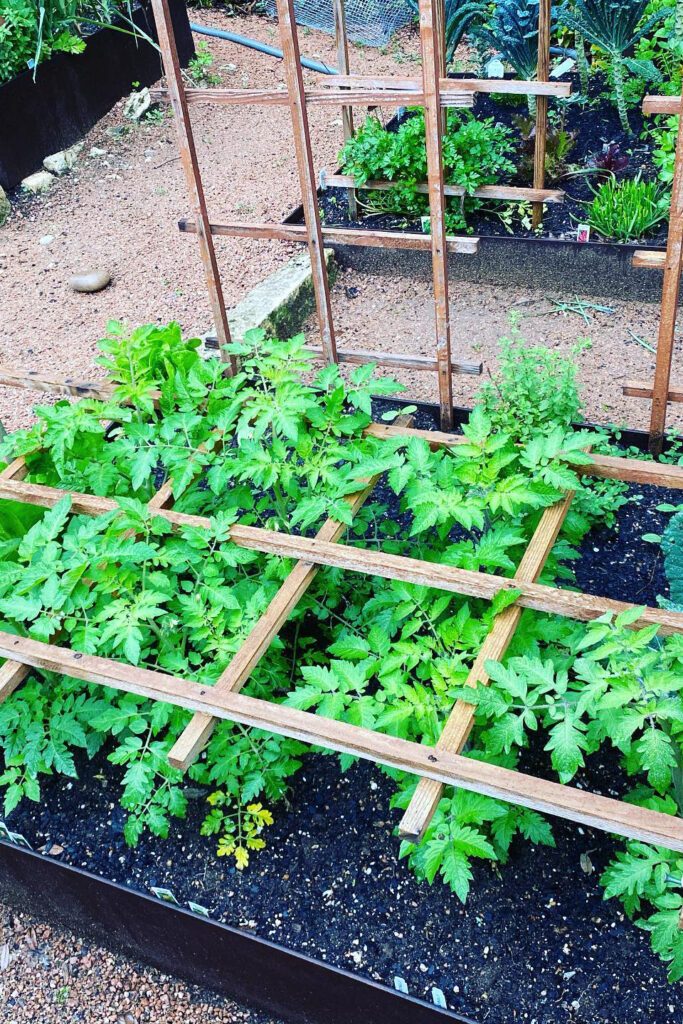
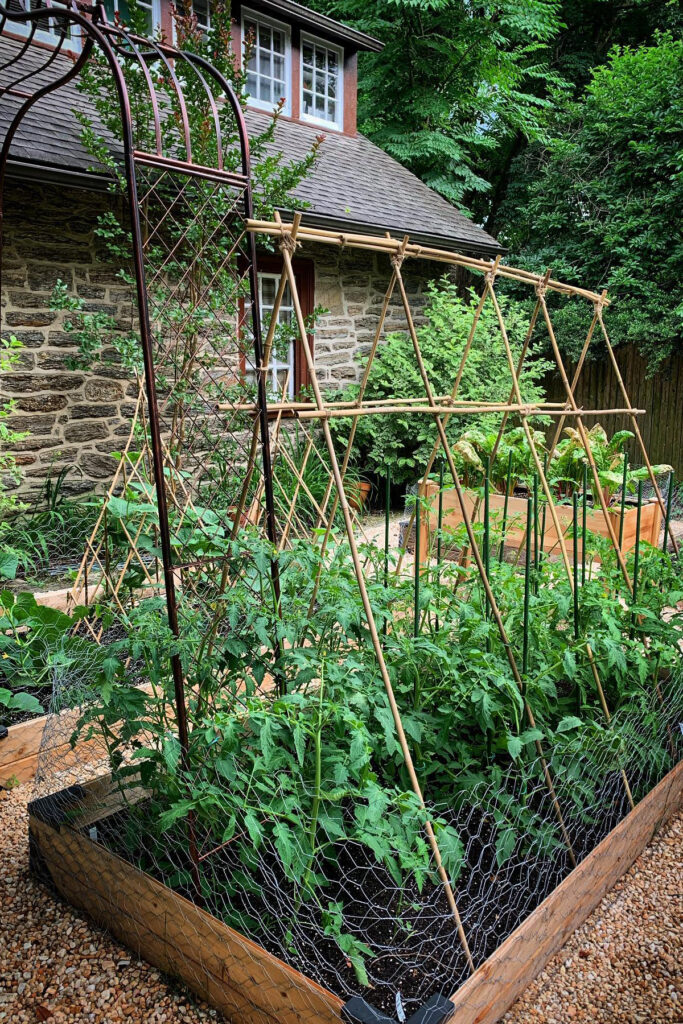
2. A-Frame Trellis
Great for raised beds or rows. Picture two angled wooden frames joined at the top, with crossbars or twine running down. It’s sturdy, rustic, and gives plenty of room for vines to climb.
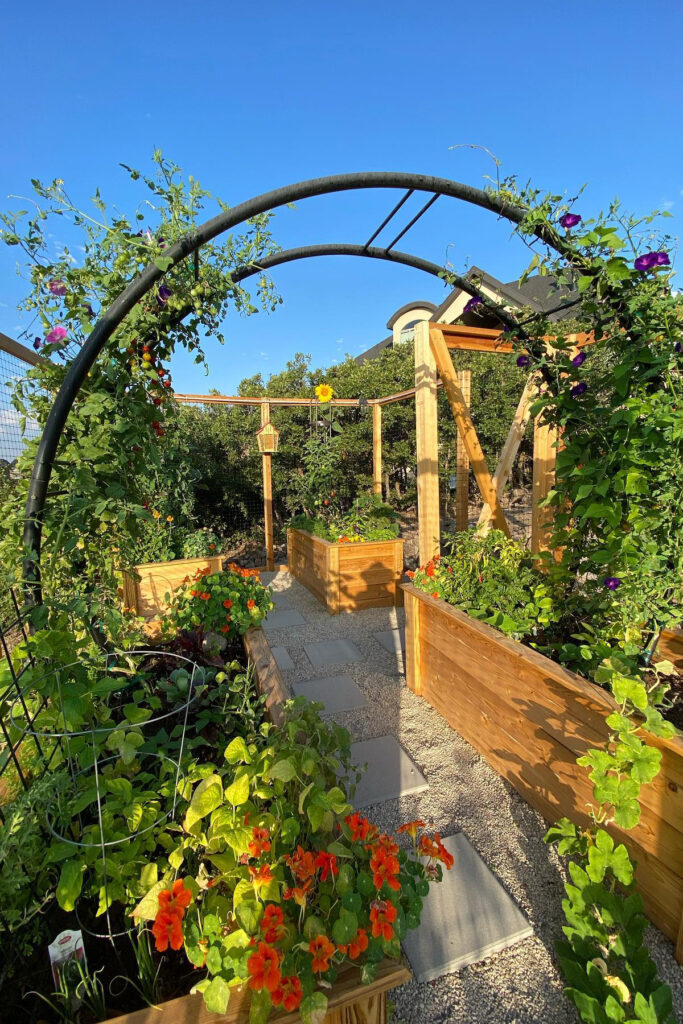
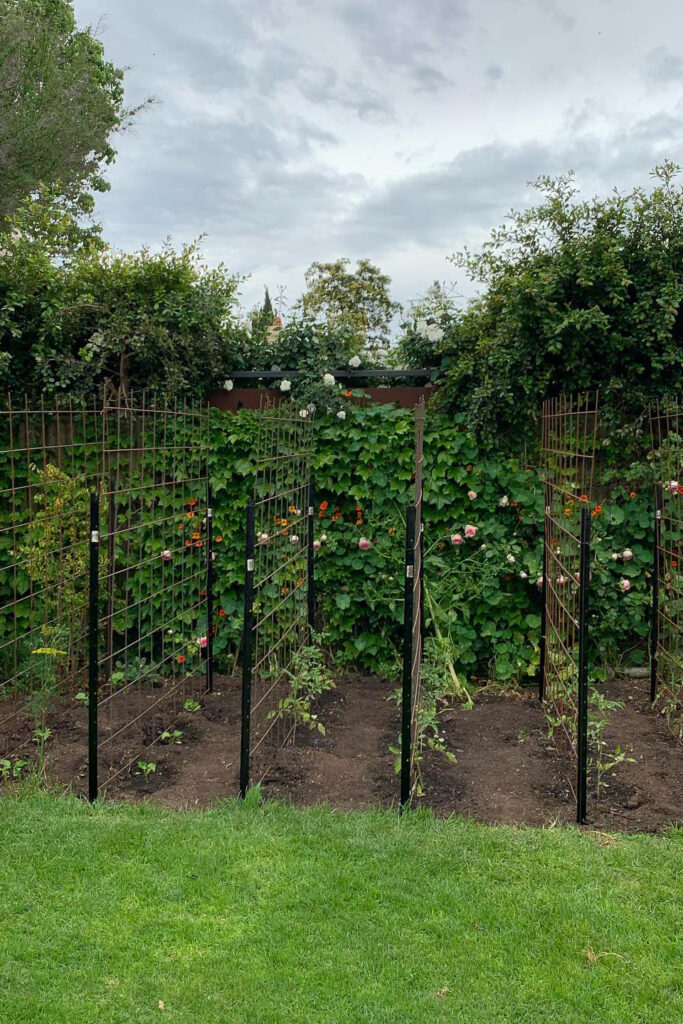
3. Cattle Panel Trellis
If you’ve got a bit of space and want something sturdy and long-lasting, cattle panels are a game-changer. Bend one into an arch or stand it upright along a bed.
The thick wire supports even the heaviest fruit, and it doubles as a tunnel if you want to get fancy.
Bonus: It looks gorgeous once the vines cover it.
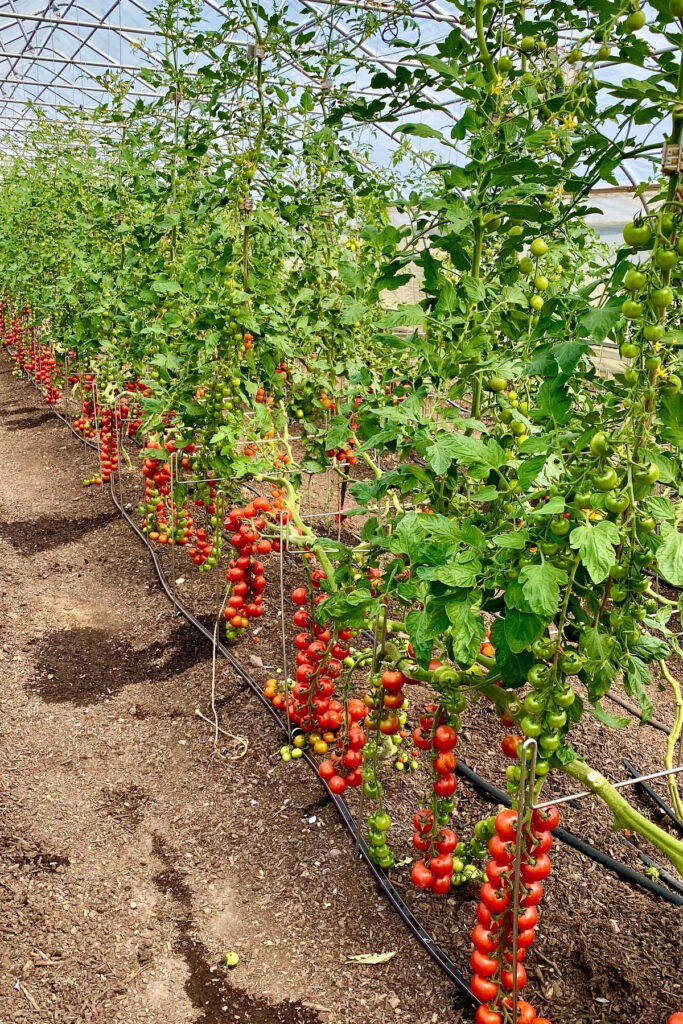
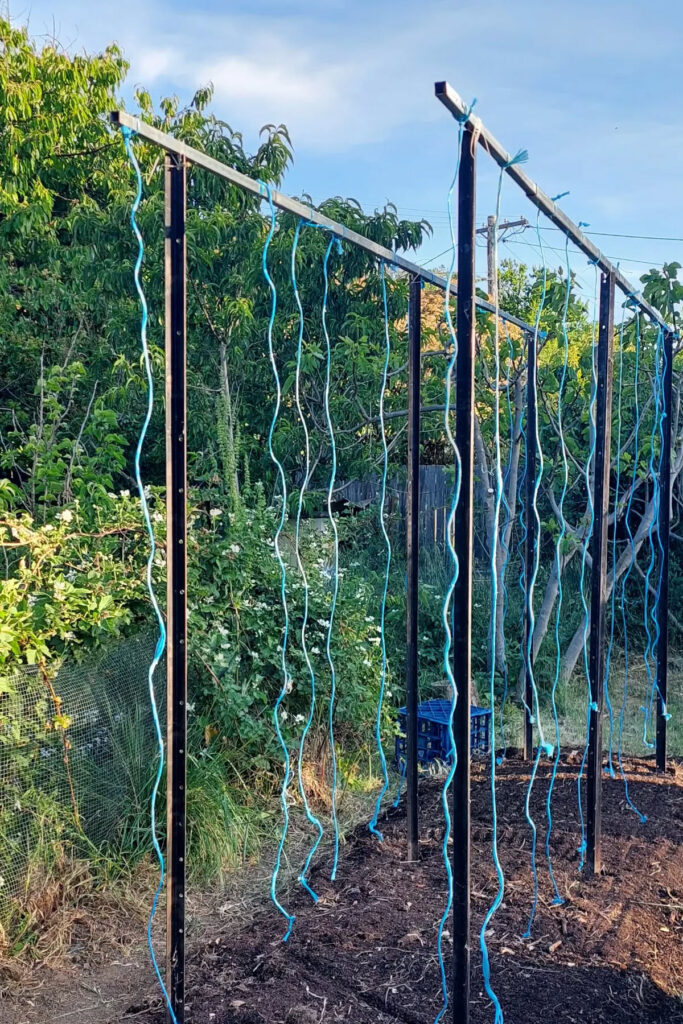
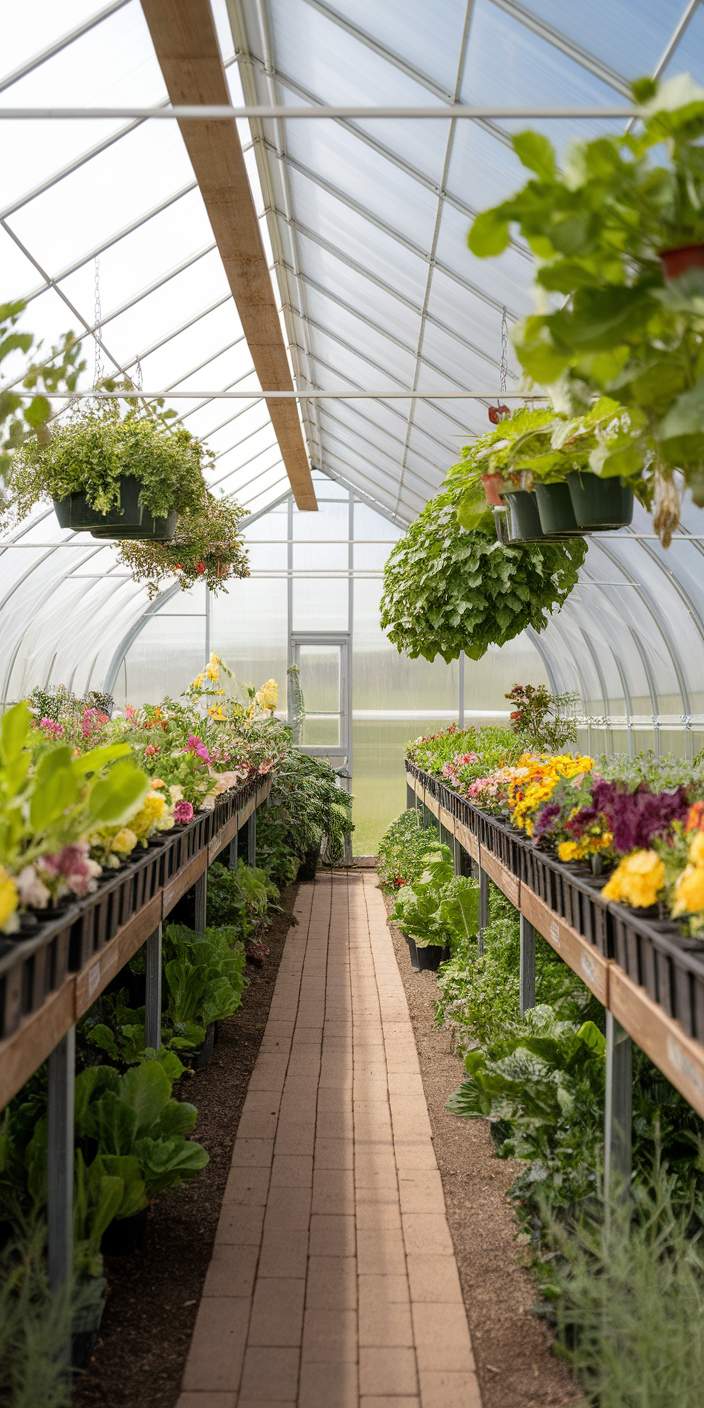
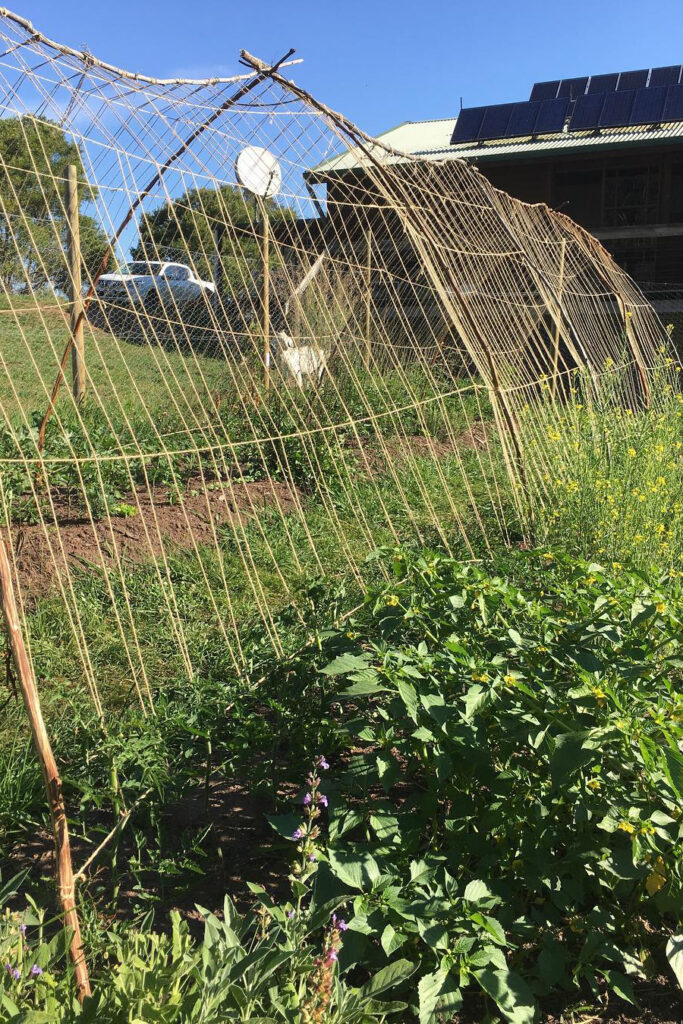
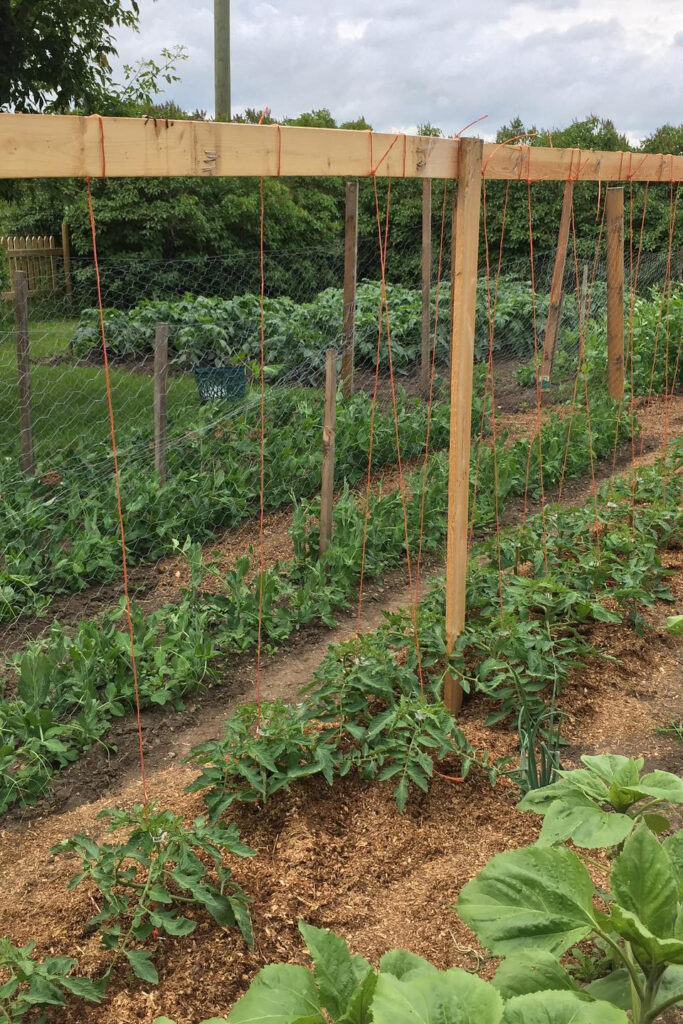
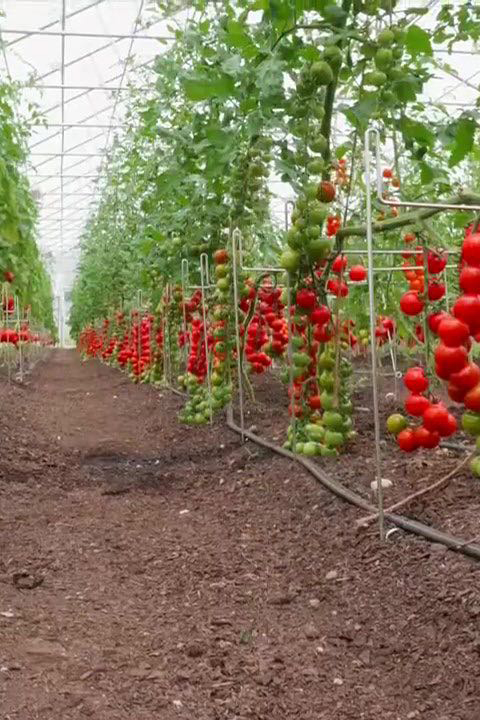
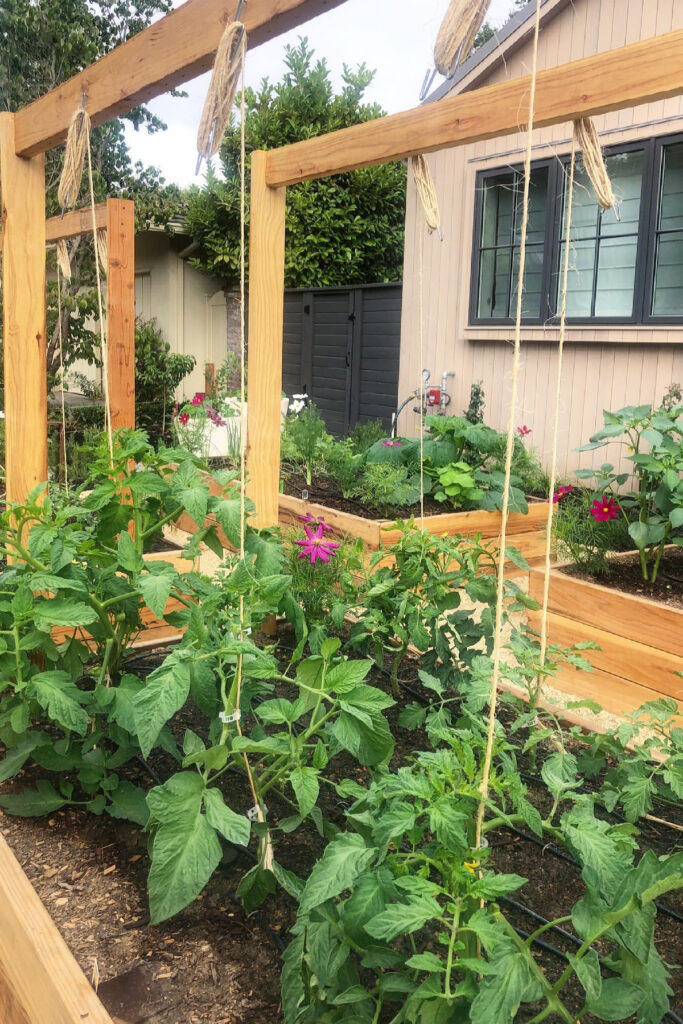
4. String Trellis
Perfect for greenhouses or hoop tunnels. Run strong twine from an overhead beam down to each plant.
As the tomato grows, you twist it gently around the string. It’s space-saving and surprisingly strong.
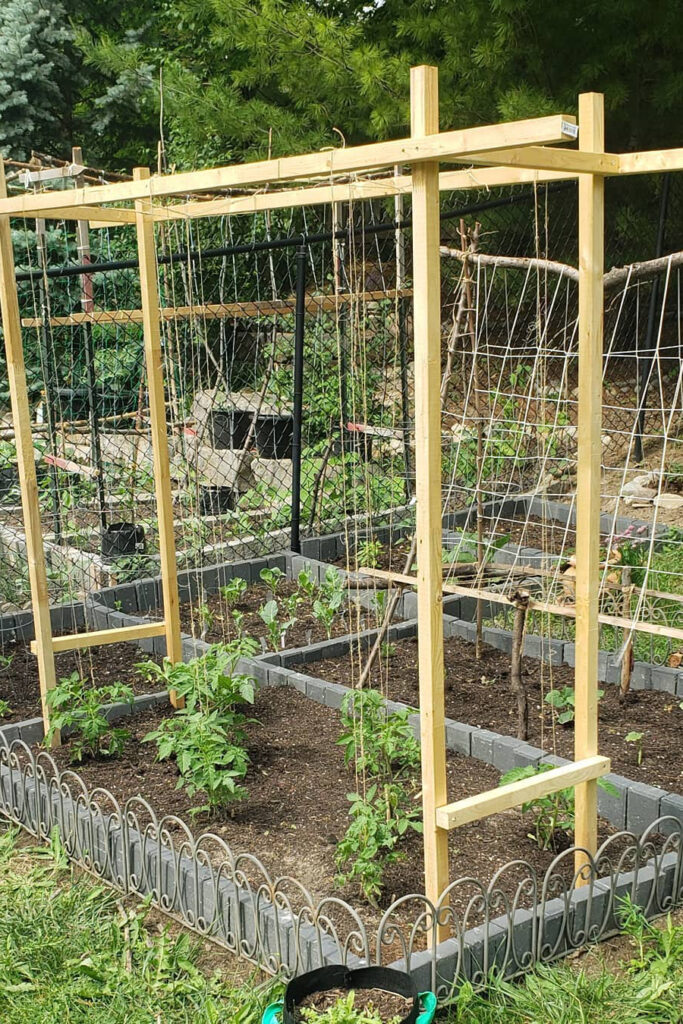
Building One Yourself? Here’s What You’ll Need
If you’re keen to DIY your tomato trellis, you don’t need much—just a few materials and a bit of weekend energy.
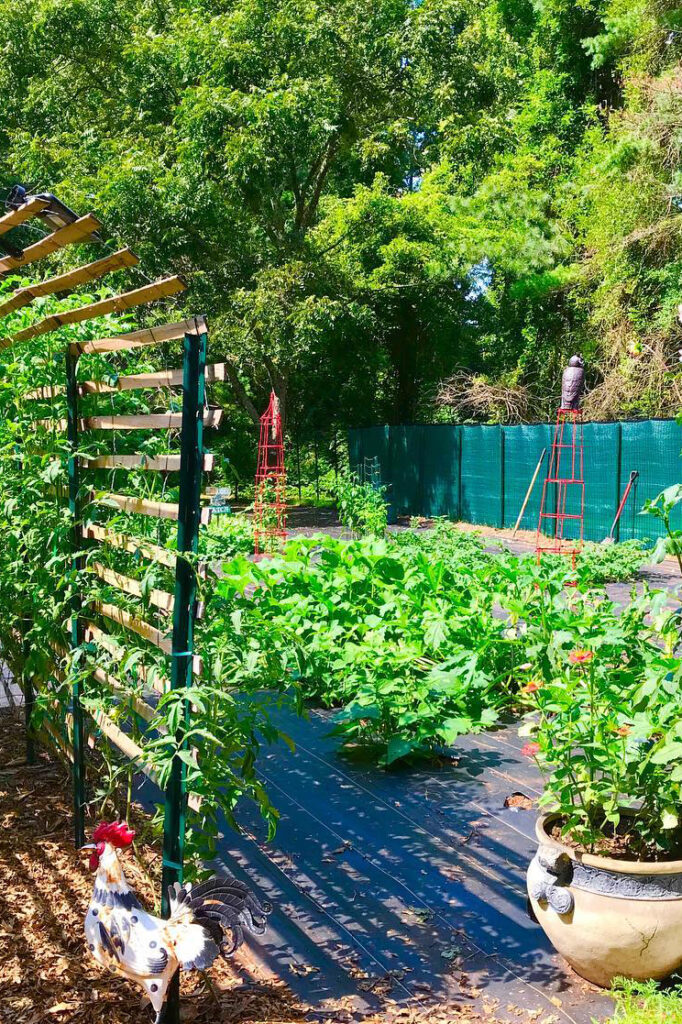
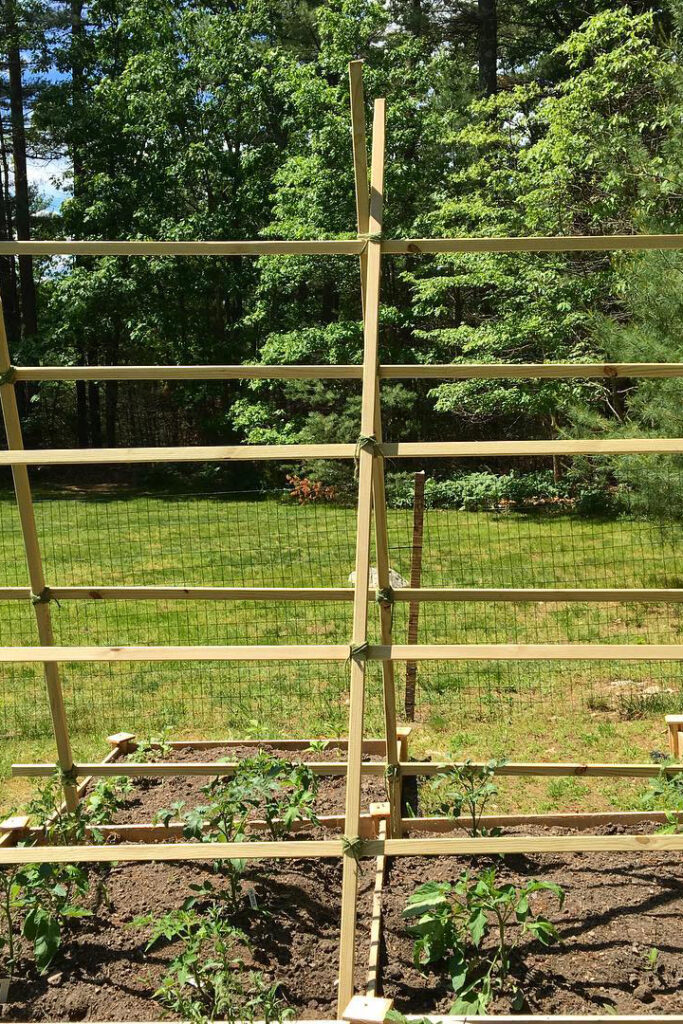
For a classic wood-frame trellis:
- Pressure-treated or cedar posts (they last longer outdoors)
- Screws or nails
- Drill or hammer
- Twine or wire grid
- Optional: weatherproof stain or paint for longevity

The trick is anchoring it deep enough so it doesn’t topple when your tomatoes get heavy. A couple of 45° support braces on each side help, especially in windy spots.
When to Trellis (Spoiler: Sooner Is Better)
The best time to install your trellis? Right after planting.
Trying to add supports to a fully grown tomato is a comedy of errors involving snapped branches and crushed pride.
Train the vines early. As they grow, guide them gently toward the structure. Prune suckers if needed to keep the plant focused on upward growth rather than bushing out sideways.
A Trellised Tomato Is a Happy Tomato
At the end of the day, a tomato trellis isn’t just about neatness—it’s about health, abundance, and ease.
It keeps your plants lifted, your fruit cleaner, and your garden more enjoyable to work in.
And honestly? There’s nothing quite like walking out into the garden, spotting a row of trellised tomato vines full of ripening fruit, and knowing you built the structure that helped them thrive.
It’s the small wins like that that make gardening feel like magic.