My Backyard Oasis: How I Made a Pond in a Pot (And Why You Should Too)
I’ve always been drawn to the sound of water—the gentle bubbling of a fountain or the still serenity of a pond. But let’s be honest, digging a big in-ground water feature wasn’t exactly on my to-do list.
Between limited space and not wanting to rip up half the backyard, I decided to try something a little simpler: a container water garden.
A pond in a pot. And I have to say, it turned out to be one of the most peaceful little projects I’ve done.
Why a Pond in a Pot?
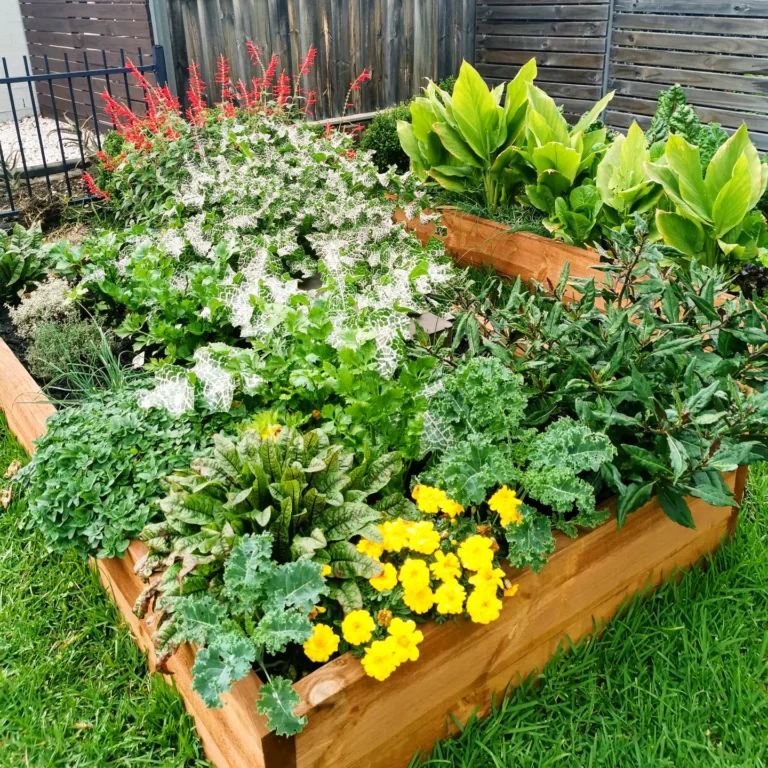
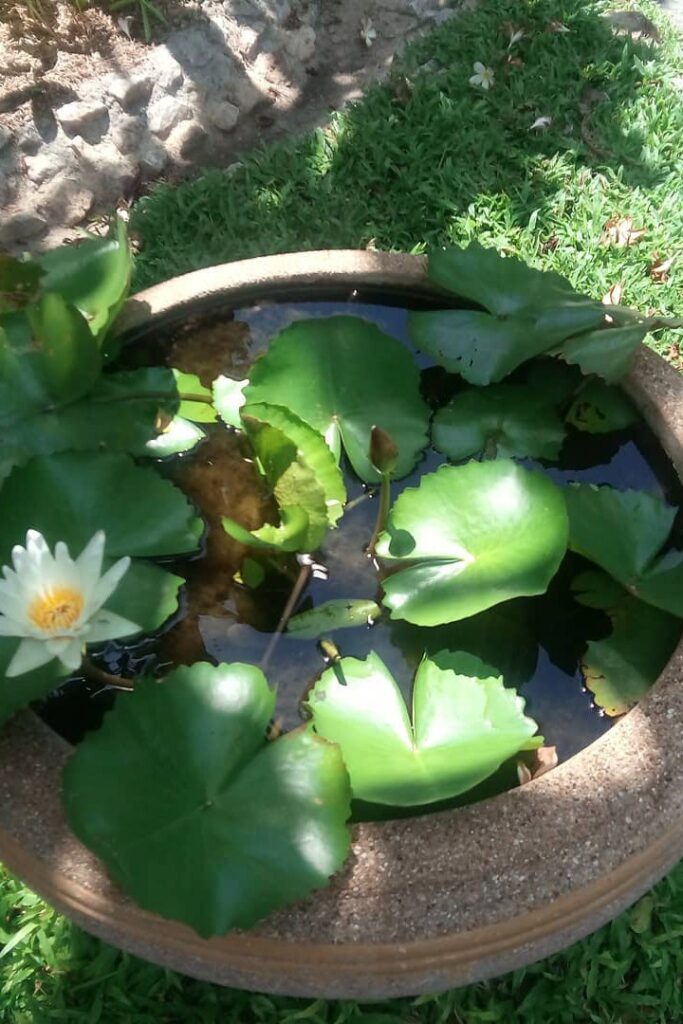
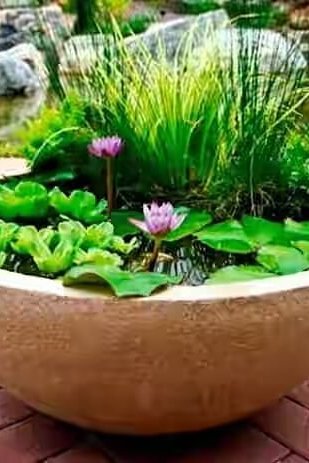
If you’ve never heard of a container water garden, think of it like a mini pond, perfectly suited for a patio, porch, or even tucked between your veggie beds.
It’s low-maintenance, surprisingly easy to put together, and instantly makes a space feel calm and alive.
Within days, I had birds visiting for a drink, bees landing on floating plants, and even a curious frog (how he got there is still a mystery).

You don’t need a big yard, fancy equipment, or hours of upkeep. Just a few essentials, and you’ll have your own miniature wetland in no time.
Picking the Right Container
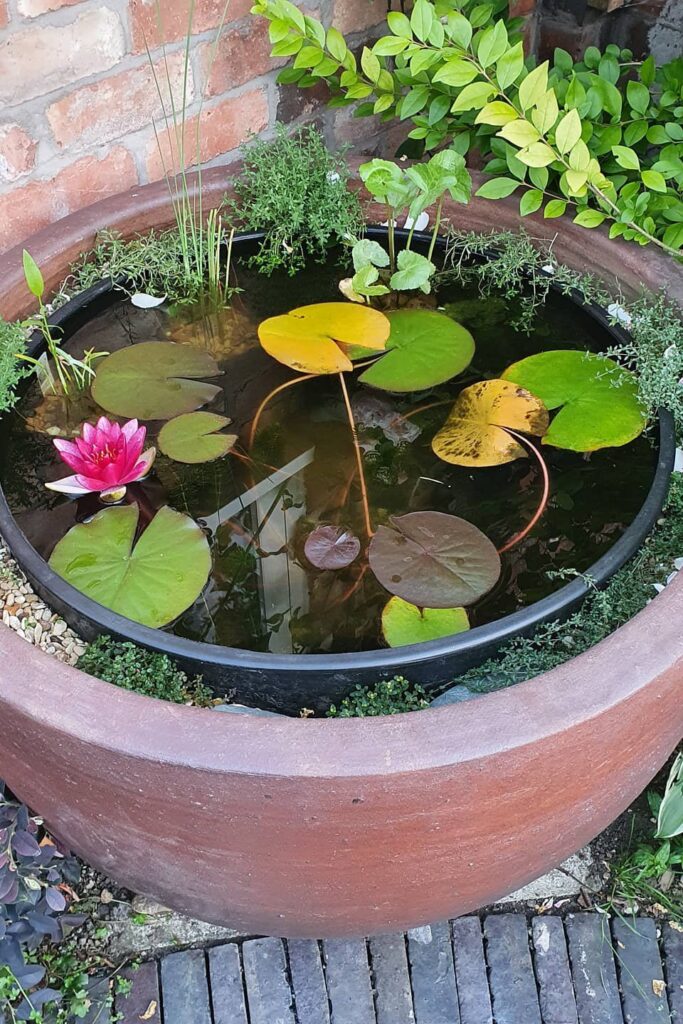
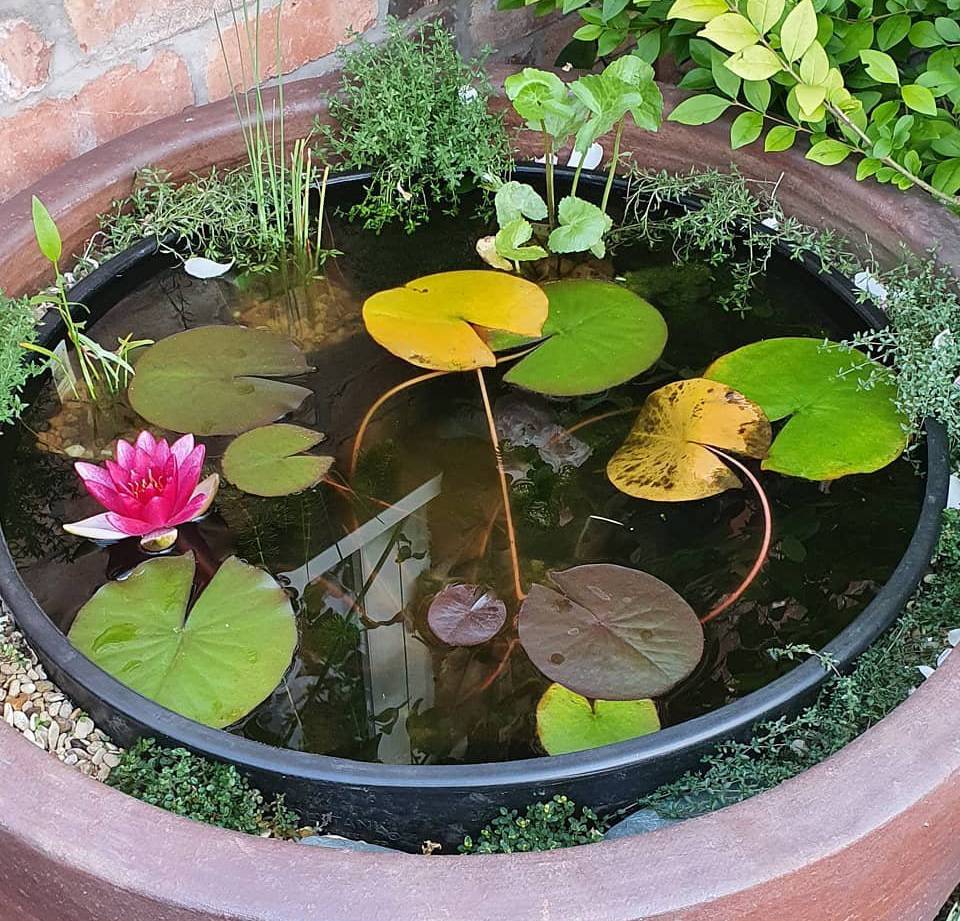
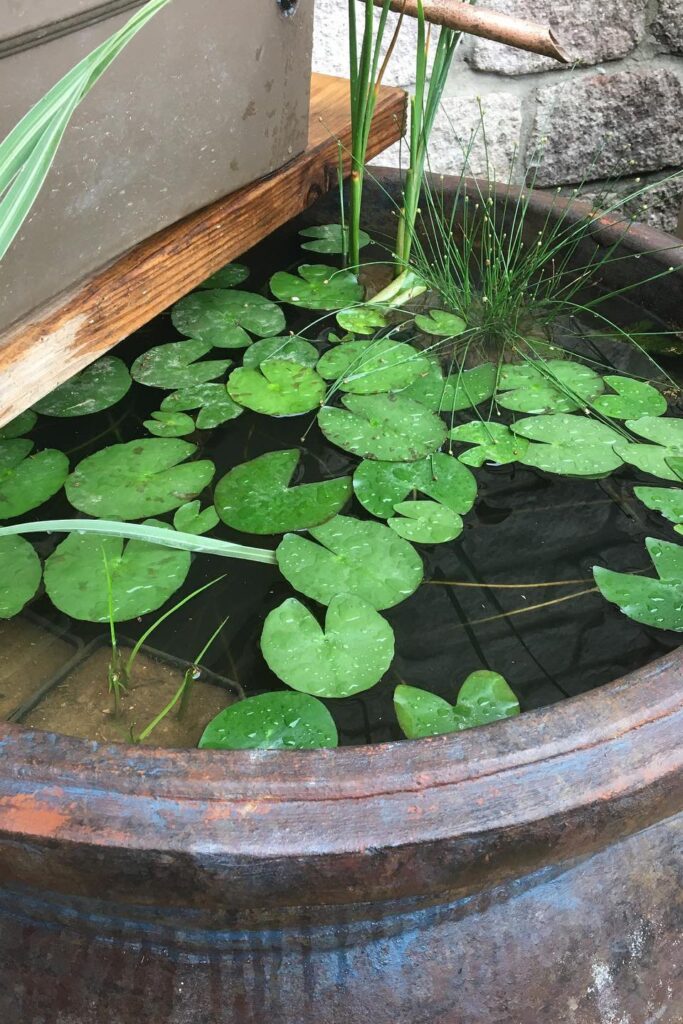
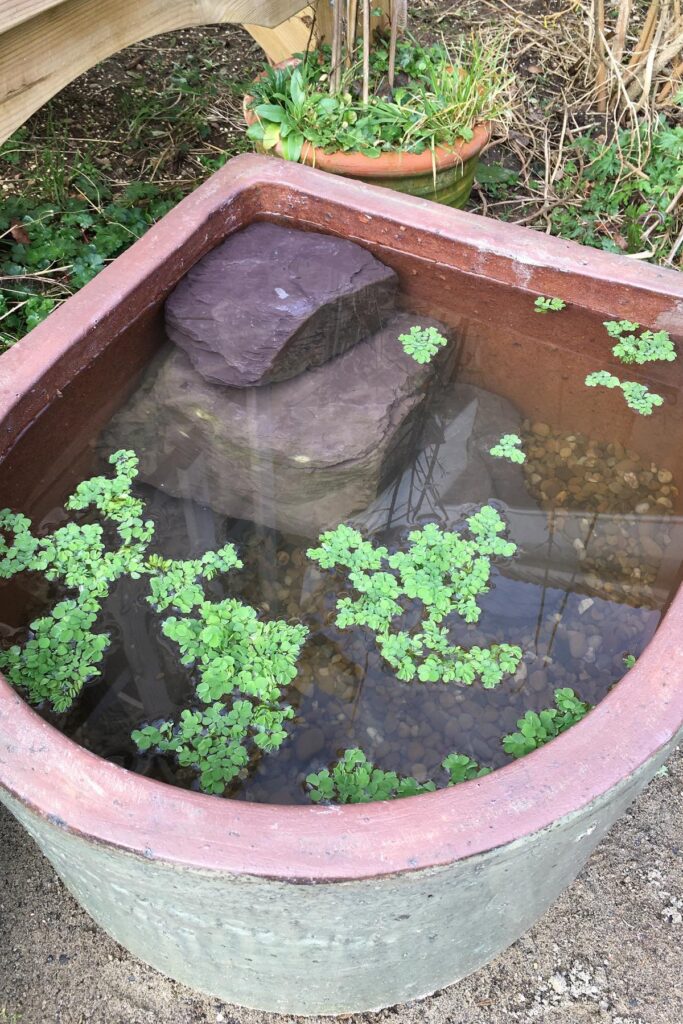
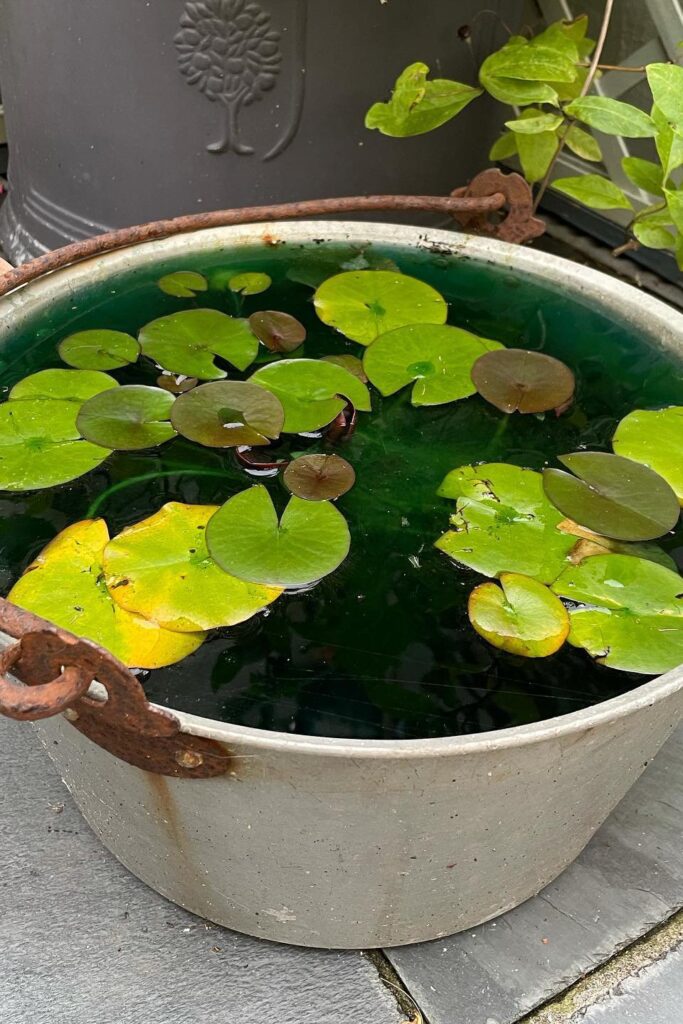
I ended up using a big glazed ceramic pot I had lying around, but really, anything watertight works.
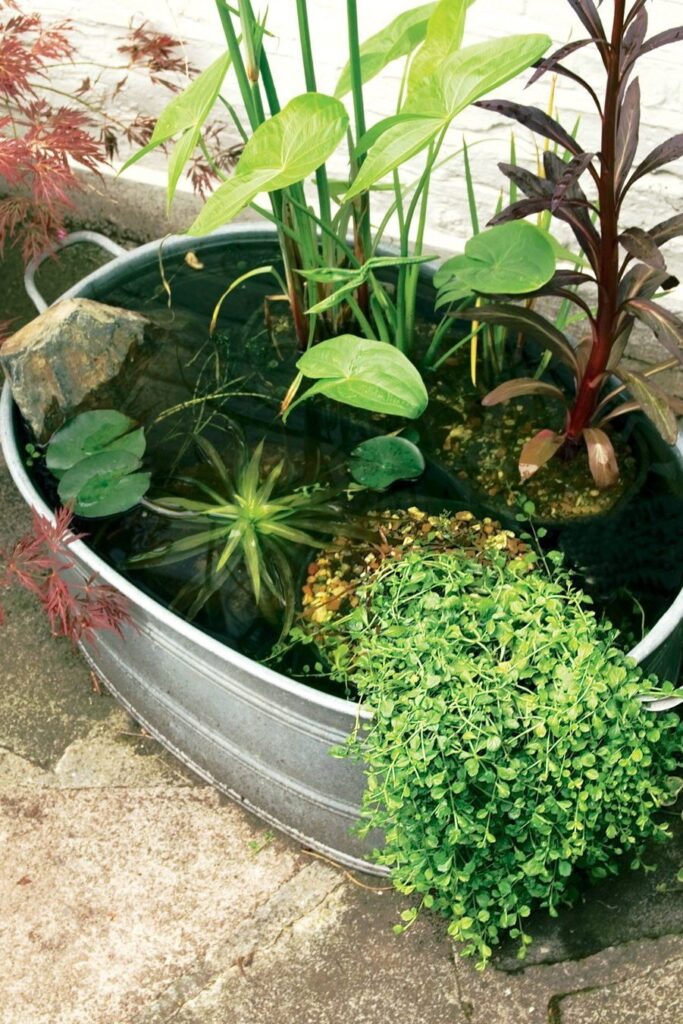
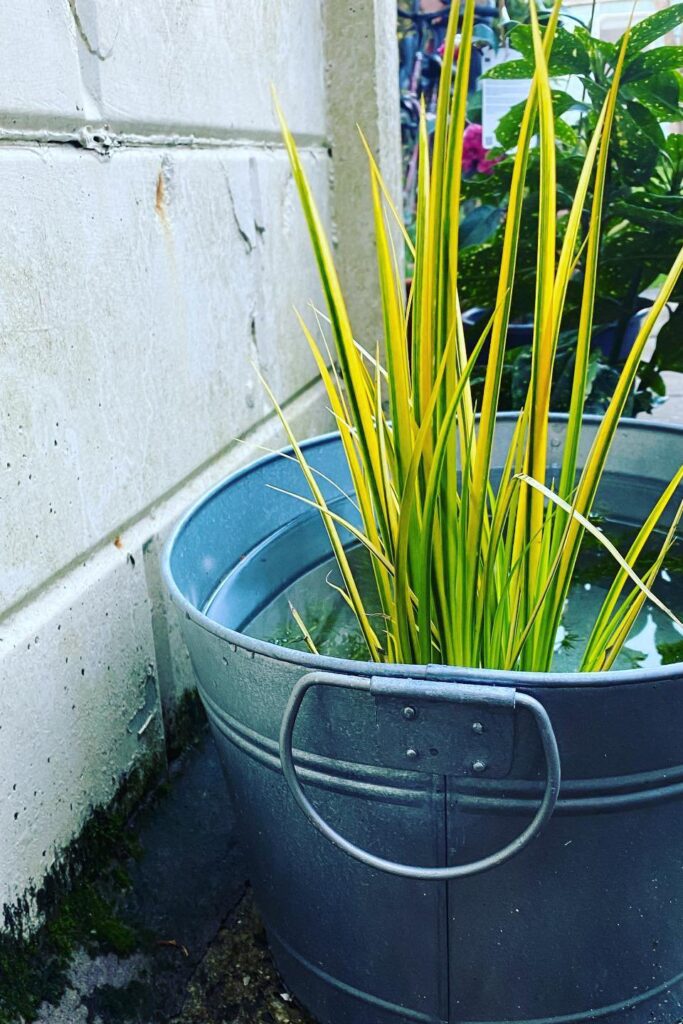
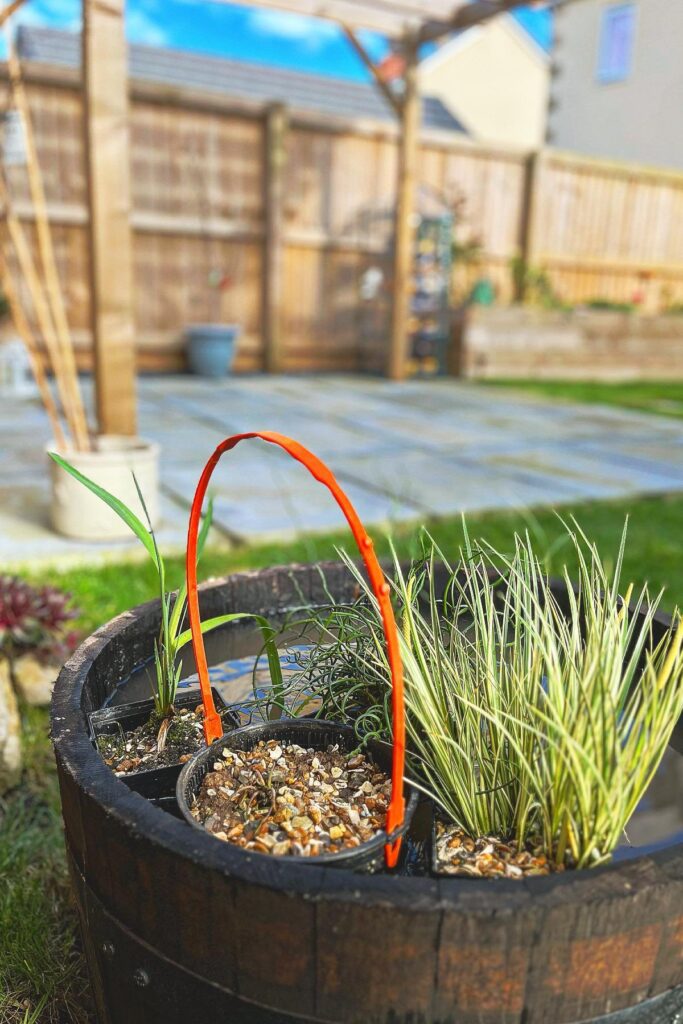
You could go for an old bathtub, a stock tank, or even a whiskey barrel if you’ve got one.
Just steer clear of porous clay pots unless you seal them, or they’ll weep water faster than your garden during a dry spell.
Avoid dark metal too if your pot will sit in full sun—it heats up fast, and nobody wants a boiled goldfish situation.

Oh, and plastic? Fine for plants, but I skip it when I want to add fish—too many unknowns with chemicals.
Where to Place It
I played musical chairs with mine for a while, moving it around until I found the sweet spot—somewhere that gets about 4 to 6 hours of sun. Too much, and you’ll be battling algae.
Too little, and your plants will sulk. Somewhere in the middle? Goldilocks zone.
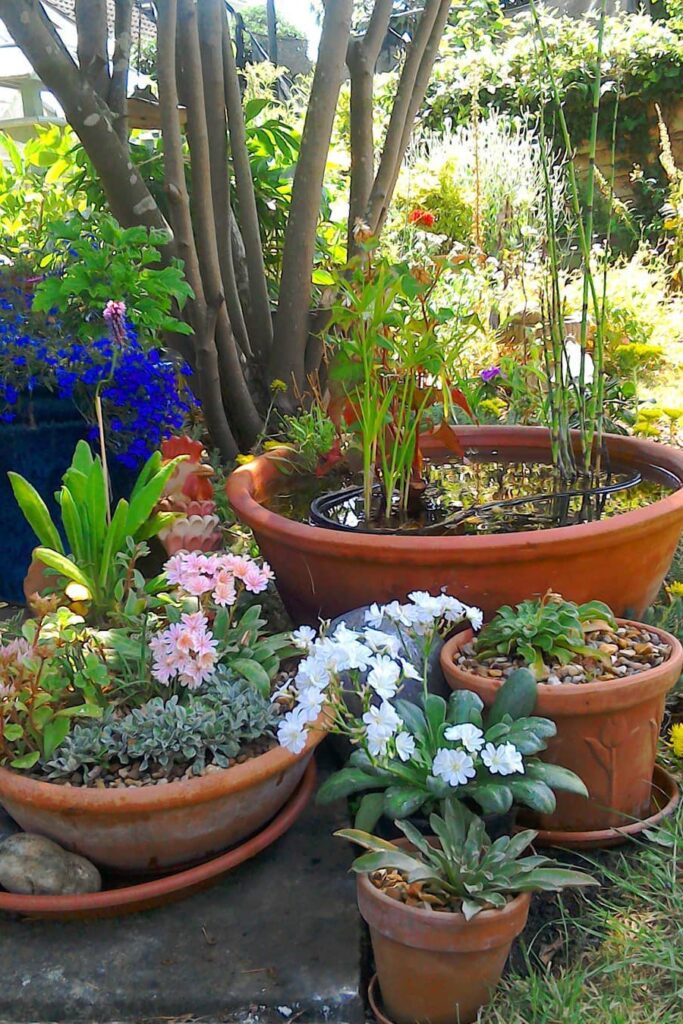
I ended up putting mine near the patio where I could enjoy it while having my morning coffee. Honestly, the sound of the water is worth it alone.
Setting Up the Water Feature
You’ve got two choices here: still water or moving. If you’re keeping it simple with just plants and maybe a frog or two, still water works just fine (just toss in a mosquito dunk to keep the wigglers away).
But if you want fish or want to keep the water clearer, adding a little pump is a game-changer.
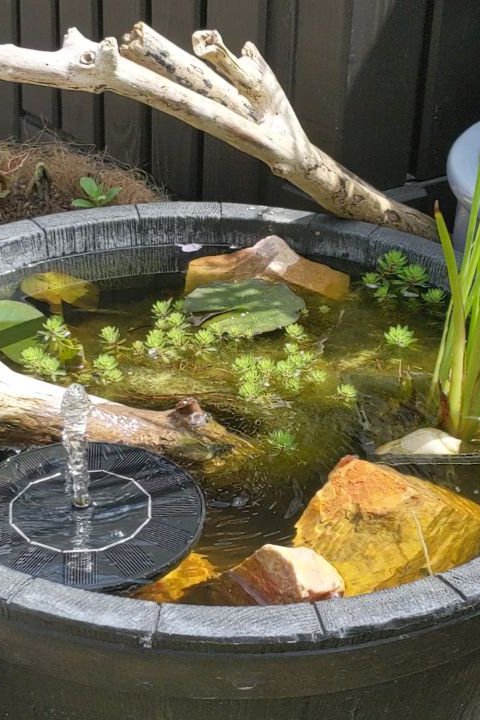
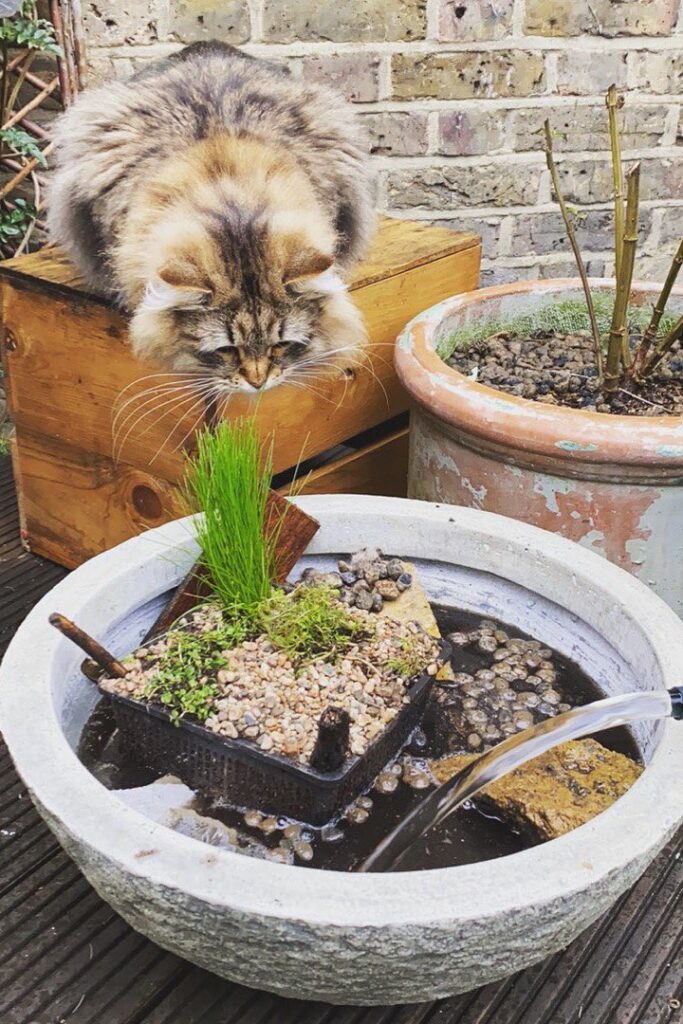
I used a small fountain pump—nothing fancy. It keeps the water moving and adds that lovely bubbling sound. I went with a solar one since I didn’t feel like running an extension cord, and I anchored it down with a brick so it wouldn’t drift and splash all the water out.

Learned that one the hard way.
Choosing the Plants
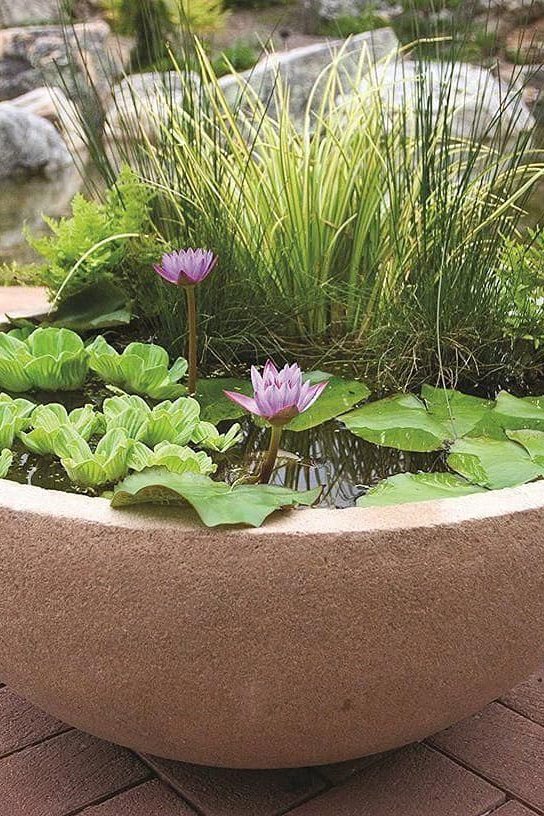
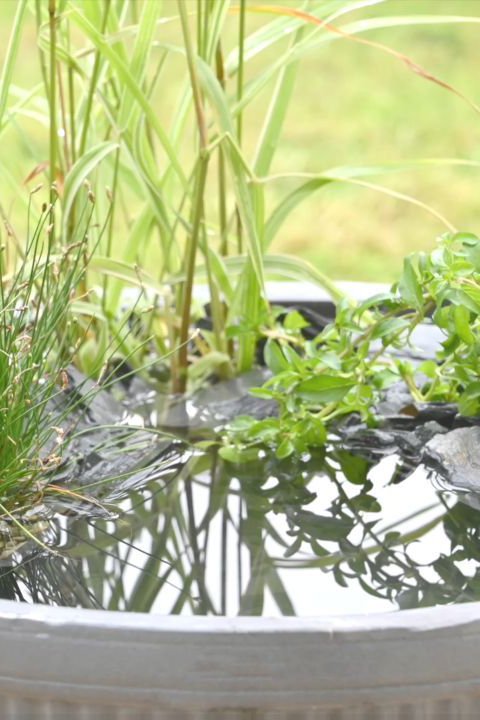
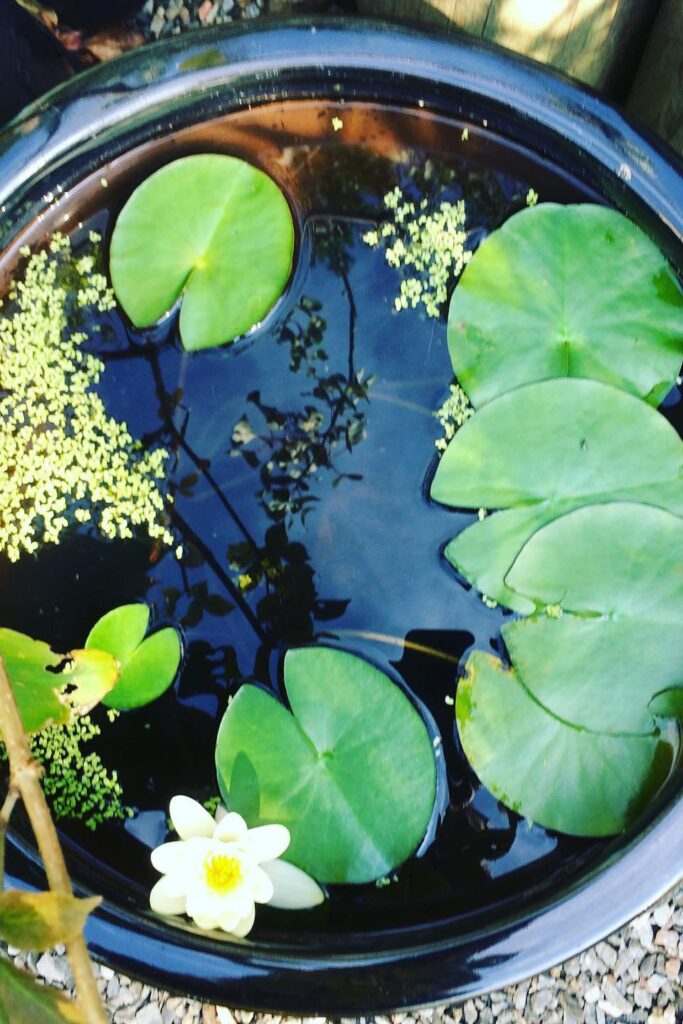
This is where it gets fun. I mixed a few types: one or two floaters like water lettuce, a dwarf papyrus for some height, and a marginal plant that sits just at the water’s edge.
I kept it to three plants total, and that was plenty for my 30-gallon pot.
If you’re not sure what to pick, just check with your local garden center. Many aquatic plants are surprisingly easy to find these days—and no, you don’t need a koi pond to enjoy them.
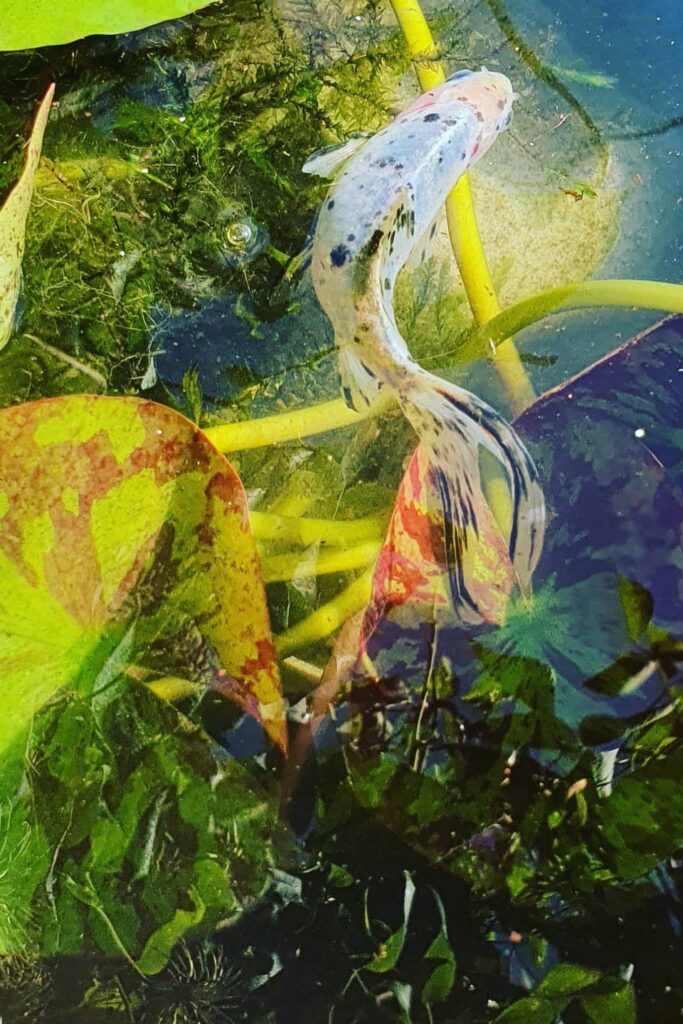
Adding Fish (Optional But Fun)
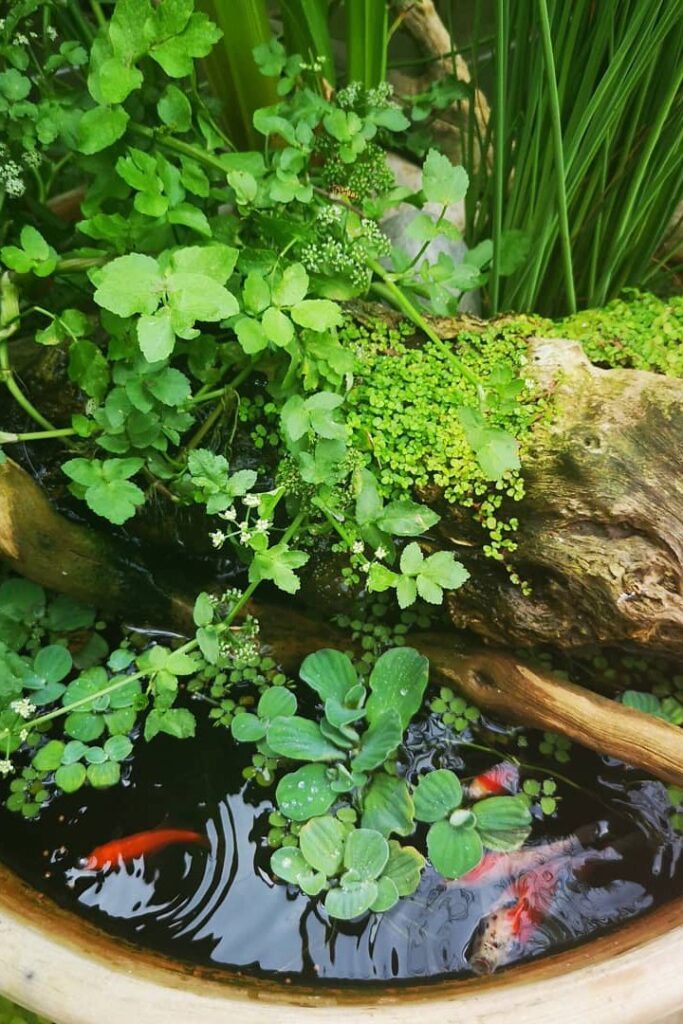
I added two tiny goldfish, and they brought the whole thing to life. Just watching them swim lazily around is weirdly hypnotic.
But a heads-up: if you live somewhere with cold winters, make a plan for them before frost hits.

I usually rehome mine to a neighbor’s deep outdoor pond when the season ends. You could also bring them indoors to a tank if you’re feeling fish-parent committed.
Keeping It Tidy
Maintenance is super chill. I top it off with rainwater (or dechlorinated tap water) every now and then, and I remove fallen leaves before they start to rot. That’s about it.
If you’ve got a pump, clean the filter once a month. Otherwise, it pretty much runs itself.
Winter Care
When it gets cold, you’ve got two options: drain and store the whole setup somewhere sheltered (a garage works), or leave it outside if your pot is frost-proof.
Just pull the pump and bring it indoors, and don’t forget about your fish if they’re still in there! Hardy plants can often stay put.

How I Built Mine (And How You Can Too)
I’ll walk you through exactly how I set mine up—no need to overcomplicate it.
The whole process took me maybe an afternoon, and most of that was just fiddling with the pump.
Step 1: Seal It Up
If your pot has a drainage hole (which mine did), just plug it with silicone caulk.
Let it dry completely—give it at least 24 hours or you’ll be dealing with a slow leak you won’t notice until your patio mysteriously starts growing moss.
Step 2: Set Up the Pump (Optional)
I used a small submersible pump, the kind with an adjustable flow. Nothing fancy. Just connected it to a bit of clear tubing and tucked it in the bottom of the pot.
I ran the cord up the side and did my best to hide it with plants and rocks. If you don’t want to bother with electricity, you could go solar or skip the pump altogether and keep it a still-water setup.
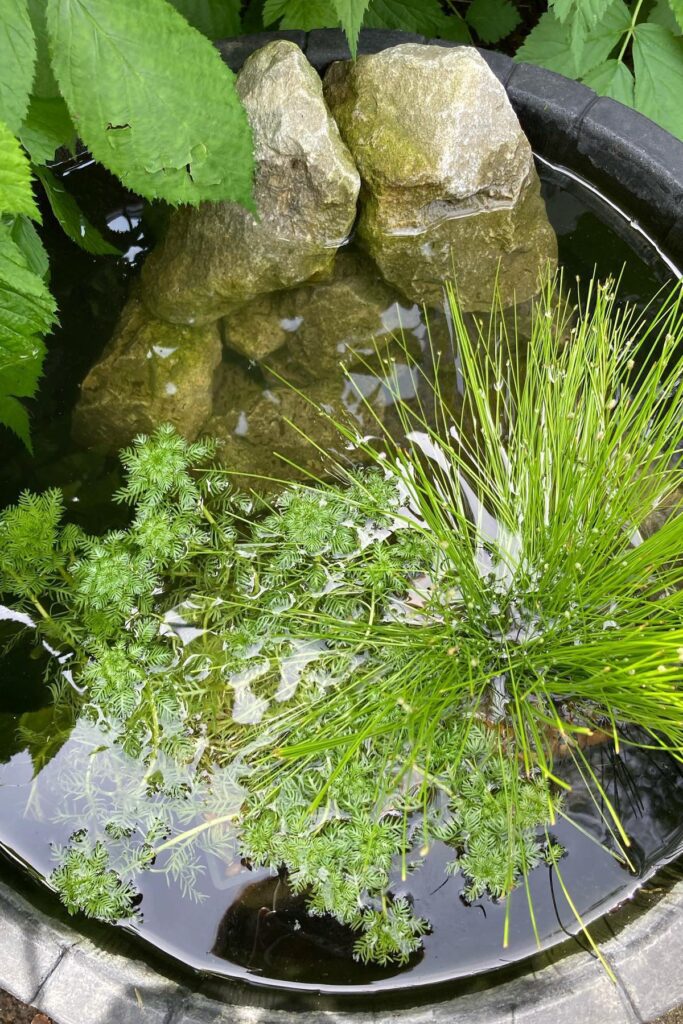
Step 3: Add Bricks and Plants
I added a couple of bricks to give the plants some height—just enough so the rims of the plant pots sit just below the water line.
Aquatic plants don’t need to be buried in soil; they just need to be submerged to the right depth.
I placed taller ones in the back and floaters on top so it looked lush and layered. A bit like styling a vase of flowers, but wetter.
Step 4: Fill It Up
I filled mine with rainwater, but tap water works too—just let it sit for a day or two so the chlorine can off-gas before adding plants or fish.
Once the pot was full, I tossed in the floating plants and double-checked that nothing was tipping or floating out of place.
Step 5: Plug It In
Once everything looked good, I plugged in the pump and waited for that first magical moment when the water bubbled up like a tiny spring. Honestly, it’s a little thrill watching it come to life.
I had to adjust the flow a couple of times to avoid a geyser effect. Pro tip: never mess with the pump while it’s plugged in. Unplug first, then tweak.
After about a week of letting everything settle in, I added the fish.
A Word on Wildlife
Even if you don’t add fish, you’ll be surprised how quickly wildlife finds your little pond.
Bees love stopping by for a drink, birds perch on the rim, and frogs will show up out of nowhere. I’ve even seen dragonflies doing their little midair ballet above the water.
It becomes its own little ecosystem—and you barely have to lift a finger once it’s going.
What to Do in Winter
This part’s important, especially if you’re in a climate where frost is a regular visitor. You can either:
- Drain the container, bring your plants inside, and store them in a tub of water somewhere cool and dark.
- Leave the pot outdoors—but only if it’s frost-proof (ceramic often isn’t unless specified). In that case, turn off the pump, take it inside, and pop a floating pond de-icer on the surface if things get seriously cold.
If you have fish, you’ll need to find them winter accommodation—either inside in a tank or in a friend’s deeper pond. I usually opt for the latter.
We’ve got a neighbor with a big koi pond, and they’re always happy to adopt a couple of goldfish for the winter.
Final Thoughts
Creating a pond in a pot started as a fun little project for me, but it’s become a daily joy. It adds a real sense of calm to the garden.
I find myself sitting by it with a cuppa, watching the fish glide through the water lettuce and listening to the soft bubble of the pump. Even on chaotic days, it slows everything down in the best way.
If you’ve been craving a water feature but don’t have the space—or just want something simple—give this a try. It’s budget-friendly, no digging required, and endlessly charming. Honestly, the only regret I have is not doing it sooner.