Roses from Scratch: My Journey Growing Roses from Cuttings
When I first considered growing roses from cuttings, I honestly thought it would be complicated.
But the more I learned and experimented, the more rewarding and surprisingly straightforward the process became.
If you’ve been thinking about trying it yourself, let me guide you through the method that worked wonderfully for me, along with some advanced tips I’ve gathered through experience.
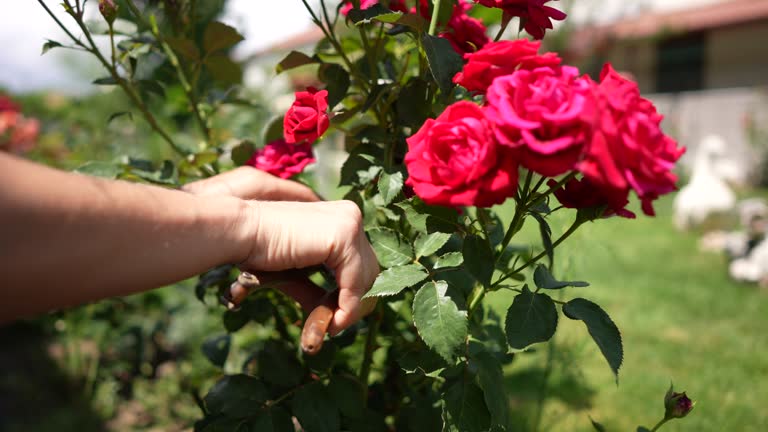
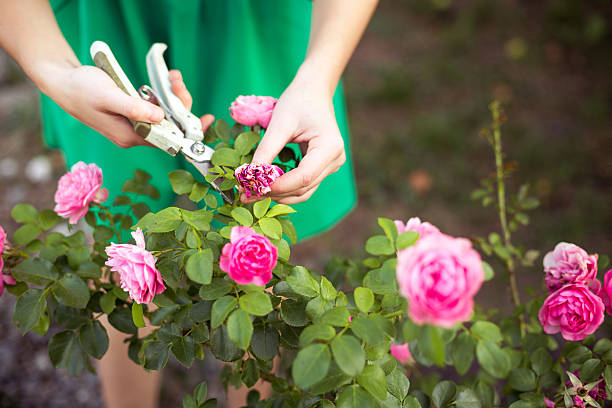
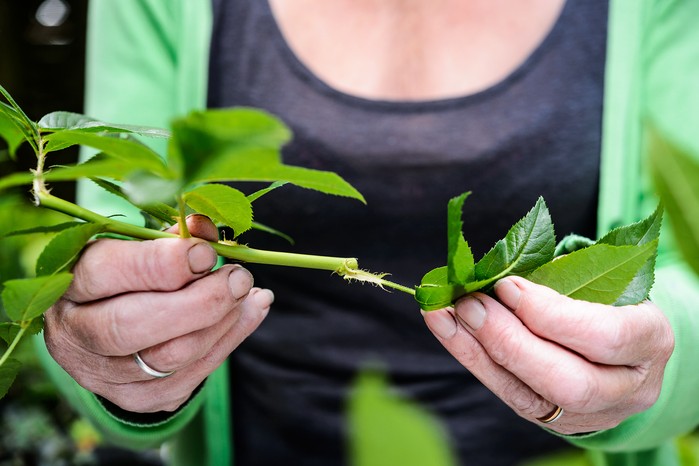
Step 1: Choosing the Right Stem
The first trick I learned was selecting the right stems—ideally softwood cuttings from the new, green growth just after blooming, usually in late spring to early summer.
These cuttings root faster and have a higher success rate compared to woody, older stems (hardwood cuttings).
I chose healthy, pencil-thick stems about 6-8 inches long, cutting them at a 45-degree angle just below a leaf node.
Step 2: Preparing the Cuttings
Removing the lower leaves and thorns helped my cuttings save energy for root development.
Leaving just one or two small leaves at the top provided enough energy through photosynthesis without stressing the cutting.
Step 3: Boosting Root Growth
While optional, I used rooting hormone powder because it significantly increased the odds of successful rooting.
Later, I discovered another natural alternative—willow water—that promotes root growth and helps prevent fungal issues.
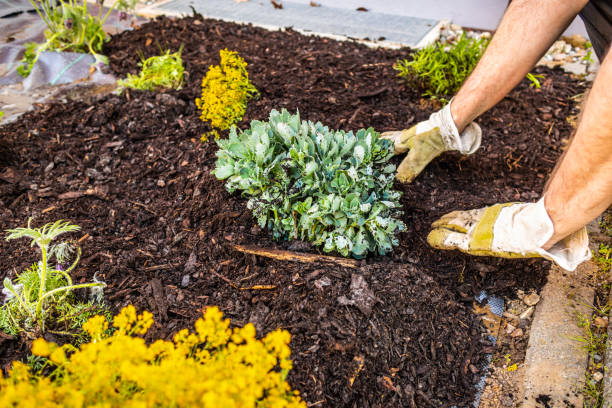
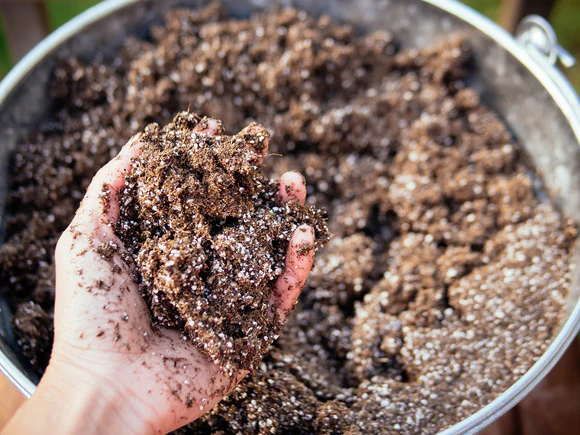
Step 4: Selecting the Ideal Soil Mix
I realized early on that regular garden soil was too heavy for cuttings, causing rot and other issues.
Instead, I mixed perlite and peat moss (two-thirds perlite to one-third peat) to create a light, airy rooting medium. It retained moisture yet drained effectively—perfect for tender cuttings.
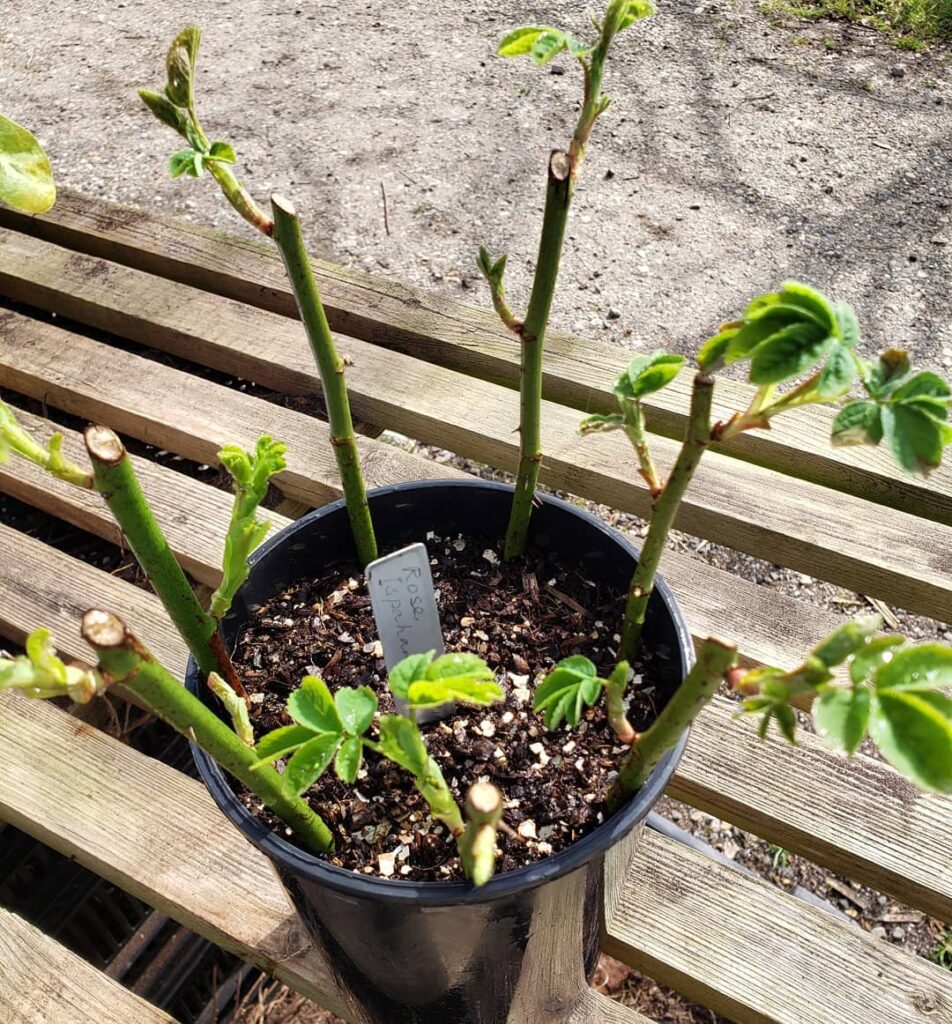
Step 5: Planting and Creating a Humid Environment
I planted each cutting into small pots, inserting them halfway into the soil, making sure at least one node was buried.
To keep humidity high and consistent, I covered each pot with a clear plastic bag or used an inverted plastic bottle, creating a mini-greenhouse.
It was crucial to keep them in bright, indirect sunlight to avoid overheating.
Step 6: Patience and Regular Care
Regularly checking and gently watering kept the soil moist but never soggy.
After about 4-6 weeks, a gentle tug showed me the roots had formed when there was slight resistance. Some cuttings took longer, so patience was essential.
Step 7: Transplanting and Long-Term Care
Once roots developed fully (typically after 8-10 weeks), I gradually acclimated the new roses to outdoor conditions.
This gradual “hardening off” prevented shock, allowing the roses to flourish when transplanted into larger pots or directly into the garden.

Advanced Tips and Common Mistakes to Avoid:
- Optimal timing: Late spring to early summer or even late autumn for softwood cuttings.
- Temperature control: Keep cuttings in temperatures between 65-75°F (18-24°C).
- Avoid direct sun: Always place cuttings in bright but indirect light.
- Maintain airflow: Prevent mold and rot by periodically ventilating the humidity dome.
- Disease prevention: Use sterile soil, clean tools, and occasionally natural antifungal solutions like willow water.
Reflections on My Rose-Growing Journey
Seeing my rose cuttings develop into vibrant, blooming plants was immensely gratifying.
What started as a hesitant experiment became an ongoing passion project. Trust me, the joy of successfully propagating your own roses is something special—definitely worth the patience and care!