How to Grow Celery in Your Garden
I used to think celery was for fancy gardeners with endless patience. After all, every guide seemed to warn about its fussiness and long growing season.
It wasn’t until a friend gifted me a packet of seeds that I decided to give it a crack.
What started as a “why not?” turned into an obsession—I now find myself munching on crisp stalks straight from my raised beds, and you can too.
Whether you’re in the middle of winter planning or knee‑deep in compost, celery rewards the curious grower.
It needs cool weather, reliable moisture and nutrient‑rich soil. But there’s a magic in watching those thin seedlings mature into tall, crunchy stalks.
Let me share what worked, what didn’t, and how you can skip the headache.
Starting seeds: when and how
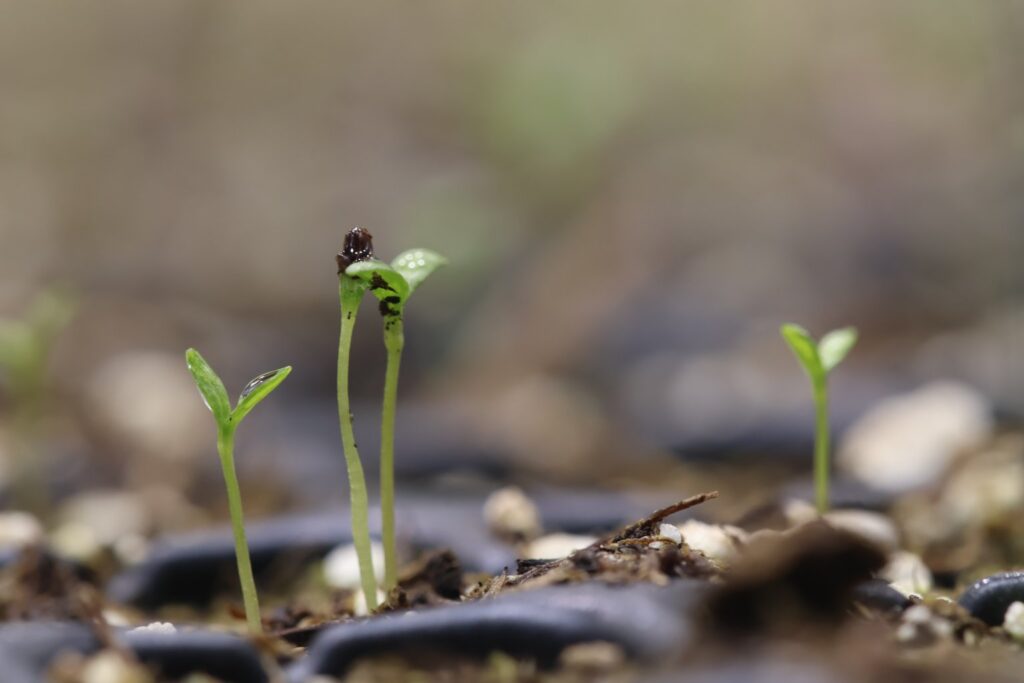
Celery seeds are tiny; they look like dust and can be temperamental. Don’t rush them.
Start about ten weeks before you plan to transplant outdoors. Soak them overnight in warm water; it speeds up germination. Then spread the seeds on top of a good seed‑starting mix—don’t bury them.
Celery seeds need light to germinate, so just press them gently into the surface and keep them moist with a mister.
A heat mat and a fluorescent grow light made a world of difference for me. I kept daytime temperatures around 21–24 °C and night temps about 15 °C.
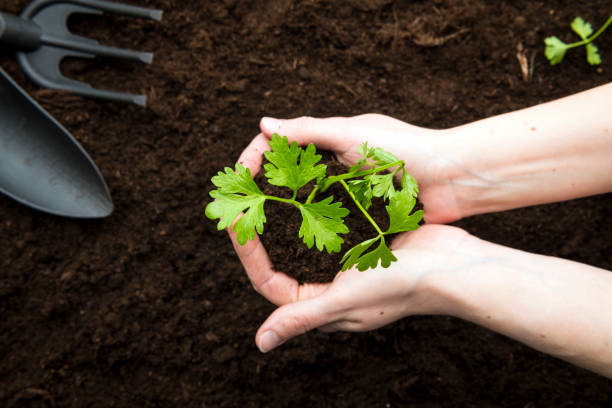
After a week or two, little green threads emerged. When the seedlings hit two inches, I pricked them out into their own peat pots.
This stage feels fiddly, but you’re simply giving them room to breathe.
If you’re in a hurry and want to cheat a bit, some nurseries sell plug plants. Just make sure they’re small (about 4‑5 inches tall).
Larger transplants bolt easily, meaning they send up flowers and become bitter.
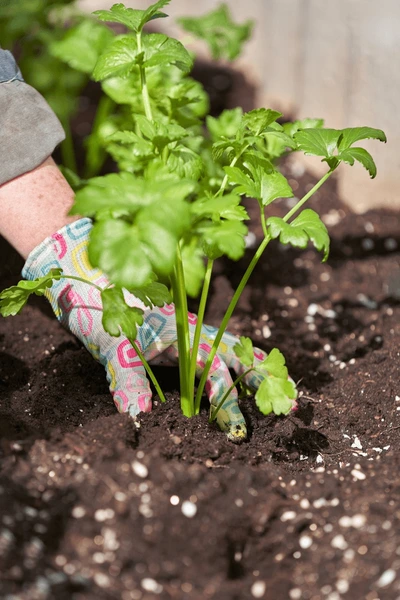
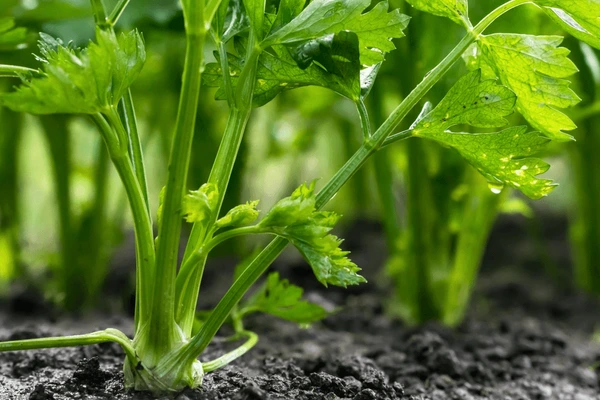
Soil, sun and transplanting
Celery loves moisture-retentive soil that doesn’t drain too quickly. Think boggy marshland but without the swamp smell.
I build my bed by digging in lots of compost and a bit of well‑rotted manure.
You’re aiming for soil slightly acidic to neutral; around pH 5.8–6.8 is perfect. If you’re not sure, a simple soil test kit will tell you.
Wait to transplant until the soil warms to at least 10 °C and nighttime temperatures stay above 4 °C. In Auckland, that’s usually late winter or early spring.
Set seedlings 20–25 cm apart so they have space to fill out. I bury them just up to their crowns and water thoroughly to settle the soil around the roots.
Because celery roots are shallow, mulching is your best friend. A layer of straw or shredded leaves keeps moisture in and weeds out.
Once plants hit six inches tall, I add more mulch. And keep in mind: celery enjoys full sun but will tolerate a little shade. The more light it gets, the thicker and tastier the stalks.
Feeding and watering
Now comes the part where patience pays off. Celery takes about sixteen weeks of cool weather to mature.
During that time, it’s a thirsty and hungry plant. If you slack on watering, the stalks turn stringy and hollow.
I water deeply every few days, more often during hot spells, always at the base to keep leaves dry. Mulch reduces evaporation, but still poke a finger in the soil—if it’s dry a couple inches down, it’s time to irrigate.
As for feeding, celery is a heavy feeder. Mixing compost or aged manure into the bed before planting provides a good base.
Midway through the growing season, I side‑dress with compost tea or a fish emulsion solution. Some gardeners swear by a 5‑10‑10 fertilizer applied a tablespoon per plant, sprinkled a few inches away from the stalks and watered in.
Natural helpers
Celery seedlings are vulnerable to pests. Row covers are a lifesaver during the first four to six weeks.
They keep out carrot rust flies, flea beetles and other nasties. Once I remove the covers, I rely on beneficial insects and organic sprays if necessary.
Slugs and snails love young celery too; I use copper collars and a beer trap for them.
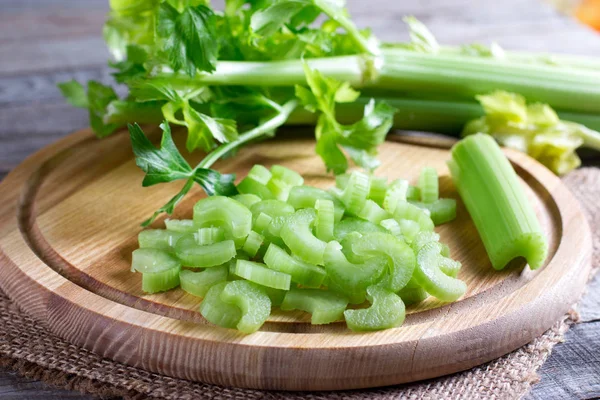
Harvesting and using what you grow
Celery doesn’t rush. Depending on the variety, you can start picking stalks about ten to twelve weeks after germination.
The beauty is you don’t have to wait for the entire plant to mature; you can harvest individual stalks from the outside in once they reach about 20 cm tall.
Young celery tastes sweeter and less fibrous than the supermarket stuff. Just cut off what you need and let the rest keep growing.
I learnt quickly not to judge maturity by color. Homegrown celery often has richer green hues than store‑bought, which is usually blanched or grown under cover.
Darker stalks mean more nutrients but can be a bit tougher, so cook them down in soups and stews.
If frost threatens, mound soil around the base to insulate the roots and leave plants in the ground for up to a month.
Once harvested, celery stores well in a plastic bag in the fridge. It also freezes beautifully when chopped and bagged for soup bases.
Bonus: growing from kitchen scraps
One of my favourite discoveries is that celery crowns from the grocery store can be regrown. Cut off the base of a bunch, pop it in a shallow dish of water for three or four days, and you’ll see new leaves sprout.
Once it shows some root nubs, transplant it into soil and treat it like any other celery plant.
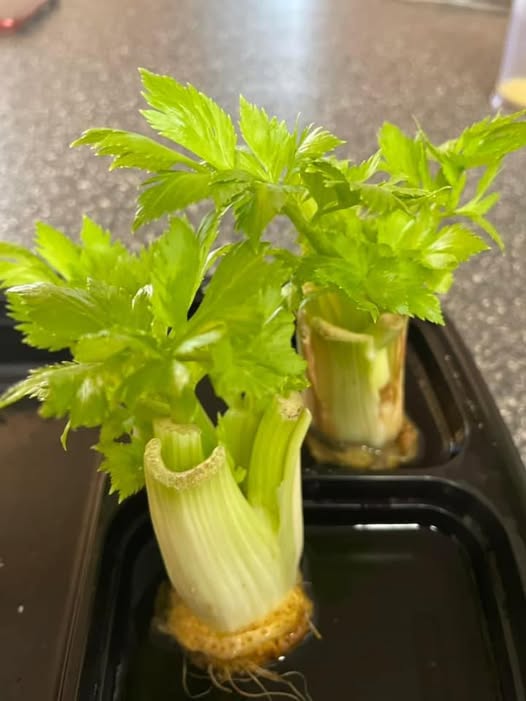
You can usually get two or three rounds of growth from a single crown—it’s a fun project for kids and a sneaky way to stretch your produce budget.
Growing celery has taught me patience and the importance of paying attention to soil, water and temperature.
Keep the soil moist, provide plenty of organic matter, and watch for pests early. In return, you’ll enjoy crunchy stalks you grew yourself—and that always taste better.