How To Grow Microgreens At Home (Without Losing Your Mind)
There’s something oddly satisfying about growing your own food—especially when it’s quick, fuss-free, and packed with nutrition.
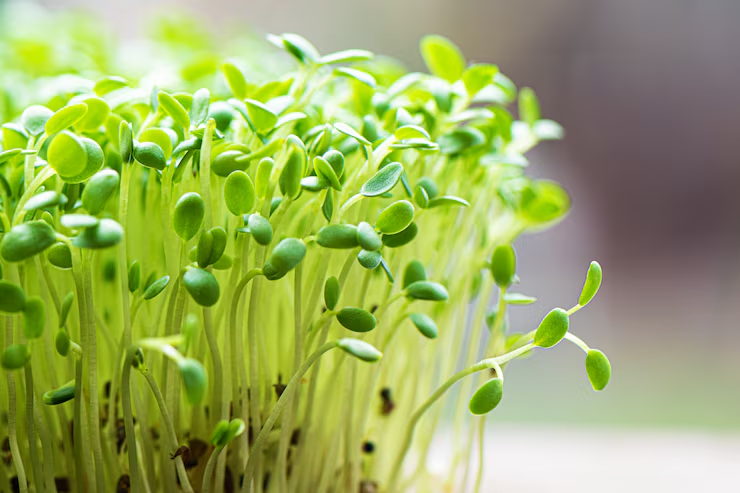
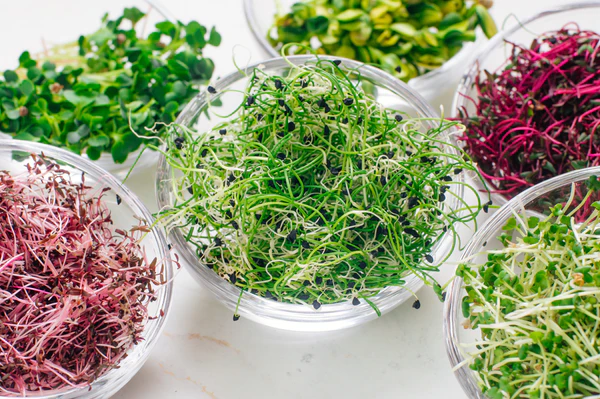
That’s the magic of microgreens. Tiny, vibrant, bursting with flavor and goodness… and ready in about a week? Yes please.

Why Microgreens Are The Lazy Gardener’s Dream
Okay, maybe “lazy” is a bit harsh. Let’s say strategic. Microgreens don’t need a garden, a backyard, or even sunlight all day long.
A bright windowsill will do. They grow crazy fast—faster than your weekend plans falling apart—and you don’t need fancy equipment either.
We started growing ours right in the kitchen window here in Auckland. I didn’t expect much at first, but those tiny shoots were like green confetti, popping up overnight.

Jess kept calling them “nature’s sprinkles,” which sounds ridiculous until you scatter them on avo toast.
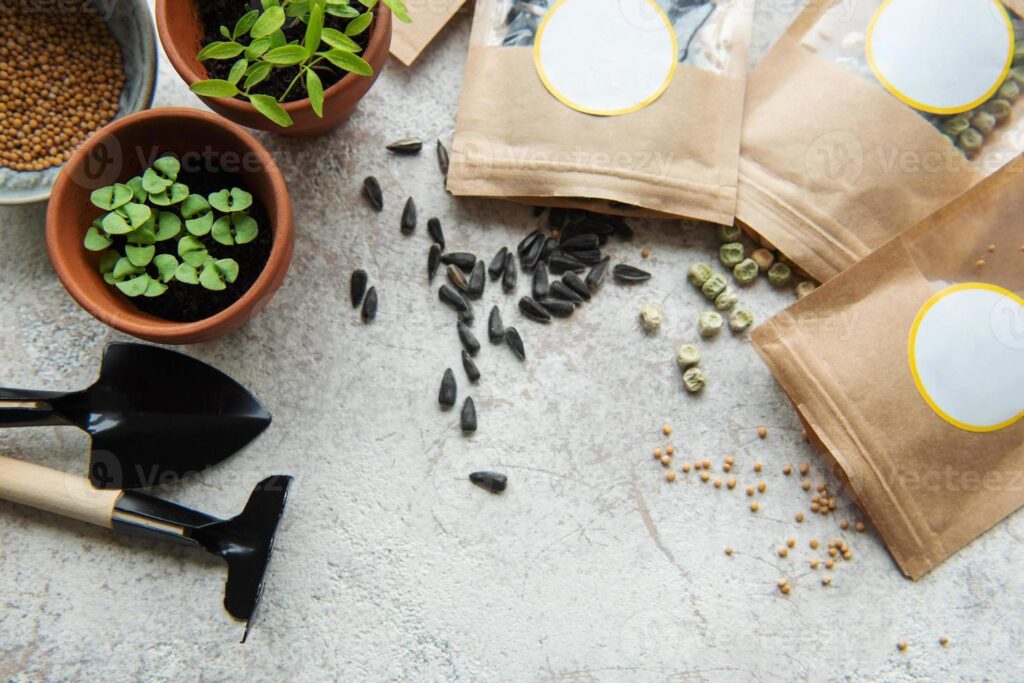
What You’ll Need (It’s Less Than You Think)
No need for a hardware store haul. You probably have half this stuff lying around already.
- A shallow container or tray (even a takeaway container works)
- Good quality potting mix or seed-raising mix
- Microgreen seeds – think radish, broccoli, mustard, sunflower, or pea shoots
- A spray bottle or watering can with a gentle pour
- Light – a sunny windowsill, or even a grow light if you’re feeling fancy
Mitre 10 usually stocks the seeds and small trays if you’re in NZ, and Woolies sometimes carries kits if you want something pre-packed. But honestly, it doesn’t take much to DIY it.
The Step-By-Step (No Green Thumb Required)
- Fill your tray with soil – about 3-4cm deep. You don’t need much.
- Sprinkle your seeds evenly across the top. No need to bury them—just press them lightly into the soil.
- Mist them with water so everything is nice and damp, but not swampy.
- Cover with a lid or cling wrap for a couple days to keep humidity in. This helps germination along.
- Once they sprout, remove the cover and place them in a well-lit spot.
- Water gently once or twice a day. Keep the soil moist but not soggy.
- Harvest in about 7–10 days. Snip above the soil line when they’ve got their first true leaves.
That’s it. No drama. No deep digging. No waiting months to eat.
What Do You Do With Them?
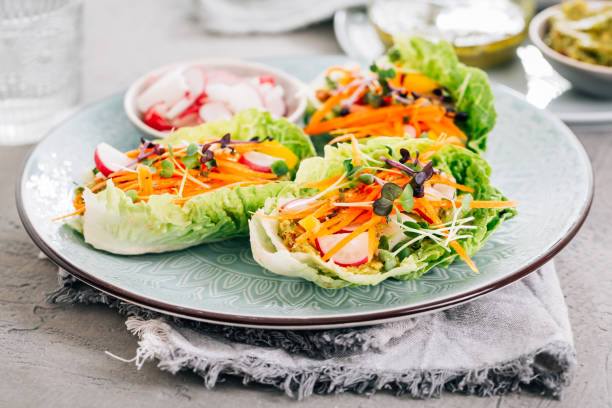
Honestly, what don’t you do with them? We throw them into salads, onto soups, into wraps, or just snack on them straight from the tray.
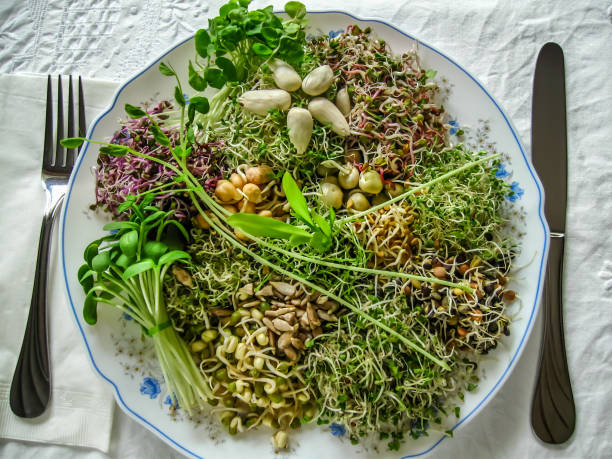
They’ve got a bit of a punchy, concentrated flavor—especially mustard or radish ones—and they make boring food feel bougie.
If you’ve got kids, it’s kind of a cool project too. They grow fast enough to keep little ones interested, and you might even trick them into eating something green.
A Few Extra Tips From The Sunny Side Of The World
Since we’re in Auckland, we get decent light even in winter, but if you’re somewhere with gloomier weather, a cheap grow light can save the day. Also, I learned the hard way not to overwater—damp is good, soggy is a mould party.
And one more thing: don’t feel like you have to grow a different batch every time. Just re-sow the same tray if you loved a certain variety. Keep it simple.
So yeah, growing microgreens isn’t just for urban farming influencers or nutrition nerds.
It’s for anyone with a spare windowsill, five minutes a day, and a soft spot for crunchy greens.
Want to try it? Or already growing your own? Let me know what varieties you’re loving lately—I’m always up for something new (except wheatgrass, that stuff tastes like regret).