How to Grow Spinach Indoors: My Experience
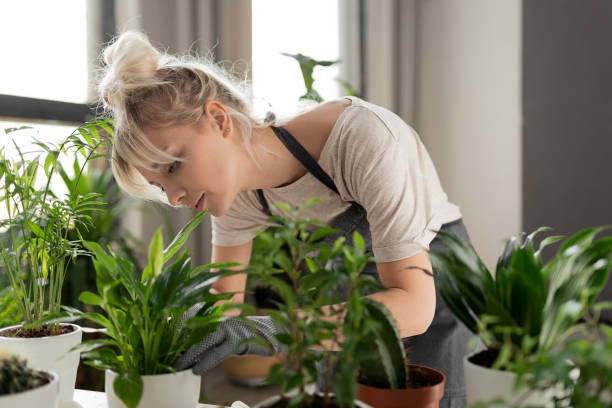
Have you ever wanted to grow your own fresh greens right in your kitchen? I sure have, and let me tell you, there’s nothing quite like plucking tender spinach leaves straight from your indoor garden.
Growing spinach indoors not only brings a bit of nature inside but also ensures that I always have a fresh supply of this superfood for my meals.
The process was both easier and more rewarding than I initially thought. Here’s how I made it work and how you can, too!

Setting Up My Indoor Spinach Garden
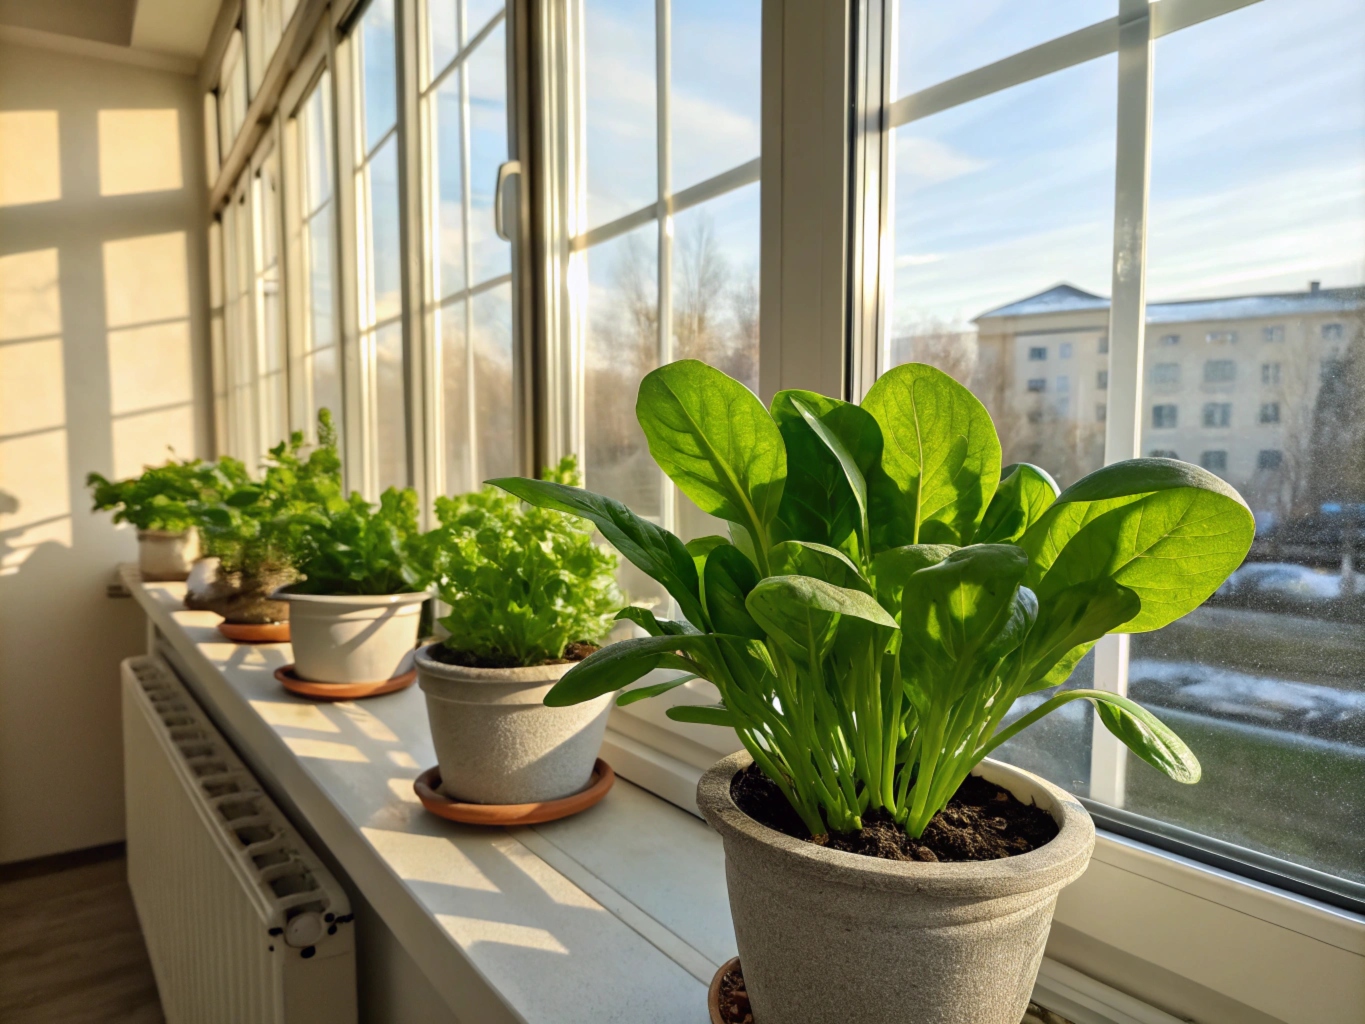
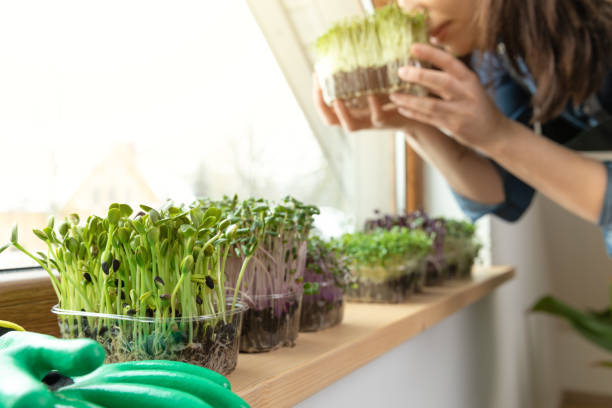
When I first started, I realized I needed a spot that had enough natural light. Spinach loves light, and while it doesn’t need direct sun all day, it does need a bright location.
I chose a sunny windowsill in my kitchen that gets at least 6 hours of sunlight a day. If you don’t have access to enough natural light, don’t worry—a simple grow light can work wonders too.
I used a few shallow containers, about 6 inches deep, with good drainage. It’s important to have drainage holes so that excess water doesn’t drown the roots.
I filled the containers with organic potting soil, making sure it was light and airy. Spinach roots don’t like compact soil, so I mixed in a bit of perlite to keep things nice and fluffy.
Having well-drained soil is crucial to prevent root rot, which can happen if water accumulates at the bottom.
I also made sure to clean the containers thoroughly before using them. This step helps prevent any possible contamination that could harm the young plants.
If you’re using old pots, giving them a good scrub with warm soapy water will help ensure your spinach has the best possible start.
Lighting for Growing Spinach Indoors
Lighting is one of the most important factors when growing spinach indoors. Spinach needs plenty of light to grow well, ideally around 12-14 hours of light each day.
If you have a bright windowsill that receives at least 6 hours of sunlight daily, that’s a great start. However, if natural light is limited, using a grow light is the best solution.
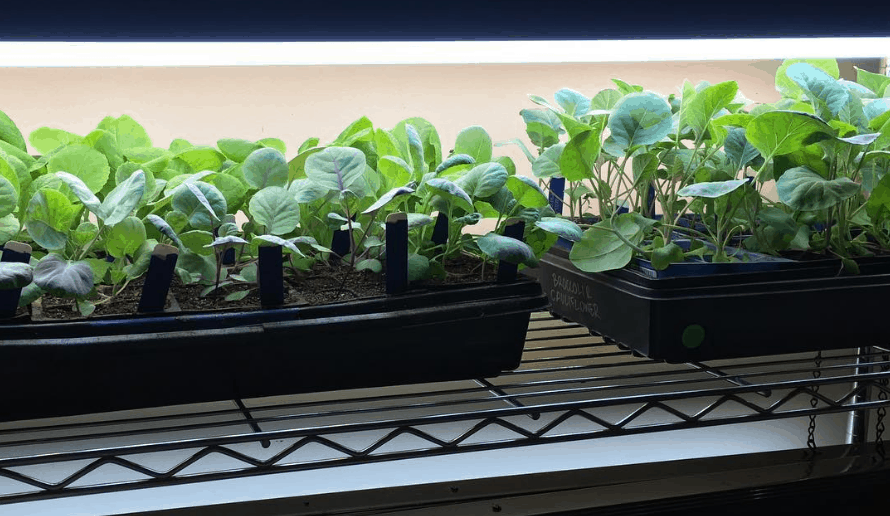
I found that a simple LED grow light worked wonders for my spinach. It provided a consistent light source that the plants needed, especially during the shorter winter days.
Position the grow light about 6 inches above the plants to ensure they get enough light without being scorched. I kept mine on for around 12-14 hours a day, mimicking the long daylight hours that spinach loves.
It’s also important to adjust the height of the grow light as the plants grow. Keeping the light too far away can make the plants stretch and become leggy, while keeping it too close can cause scorching. Finding that balance was key to keeping my spinach healthy and thriving.
I found that checking the plants daily for any signs of light stress, such as yellowing leaves or excessive stretching, helped me maintain the ideal light conditions.
Another tip is to use a timer for your grow lights. This way, you don’t have to worry about remembering to turn them on or off every day. Consistent lighting is crucial for spinach, and a timer makes it much easier to provide the plants with the right amount of light.
Choosing and Planting Spinach Seeds
I remember standing in the garden section, faced with different types of spinach seeds. There were so many varieties to choose from, each with its unique characteristics.
I decided on a variety called ‘Bloomsdale,’ which is known for its tender leaves and ease of growing. It’s a great choice for beginners because it’s quite forgiving and grows well indoors.
I planted the seeds about half an inch deep and spaced them out so the plants would have room to grow.
Spinach can be quite particular about space, so giving each plant enough room to spread out is important. I made small furrows in the soil, dropped the seeds in, and gently covered them. After that, I lightly misted the soil to settle the seeds in place.
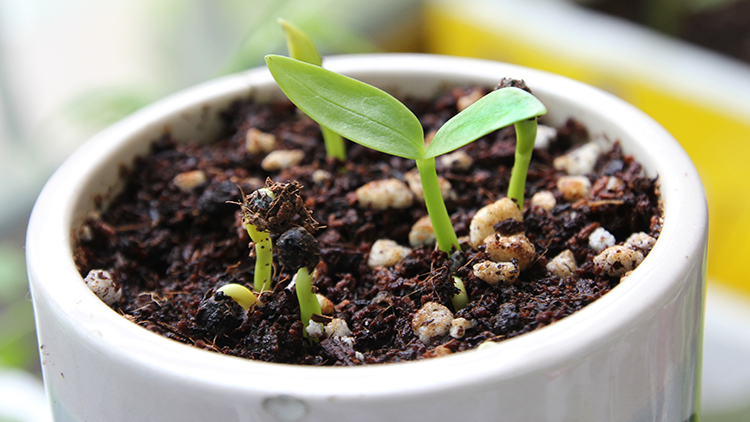
Spinach is surprisingly quick to sprout. Within a week, I began to see tiny green shoots pushing through the soil, which was such a rewarding sight. I made sure to keep the soil consistently moist but not waterlogged.
The key is to keep it damp—spinach thrives when it’s in a moist environment but not swimming in water. Too much water can lead to fungal diseases, which can be devastating to young plants.
To speed up germination, I covered the containers with a clear plastic cover to create a mini greenhouse effect. This helped maintain humidity and warmth, which encouraged faster germination. Once the seedlings emerged, I removed the cover to allow better airflow and prevent mold.
Light, Water, and Care
Spinach is a cool-weather plant, so I kept my home temperature around 65-70°F, which worked perfectly. It’s important to remember that spinach doesn’t like it too hot, so finding a spot in your home that stays relatively cool is ideal.
I also avoided placing the plants near heating vents or radiators, as the warm air can dry out the soil too quickly and stress the plants.
For watering, I used a small spray bottle to mist the soil. This way, I could avoid disturbing the seedlings as they grew.
Once the plants were a little bigger, I switched to watering directly into the soil, being careful not to splash the leaves too much. Spinach can be prone to fungal issues if the leaves stay wet for too long.
If you’re using a grow light, make sure it’s set about 6 inches above the plants, and leave it on for around 12-14 hours a day. Spinach loves light but doesn’t appreciate being scorched, so keeping the light at a safe distance is important. I also rotated the containers every few days to ensure even growth, as the plants naturally lean towards the light source.
One thing I learned the hard way was not to let the plants dry out. Spinach can go from lush to limp really fast if you miss a watering day, especially indoors where the air can be drier.
To help with humidity, I placed a small tray of water near the plants. The evaporation added some much-needed moisture to the air, which kept the spinach happier.
I also occasionally fed the plants with a diluted organic liquid fertilizer. Spinach is a heavy feeder, meaning it needs a good amount of nutrients to grow those lush green leaves.
Every couple of weeks, I would add a small amount of fertilizer to the water, which gave the plants a nice boost. Just be careful not to overdo it—too much fertilizer can burn the roots and do more harm than good.
Harvesting Fresh Spinach
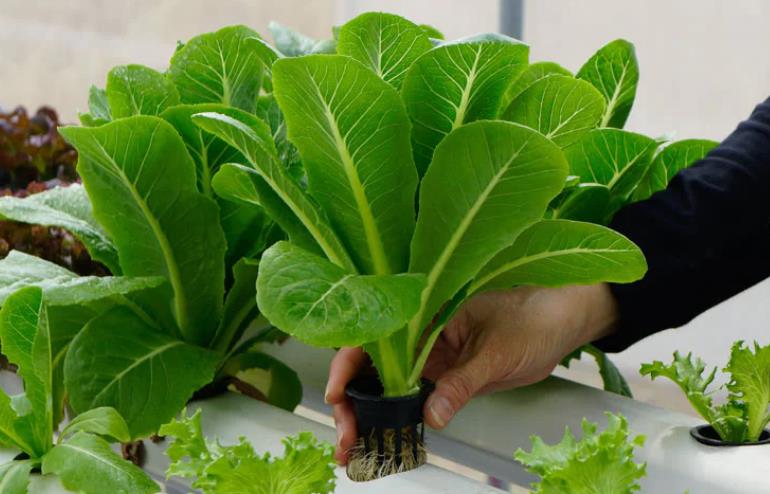
After about four to six weeks, the leaves were large enough to harvest. I started picking the outer leaves first, allowing the inner leaves to keep growing. This method gave me a continuous supply of fresh spinach for weeks.
There’s something so satisfying about harvesting your own food—I even found myself adding spinach to dishes more often just because it was right there!
Harvesting spinach is really simple. I used a pair of kitchen scissors to snip off the larger leaves, making sure not to cut too close to the center of the plant. By leaving the central leaves intact, the plant continued to produce new growth. I was able to harvest from the same plants multiple times, which made all the effort feel even more worthwhile.
Not only did I add the spinach to salads and smoothies, but I also used it in soups, pasta dishes, and even as a pizza topping. The fresh taste of homegrown spinach is incomparable to store-bought, and knowing that it was grown right in my kitchen made it taste even better.
My Takeaway
Growing spinach indoors was much easier than I originally expected. The key is providing enough light, keeping the soil consistently moist, and giving the plants a cool environment. Not only did it make my meals fresher, but it also added a lovely green touch to my kitchen—almost like having a mini garden right on my windowsill.
It became a conversation starter whenever I had guests over, and many of them were inspired to start their own indoor gardens.
If you’ve been thinking about trying it yourself, I encourage you to start small, like I did. A sunny window, a container, and a packet of seeds are all you need to get going. Trust me, the joy of growing your own spinach is worth it! Plus, it’s a great way to bring a bit of nature indoors, especially during the colder months when everything outside feels dull and lifeless.
Happy Gardening!
Have you tried growing anything indoors? I’d love to hear about your experiences or any tips you might have. Leave a comment below and let’s grow together!


