
How to Grow Vegetables in Grow Bags – Easy Gardening for Any Space
Not everyone’s got a big backyard or perfect soil—but that shouldn’t stop anyone from growing their own veg.
That’s where grow bags come in. Think of them like pop-up gardens. No need for raised beds or digging. Just fill, plant, and let the magic happen.
Whether you’re in a rental, a small flat, or just want something flexible on your deck, grow bags are one of the easiest ways to get into gardening without the hassle.
Why Grow Bags Work So Well
I used to think they were a bit of a gimmick—like those As Seen On TV things. But once I actually tried a few, I was surprised how easy and effective they were.
Grow bags are breathable, which means roots get more oxygen and don’t rot from soggy soil. They also “air prune” the roots, which basically means the roots stop circling and start branching—way better for plant health.
Another win? You can move them around.
Shift them into the sun, protect them from wind, or bring them inside if there’s a surprise frost. Try doing that with a garden bed.
What You Can Grow (And What Works Best)
Here’s a quick look at what grows beautifully in bags and how much space they need:

| Veggie | Ideal Bag Size | Notes |
|---|---|---|
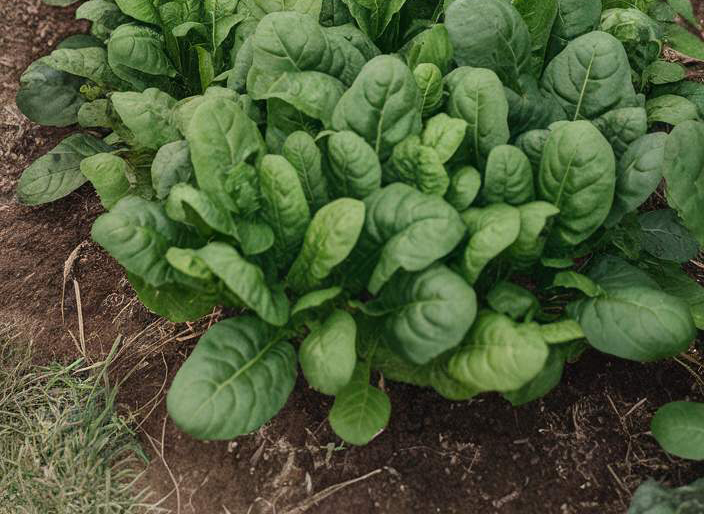
| Lettuce & spinach | 3–5 gallons | Fast growers, great for regular picking |
| Herbs (basil, mint) | 2–3 gallons | Mint will take over, so a bag keeps it in check |
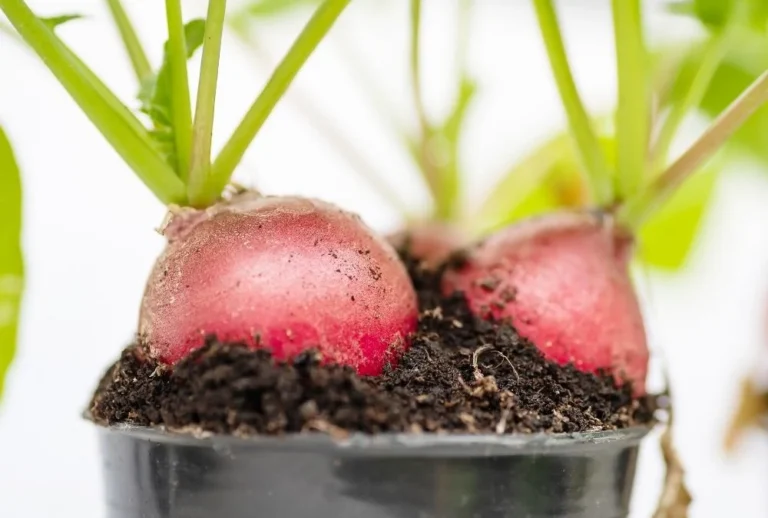
| Carrots & radishes | 5–7 inches deep | Go for loose, sandy mix to avoid wonky shapes |
| Tomatoes | 7–10 gallons | Need support, but love the extra airflow |
| Peppers & chillies | 5–7 gallons | Easy and tidy to grow in containers |
| Bush beans & peas | 5 gallons | Stick in a few bamboo stakes or a mini trellis |
| Zucchini & cucumber | 10–15 gallons | Big plants, big yields—watch for mildew if overwatered |
A Simple Way to Get Started
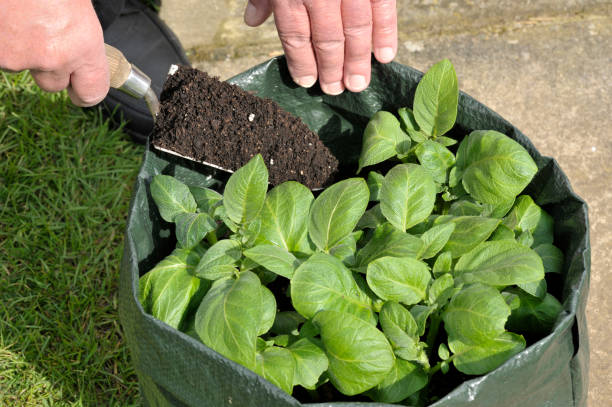
I usually start by placing the grow bags on wooden planks or a few pavers so they’re not sitting in pooled water.
Then I fill them about three-quarters full with good quality potting mix and compost. You can even mix in a bit of worm castings or slow-release fertilizer if you’re feeling fancy.
Then it’s just seed or seedling time. For lettuce, you can sprinkle seeds directly in and water gently.
For tomatoes or peppers, I pop in one plant per bag and mulch the top with straw to keep the moisture in.
Watering is the one thing you really have to stay on top of—especially in summer. I usually water in the morning, and if it’s a hot day, sometimes again in the evening. The bags can dry out quicker than you’d expect.
The Odd Challenge
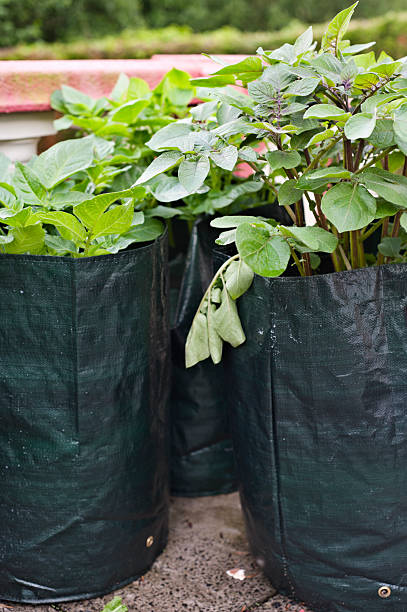
A few little heads-ups: they can dry out fast, especially the black bags sitting in the sun. Some people stick them in saucers, but honestly, I just check mine every morning. If they’re light and the soil feels dry an inch down, I water.
Also, after a season or two, some cheaper bags might tear or wear thin. I’ve learned to spend just a bit more for the thicker ones with reinforced handles.
Real Talk From My Deck
Right now, I’ve got five grow bags going. Two with cherry tomatoes, one with perpetual spinach, one with basil and thyme, and another with carrots that are still deciding what shape they want to be.
I move them around depending on what’s getting too much wind or heat.
Honestly, grow bag gardening is kind of addictive. Once you see how easy it is to grow food in a sack of dirt, you’ll be looking for spots to squeeze in just one more.
Final Thoughts
Grow bags gardening vegetables isn’t some new trend—it’s just smart gardening for folks who want flexibility and freshness without digging up half their yard.
They’re perfect if you’re short on space, renting, or just want to dip your toes into veggie growing without committing to raised beds.
So grab a few, fill them up, and see what sprouts. Whether it’s a full-blown patio garden or just some herbs for your windowsill, grow bags make it easy to start growing your own food, no matter where you live.