How to Grow Garlic from a Clove
There’s something deeply satisfying about growing your own garlic. It’s one of those crops that feels ancient—like you’re part of an old secret.
And the kicker? It’s super easy once you get the hang of it.
Starting with the Basics
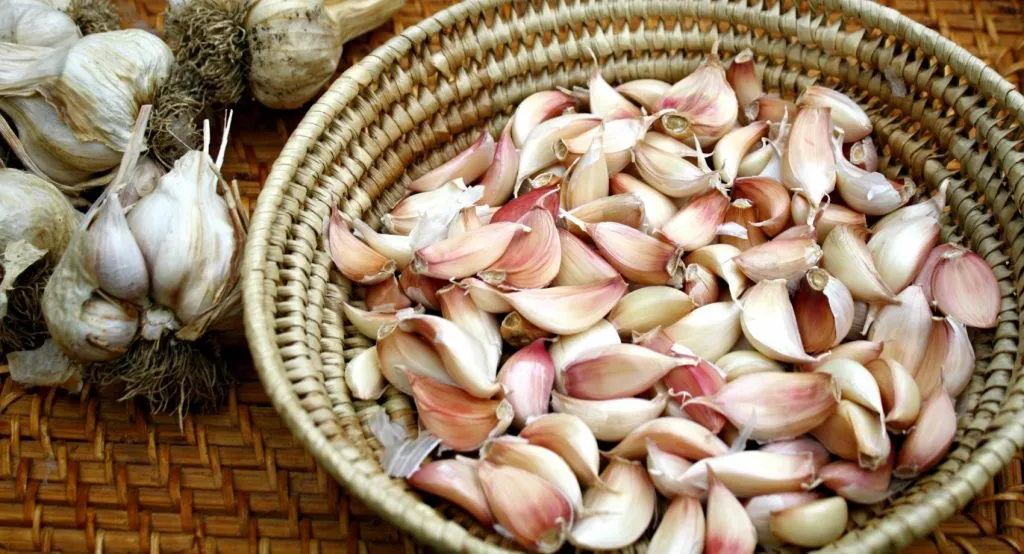
First things first, you don’t want to use just any garlic clove from the supermarket.
Most of those are treated to stop them sprouting. Go for seed garlic instead—stuff that’s meant for planting. You can usually find it at your local garden shop or online around autumn.
Here’s what you’ll need:
| Item | Purpose |
|---|---|
| Seed garlic | Sprouts reliably and gives you full-size bulbs |
| Loose, well-drained soil | Garlic hates soggy feet—go for loamy, fertile soil |
| Sunny spot | Needs at least 6 hours of sun a day |
| Mulch (like straw/leaves) | Keeps weeds down and soil moisture in |
| A bit of patience | Garlic takes its sweet time, but it’s worth it |
The Right Time to Plant
The best time to plant garlic is in autumn, around mid-to-late fall. It needs a cold snap to split into proper cloves.
If you’re somewhere warmer (like the North Island of New Zealand), you can still grow it—you just might want to pop your garlic in the fridge for a few weeks to fake the chill.
Planting Garlic—The Lazy, Works-Every-Time Way
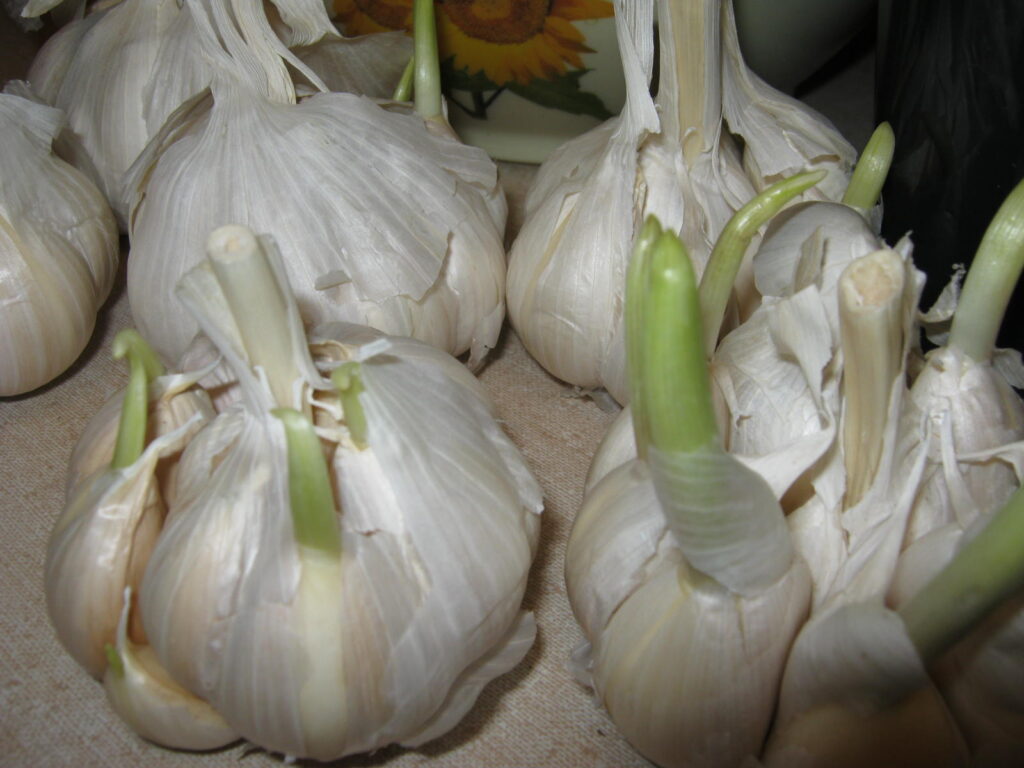
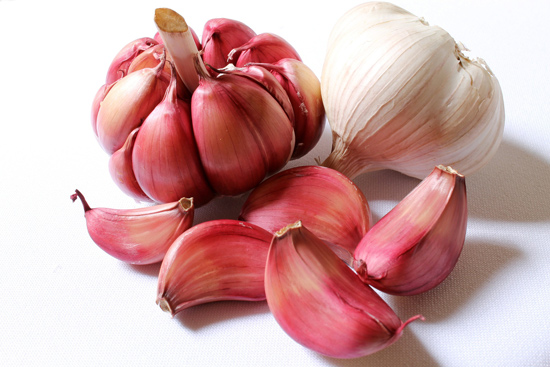
- Break the bulb into individual cloves—but don’t peel them. That papery skin protects the clove while it settles in.
- Dig holes or a trench about 2–3 inches deep. If you’re in a cold spot, go a bit deeper—4 to 6 inches works.
- Plant each clove pointy-end up, root end down. Give each one a solid 6–8 inches of space.
- Cover with soil, then blanket the area with a good thick layer of mulch. Keeps things warm and happy underneath.
- Water in well, then let the rain do most of the work over winter. You don’t need to baby it too much.
Spring Things to Watch For
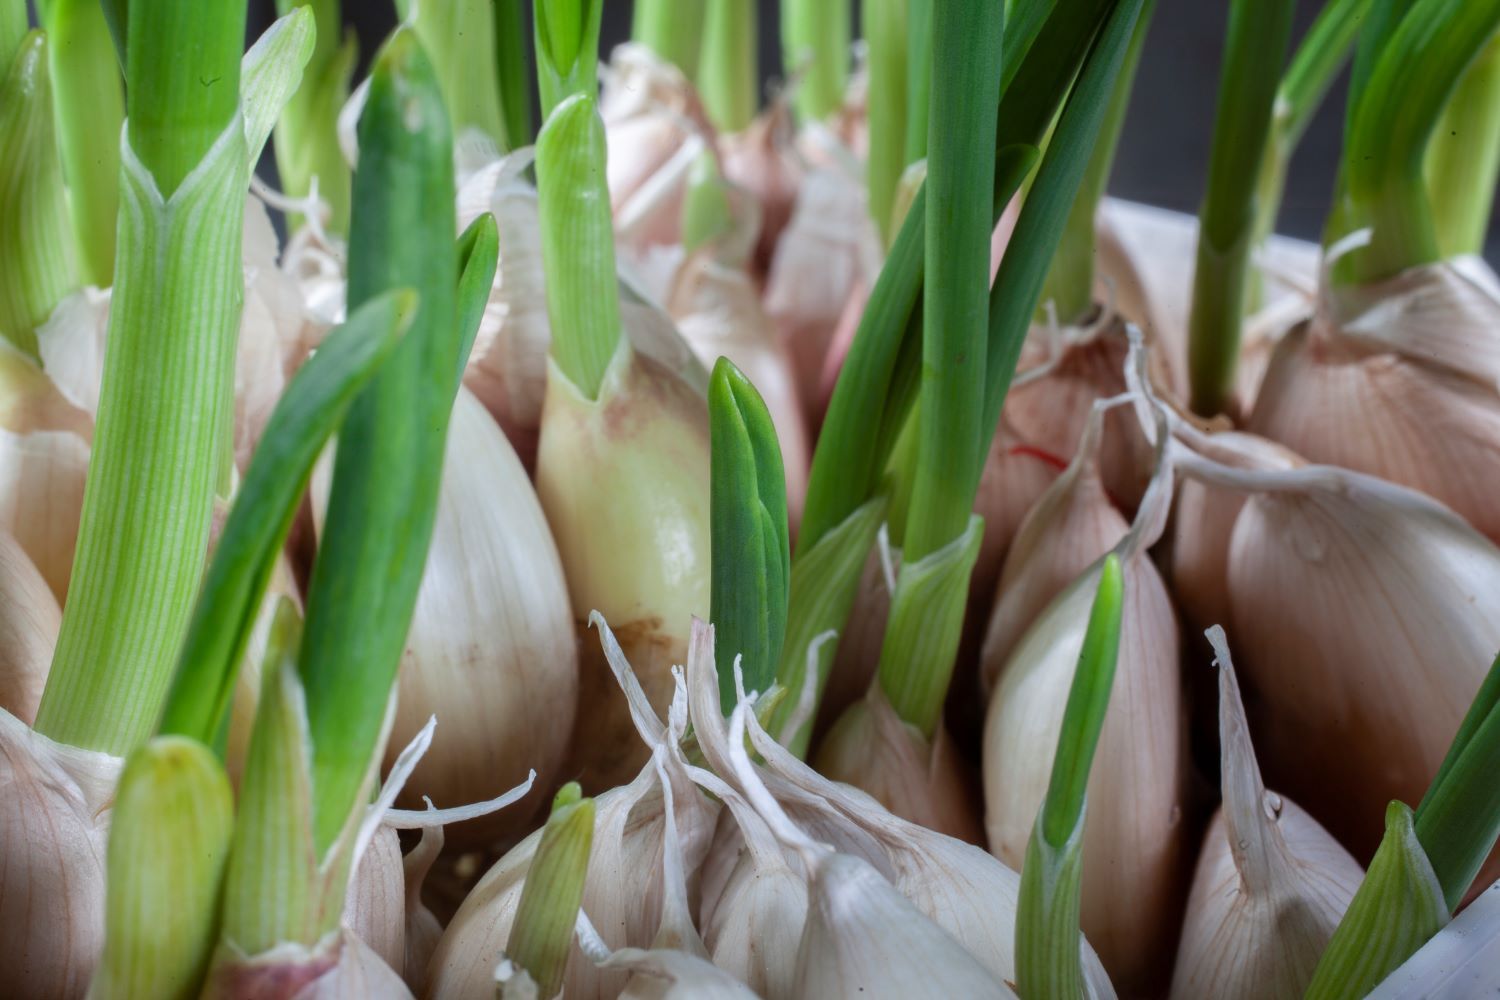
Once the weather warms, garlic sends up bright green shoots. Around mid-spring, you’ll see flower stalks—called scapes—on hardneck varieties.
You can cut these off early to help the bulb grow bigger. Bonus: scapes are delicious. Toss them into a stir fry or make a punchy pesto.
If you planted in good soil, you might not need much fertilizer. But if growth is slow, a little liquid feed can help.
Just don’t overdo it or you’ll end up with lots of leaves and meh bulbs.
When It’s Ready to Pull
Garlic’s ready when the bottom few leaves have turned brown, but the top leaves are still green. Usually happens mid-summer.
Don’t wait too long—overripe garlic splits in the ground and doesn’t store well.
Gently loosen the soil and pull the bulbs out. Shake off the dirt but don’t wash them yet.
Let them cure in a dry, shady, breezy spot for a couple of weeks. Once the skins are papery, snip the tops and store them in a cool, dry place. Boom—you’ve got garlic for months.
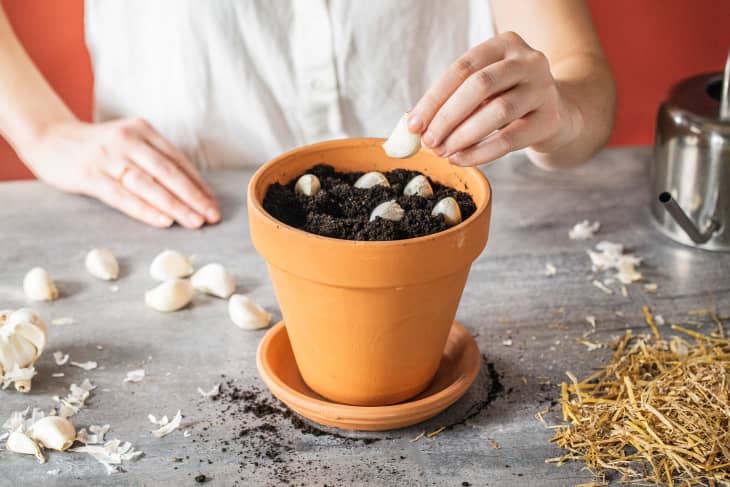
Growing Green Garlic Indoors
If you’re short on space or just want a quick harvest, try growing green garlic indoors:
- Plant a few cloves in a pot with decent soil
- Keep it sunny—windowsill works a treat
- Water when the topsoil dries out
- Harvest the greens once they hit about 6 inches
They’ve got that garlicky punch but milder—think of them like garlic chives with attitude.
Quick Tips Recap
| Garlic Growing Tip | Why It Helps |
|---|---|
| Plant in fall | Gives garlic time to root before winter |
| Use the fattest cloves | Bigger cloves = bigger bulbs |
| Don’t peel the cloves | Skin protects them in the soil |
| Pointy end up, root end down | Trust me, it matters |
| Mulch like a pro | Keeps weeds away, retains moisture |
| Cut scapes | Helps bulb size, plus they’re tasty |
And there you have it. Homegrown garlic, straight from a single clove.
Whether you’re planting a full row in your garden or sneaking some into a patio pot, it’s one of the easiest and most rewarding crops to grow.
Plus, there’s something ridiculously cool about pulling up your own bulbs after months of quiet growing.
Give it a crack—your kitchen (and your future self) will thank you.