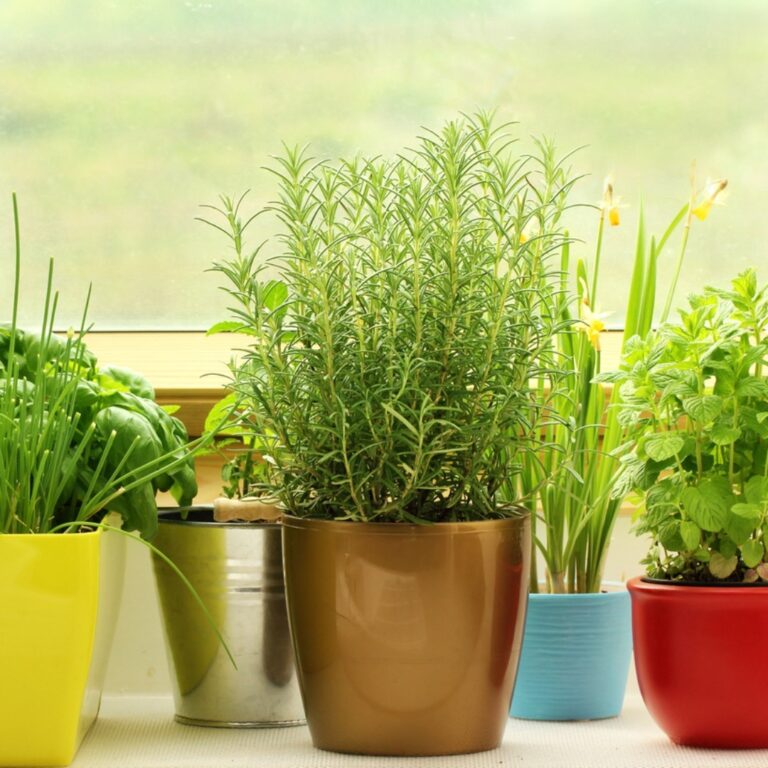
How to Grow Mint Indoors for Fresh Leaves Year-Round
Growing mint indoors year-round is quite achievable: give it a bright window, a pot with drainage and regular harvesting.
A wee pot near the kitchen keeps fresh leaves handy for tea, salads or water, without a trip outside.
Indoor light is usually the tricky part, especially through a New Zealand winter, so low maintenance doesn’t mean a dark corner.
Choose a Healthy Mint Plant or Rooted Cutting

Start with a mint plant that looks lively rather than perfect. Look for fresh green leaves, firm stems and new growth at the tips.
Avoid a plant with a sour smell, mushy stems or a pot that feels permanently waterlogged. Those are usually signs of trouble before it reaches your windowsill.
A rooted cutting is another lovely, budget-friendly option. Choose a stem with several healthy leaves and visible roots, then settle it gently into moist potting mix.
If you’re buying more than one type, label them straight away—peppermint and spearmint can taste quite different, and mint pots have a sneaky habit of becoming a little leafy jungle.
- Healthy leaves with no obvious pests
- Firm stems and sturdy roots
- New growth rather than tired, stretched stems
Give Mint Its Own 15–20 cm Pot with Drainage

Mint deserves its own pot from the beginning. It spreads through underground rhizomes, so sharing a container with parsley or small thyme can become unfair competition. Choose a container about 15–20 cm wide with drainage holes.
The Royal Horticultural Society recommends containing mint and repotting or dividing it when the plant becomes crowded.
I’d choose a slightly larger pot rather than cramming mint into a tiny one—it gives the roots useful room without taking over the windowsill.
A terracotta cover pot adds warmth beside a kitchen herb jar, but keep the inner pot easy to lift so you can check it properly.
| Container choice | Status | Purpose |
|---|---|---|
| 15–20 cm pot | General suggestion | Provides room for useful growth |
| Drainage holes | Actual requirement | Allows excess water to escape |
| Saucer | General suggestion | Helps protect shelves and furniture |
Use Free-Draining Potting Mix Instead of Garden Soil

Fill the pot with a standard free-draining potting mix rather than soil from the garden. Garden soil is often too dense for an indoor container, and it can hold water around the roots for longer than you realise.
Mint likes moisture, but it doesn’t enjoy sitting in a soggy mix—no plant appreciates wet feet, not even this enthusiastic one.
Moisten the mix lightly before planting so it settles around the roots without leaving dry pockets.
Keep the crown level with the surface, then water gently. If the mix becomes compacted after several months, refresh the top layer or repot into fresh mix rather than adding lots of fertiliser.
A clean, airy mix also makes it easier to judge how quickly the pot is drying.
Find a Bright East- or North-Facing Window

Place mint near a bright east- or north-facing window where it can receive useful daylight without sitting against hot glass. In the Southern Hemisphere, an east window gives gentle morning light, while a bright north window can be a good choice when the plant is slightly back from the pane.
Keep it away from heaters and draughty gaps, which can make conditions harder to manage.
Mint tolerates less sunlight than some herbs, but it still needs at least two to three hours of sun.
The Missouri Botanical Garden also recommends regular trimming to maintain a compact, bushy plant. Through winter, move it closer to the brightest suitable window and expect growth to slow a wee bit.
Water When the Top 2–3 cm of Mix Feels Dry

Mint prefers evenly moist potting mix, but there’s a difference between nicely hydrated roots and a wee indoor swamp.
Check the top 2–3 cm with your finger before watering. If it feels dry, water slowly until a little runs through the drainage holes.
Let the pot drain fully, then empty the saucer so the roots aren’t left sitting in water. In a bright, warm part of the home, your mint may need drinks more often; through a New Zealand winter, slower growth usually means watering less frequently.
Yellow leaves, a limp plant or permanently wet mix are useful clues to pause and reassess rather than automatically adding fertiliser.
Trim and Harvest Mint Little and Often

Regular harvesting gives mint a useful job to do and helps stop it becoming a tangle of long, bare stems.
Use clean scissors to trim just above a pair of leaves, taking a few stems at a time rather than stripping the plant in one go.
Those fresh cuttings can go straight into tea, a glass of cold water, salads or a simple meal. I’d rather have a slightly untidy plant that’s being used than a perfect display mint nobody touches.
If stems become stretched, remove them gradually rather than taking a dramatic handful all at once. Spare healthy stems can also be rooted for a fresh plant.
Use a Simple Care Guide for Healthier Indoor Growth

A small routine is easier to keep than a complicated plant-care calendar. Check the newest leaves, notice whether the plant is growing evenly and turn the pot when one side begins to face the room.
If you’re growing peppermint and spearmint, label the pots—otherwise a sleepy morning taste test can become a small flavour mystery.
Keep a short note of watering and harvesting if you tend to forget which plant was checked.
It needn’t become a spreadsheet; a pencil mark on the calendar is quite enough. Seasonal changes are useful reminders to look again rather than follow a routine blindly.
Solve Yellow Leaves, Leggy Stems and Common Pests

Mint usually tells you when something is off, although it doesn’t always use subtle hints.
Yellow leaves can point to a watering or light problem, while leggy stems suggest the plant needs a closer look at its position and recent growth. Check one change at a time so you can tell what actually helps.
- Fungus gnats: inspect the mix and avoid leaving water in the saucer.
- Aphids: examine new growth and wipe or rinse visible pests away.
- Dusty leaves: gently wipe foliage with a clean, damp cloth.
Check the undersides of leaves every week. Catching a small problem early is much kinder than waiting until your mint has assembled a full pest committee.
Refresh Crowded Mint with Cuttings or Division

When your mint starts looking crowded, pale in the middle or more stem than leaf, it’s time for a refresh rather than another splash of fertiliser.
A healthy plant can give you several new starts with very little fuss.
- For cuttings, snip a fresh stem below a pair of leaves, remove the lower leaves and place it in a clean glass of water or moist potting mix.
- For division, slide the plant from its pot and gently separate rooted clumps, keeping some roots and leafy growth with each section.
- Pot the new pieces into free-draining mix, water them in and keep them in bright, gentle light while they settle.
Label peppermint and spearmint if you’re growing both. Otherwise, you may end up conducting a sleepy little flavour investigation before breakfast.
Style and Adjust Your Mint Through Every Season

Mint can be both useful and decorative, especially when it sits near the kitchen rather than hiding behind the toaster.
Slip the growing pot into a simple terracotta cover pot or place it on a tray beside a jar of wooden spoons. Keep the drainage setup accessible, though—pretty styling shouldn’t turn routine care into guesswork.
As the seasons shift, adjust the plant’s position rather than expecting one windowsill to do everything. In spring and summer, protect it from harsh hot afternoon glass.
Through a New Zealand winter, growth may become quieter, so let the plant’s appearance guide your attention instead of forcing it to look lush all year.
A slightly untidy mint that gets harvested is far more useful than a perfect plant nobody touches.
Choose the brightest practical spot in your home, pot up one mint plant with drainage and harvest a few stems this week.
A slightly untidy, regularly used plant is more useful than a perfect display plant, and you can shift it as the Southern Hemisphere seasons change. Give it a go with the first leaves in tea, a cold drink or a simple meal.