Easy Homemade Hummus Recipe Ready in 10 Minutes
There’s something rather satisfying about turning a tin of chickpeas into a creamy dip before the kettle has finished boiling.
This Easy Homemade Hummus Recipe Ready in 10 Minutes uses everyday ingredients, needs no cooking and leaves plenty of room for your own serving ideas.
It’s a handy little recipe for lunches, snacks and relaxed sharing plates.
Why this hummus is ready so quickly

This is a no-cook recipe, so the only real work is rinsing, measuring and blending.
The food processor does the heavy lifting, turning the chickpeas, olive oil, tahini and lemon into a smooth dip with very little fuss.
Use a reasonably large food processor if you have one.
A narrow bowl can make the mixture catch around the sides, while a wider bowl gives the blades room to work. The five-minute blending time matters here: hummus often looks nearly ready before it becomes properly creamy.
The recipe comes from Esther Clark / Good Food. I’d serve it straight away while the lemon tastes bright and the olive oil is still glistening on top.
The small details that improve the texture

Rinse the chickpeas well before blending. This removes the canning liquid and gives the finished hummus a cleaner flavour. Drain them thoroughly, but don’t worry if a little moisture remains.
Add the water gradually rather than pouring in the full possible amount at once. Start with 30 ml, then check the texture after blending. If the hummus is still stiff, add up to 20 ml more in small splashes.
You’re looking for a dip that settles softly from a spoon without becoming runny.
| Ingredient | What it contributes | Useful note |
|---|---|---|
| Chickpeas | Body and a gentle nutty flavour | Drain and rinse before processing |
| Tahini | Richness and sesame flavour | Stir the tahini well before measuring |
| Lemon | Freshness and balance | Use both juice and the specified zest |
| Water | A softer, creamier consistency | Add only as needed |
This general approach is also reflected in a fast hummus method from Utah State University Extension, which uses water to adjust the consistency after processing.
Simple substitutions and adjustments

The supplied recipe is nicely balanced, so I’d make it once as written before changing it. After that, a few gentle adjustments are easy:
- For a milder garlic flavour, use one large clove rather than two.
- If your tahini is particularly thick, expect to use some of the optional extra water.
- For a sharper dip, add a little extra lemon juice, but do this gradually so the hummus doesn’t become watery.
- If you’re avoiding sesame, sunflower-seed butter can provide a similar creamy quality, although the flavour will be different.
Salt is best added at the end. Chickpea tins vary in saltiness, and tasting after blending lets you season with a steadier hand. A wee bit of patience here saves an overly salty bowl.
Ways to serve homemade hummus
Spoon the hummus into a shallow bowl and use the back of a spoon to make a soft swirl. Finish with the remaining 20 ml olive oil, as directed.
That little drizzle adds a glossy finish and gathers nicely in the spoon marks.
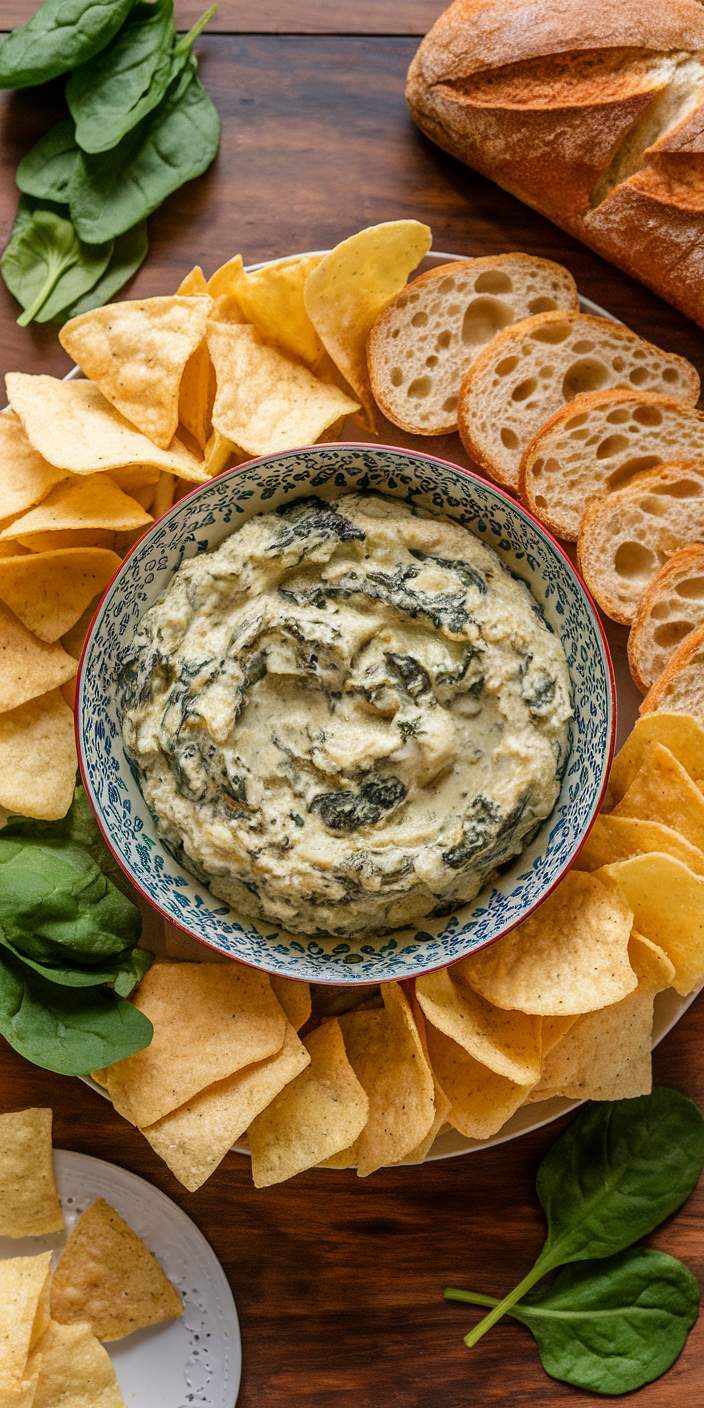
For the simplest serving plate, add crisp vegetable sticks and toasted pitta. Carrot, cucumber, capsicum and celery all work well because they bring colour and crunch without competing with the dip.
You could also offer warm flatbread, crackers or a few olives for a more generous grazing plate.
This hummus is also useful tucked into wraps or spread over toast, though the recipe’s suggested vegetable sticks and toasted pitta keep the preparation beautifully quick.
I’d choose a shallow bowl rather than a deep one—it makes the serving look plentiful and makes dipping much less messy.
Storage and a tidy make-ahead tip
Transfer leftover hummus to a clean, covered container and refrigerate it promptly.
USDA Food Safety and Inspection Service guidance advises that perishable food should not sit at room temperature for more than 2 hours, or more than 1 hour when the temperature is above 32°C (90°F): USDA Food Safety and Inspection Service.
Keep the vegetable sticks separate so they stay crisp, and give the hummus a stir before serving again. If it thickens slightly in the fridge, loosen it with a small splash of water rather than adding a large amount at once.
For an easy gathering, make the hummus first, cover it and chill it while you slice the vegetables and toast the pitta.
There’s no need to turn snack preparation into a production involving every bowl in the kitchen.
Give this hummus a go when you need something quick, creamy and practical. Blend it until smooth, adjust the water slowly and finish with that final olive oil drizzle. Then add a few crunchy vegetables or warm pitta and call it lunch, afternoon tea or a very respectable snack.
RECIPE CARD
Easy Homemade Hummus Recipe Ready in 10 Minutes
A creamy no-cook hummus made with canned chickpeas, tahini, lemon, garlic and olive oil. Serve with vegetable sticks or toasted pitta.
Ingredients
- One 400 g tin of chickpeas, drained and rinsed
- 80 ml extra virgin olive oil, divided
- 1–2 large garlic cloves, crushed
- Juice from 1 lemon, plus zest from half the lemon
- 3 tablespoons tahini
- 30 ml water initially, plus up to 20 ml if needed
- Salt, to taste
- Vegetable sticks or toasted pitta, to serve
Instructions
- Process the drained and rinsed chickpeas with 60 ml of the olive oil until mostly smooth.
- Add the crushed garlic, lemon juice, lemon zest, tahini and 30 ml water. Blend for approximately 5 minutes, until creamy.
- If the hummus is too thick, gradually blend in up to 20 ml additional water until it reaches a soft, spoonable consistency.
- Taste and season with salt.
- Spoon the hummus into a serving bowl and finish with the remaining 20 ml olive oil. Serve with vegetable sticks or toasted pitta.
Notes
Recipe source: Esther Clark / Good Food. Refrigerate leftovers promptly in a covered container. Keep vegetable sticks and pitta separate until serving.